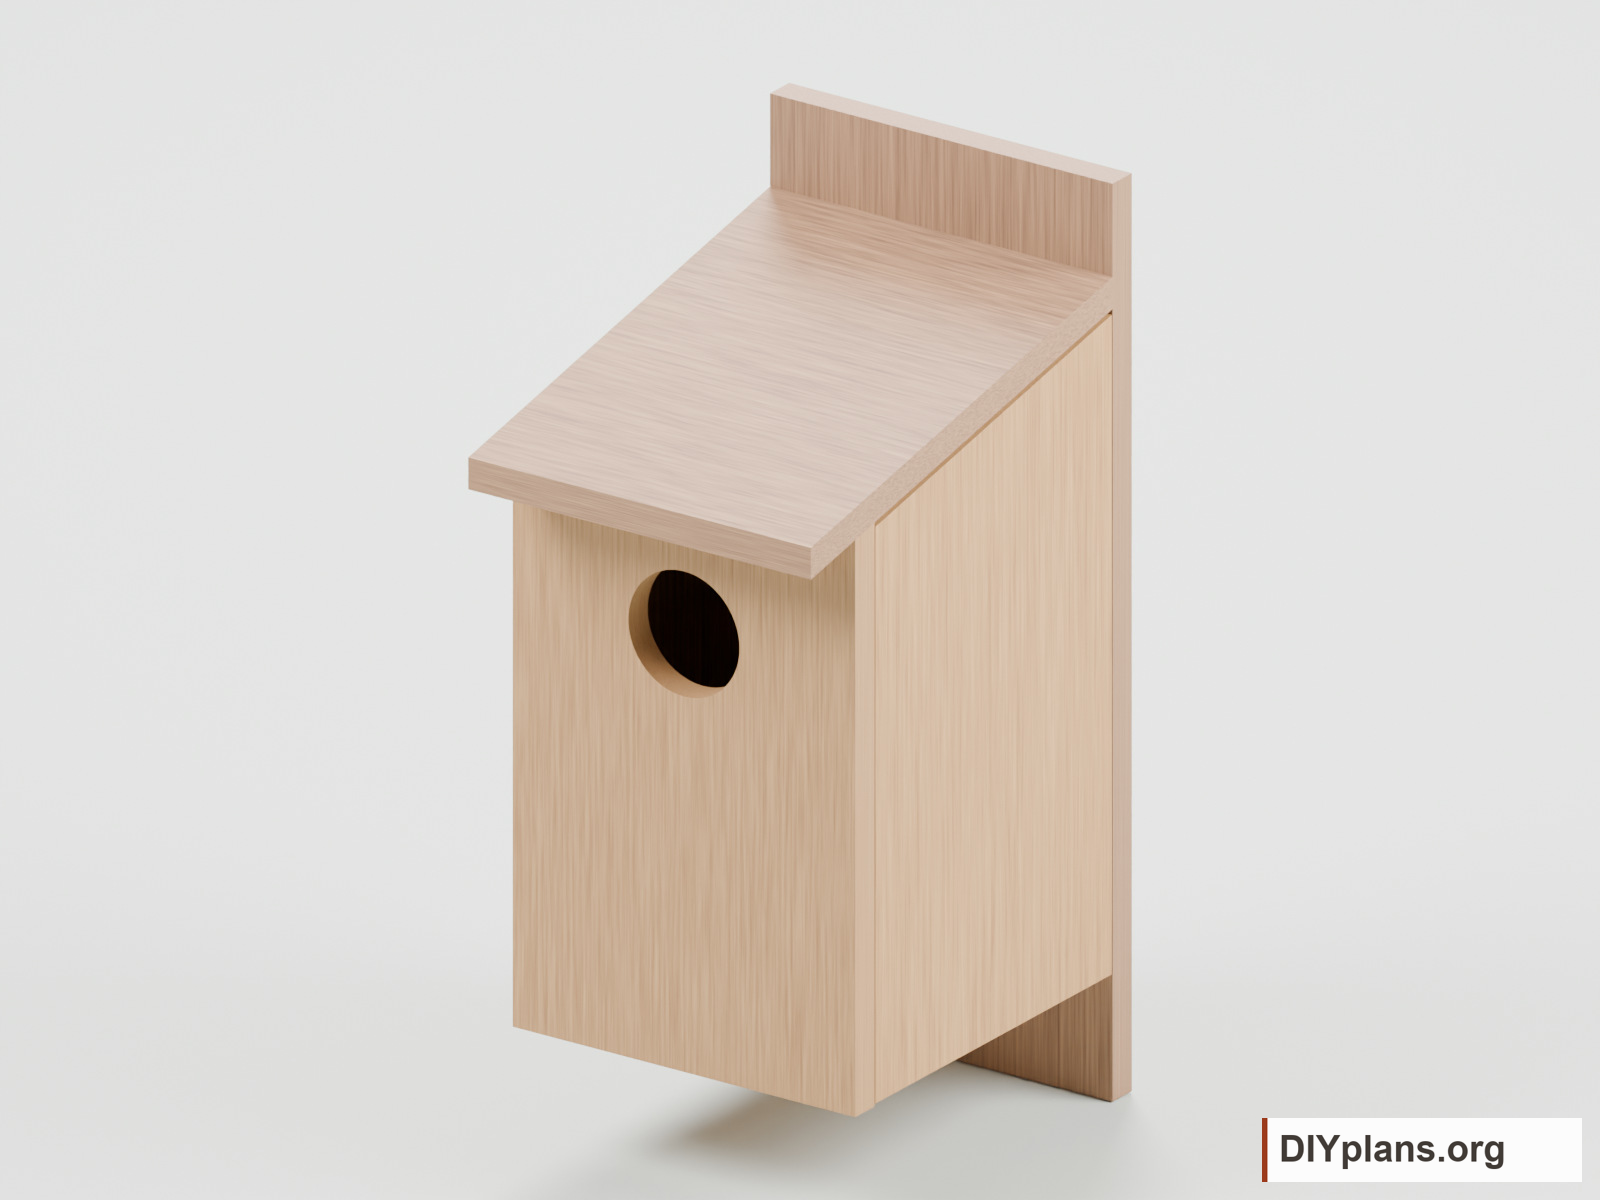
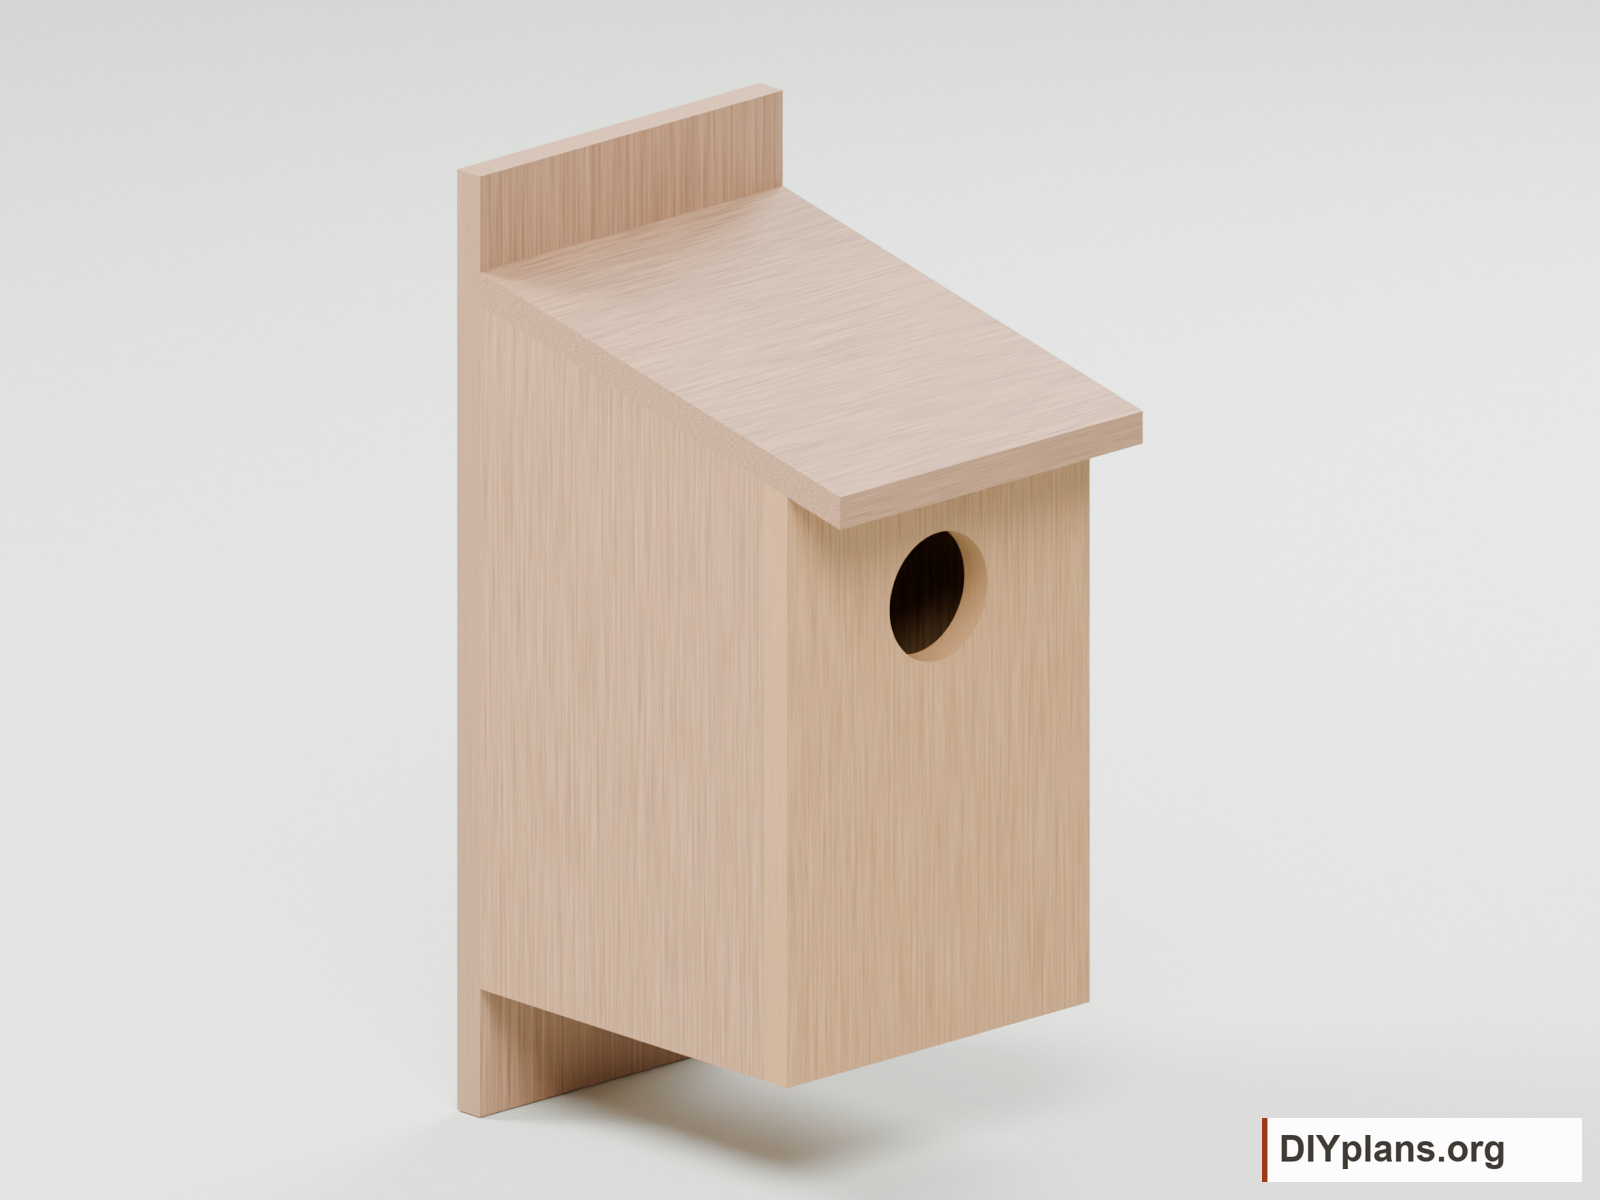
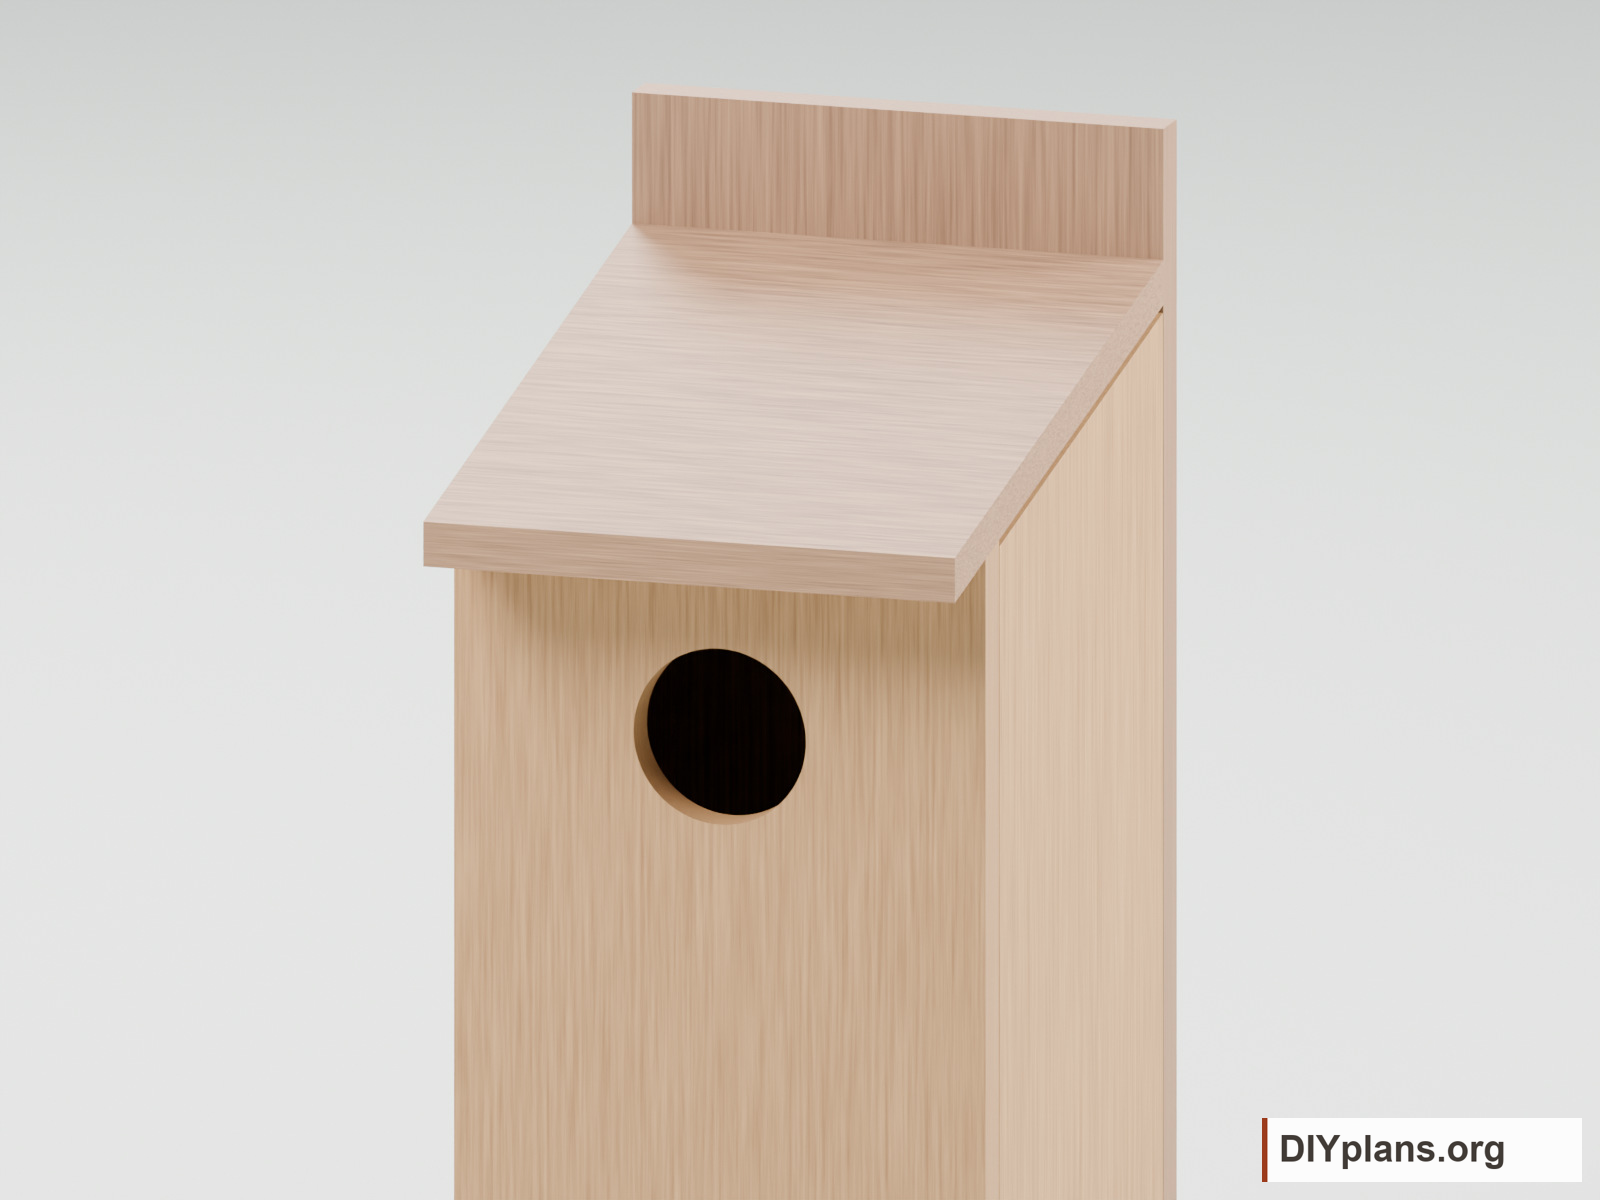
BEFORE YOU BUILD
Use this work at your own risk
These files have not been checked for accuracy, safety, structural adequacy, or building-code compliance. They may contain serious errors and are not construction-ready. Obtain independent qualified design and review before building.
No person or organization makes any guarantee or warranty, express or implied, regarding this design, its documentation, digital files, or website views. They are not professional services and do not create an architect-client or other professional-client relationship. No promise is made about accuracy, completeness, reliability, code compliance, or fitness for your project.
Buildings and building projects are complex, and many things can go wrong. You are responsible for checking dimensions and site conditions, choosing suitable materials and methods, obtaining permits, following codes and manufacturer instructions, and getting qualified professional help when needed. To the fullest extent permitted by law, DIYPlans.org disclaims liability for damages resulting from use of this work. Read the FAQ about your responsibilities.
Instructions
Step 1 Cut and mark the panels
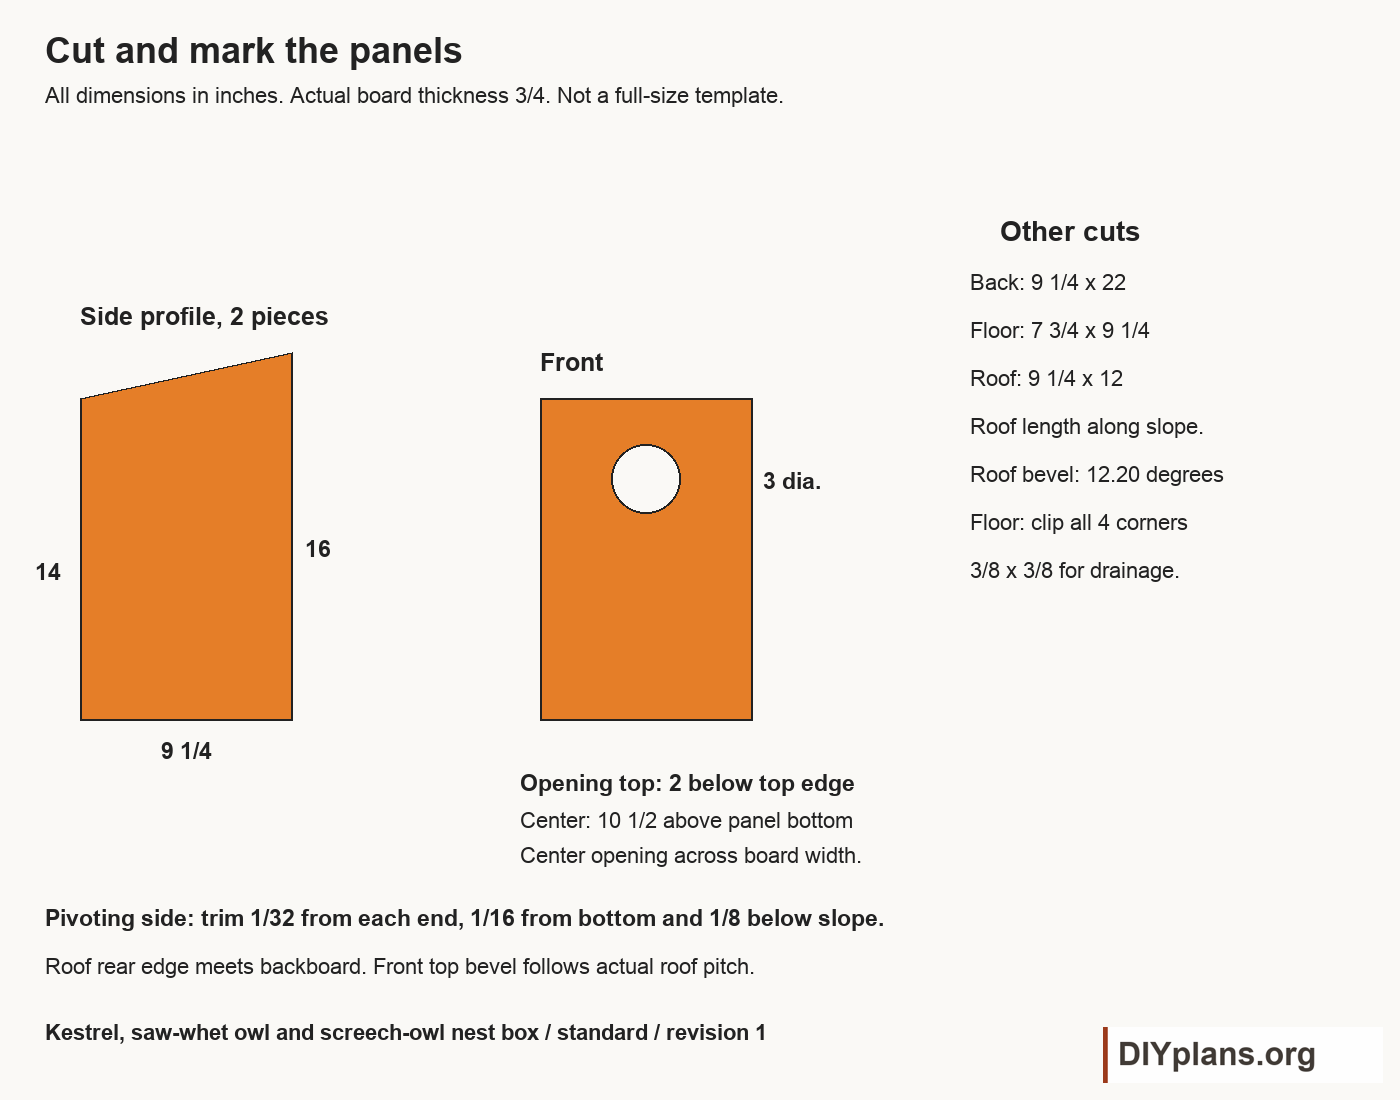
- Use stock measuring 3/4 x 9 1/4 inches. Cut the pieces in the cut list; allow saw kerf between blanks.
- Mark the side heights 14 and 16 inches from their common bottom edge; connect the marks and saw the roof slope.
- Mark the front opening centered across its 9 1/4-inch width. Put its top 2 inches below the top edge; its center is 10 1/2 inches above the bottom.
- Cut the opening 3 inches in diameter with a hole saw. Ease splinters at the opening; keep the interior rough.
- Cut the floor 7 3/4 x 9 1/4 inches and clip 3/8 x 3/8 inch from all four corners for drainage.
Check: The entrance matches the marked size and position, and all four floor drainage corners are open.
Step 2 Fasten the fixed side and floor
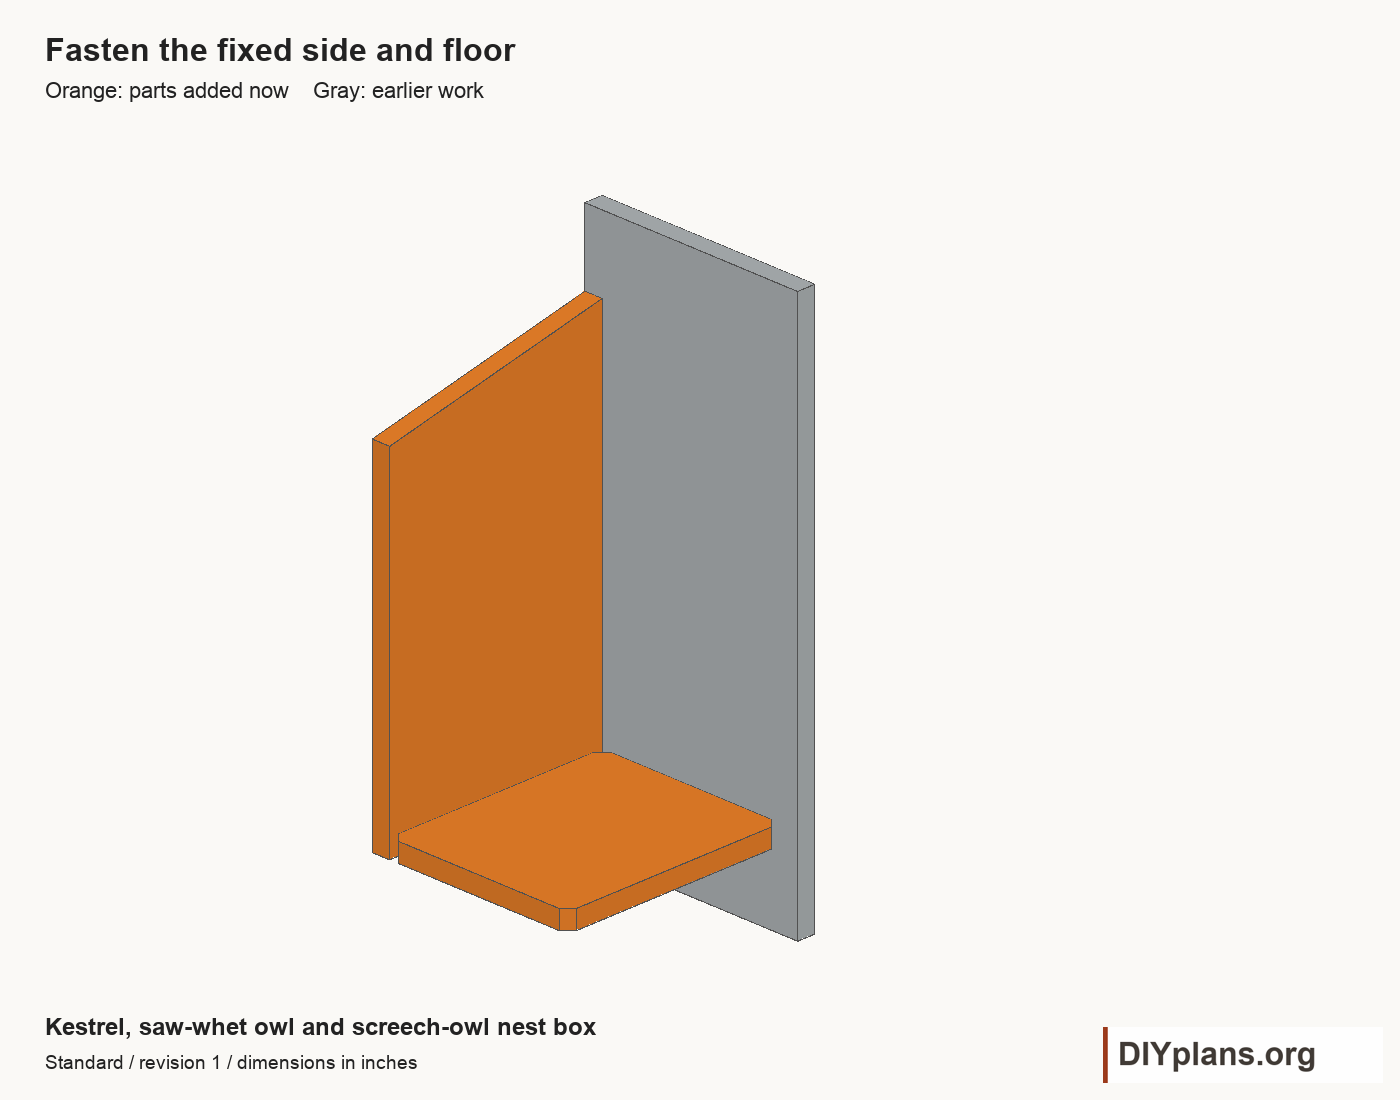
- Mark a line 3 inches above the backboard bottom. Align the underside of the floor and side with this line.
- Fit the fixed side between the front and back positions. Its 16-inch end meets the backboard.
- Predrill clearance holes in the back and pilot holes in the side edge. Drive three exterior screws through the back into the fixed side, evenly spaced away from the panel ends.
- Fit the floor flush with the fixed side bottom. Drive two screws through the side into the floor edge and two through the back into the floor edge.
Check: The floor is square and all clipped drainage corners remain open.
Step 3 Attach the front
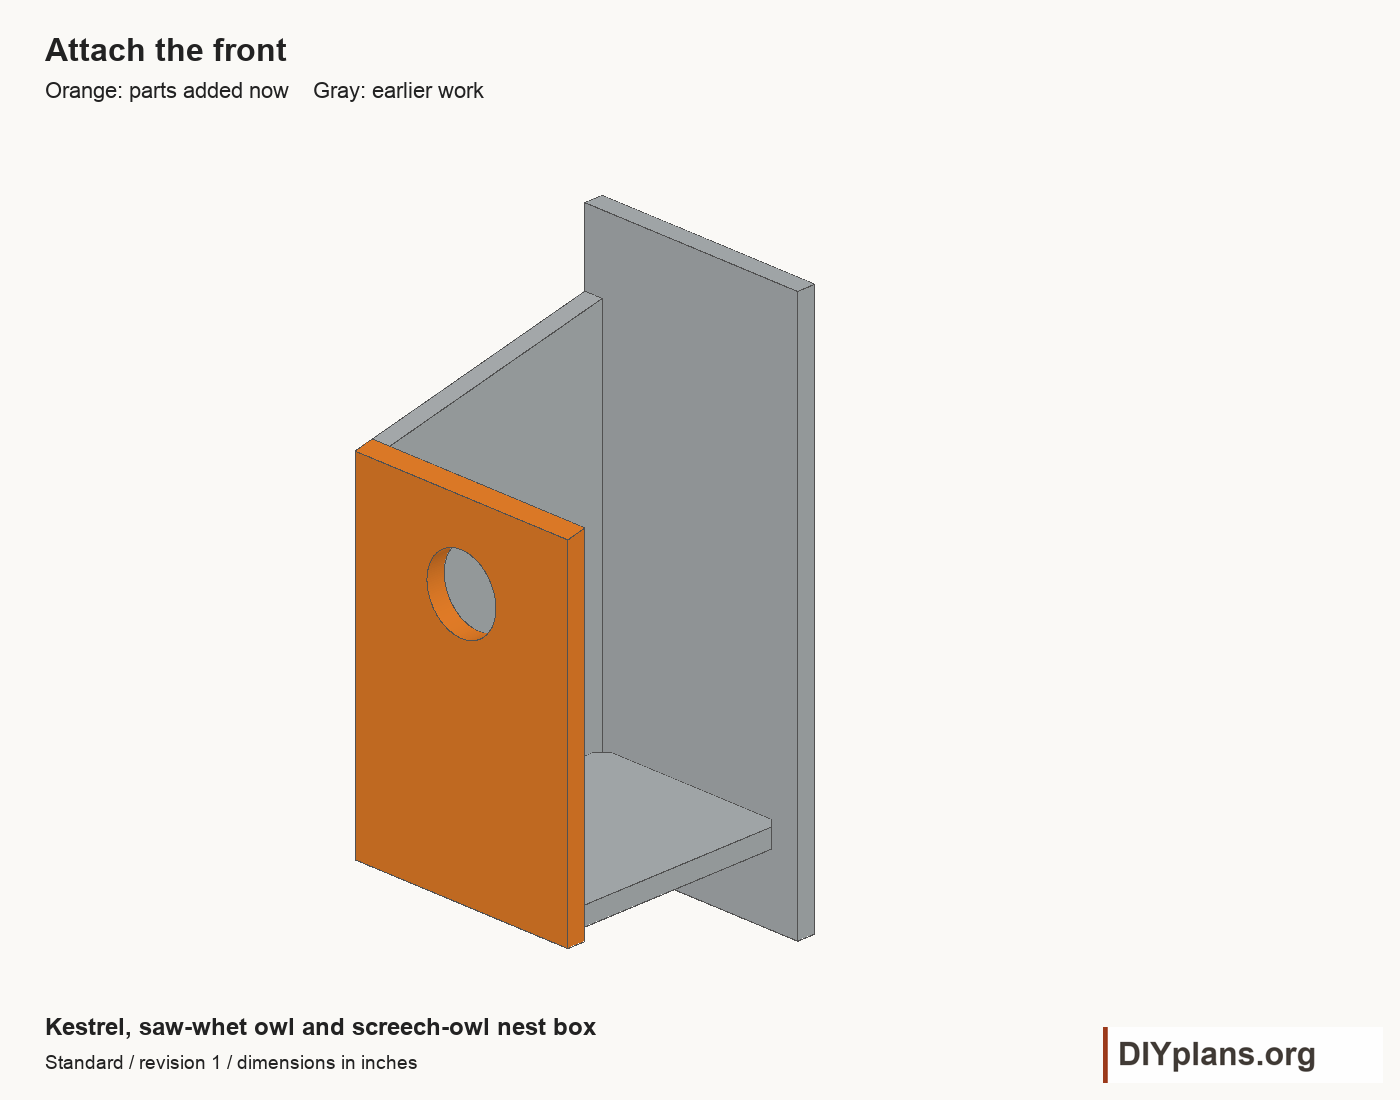
- Align the front bottom with the floor underside. Bevel its top edge to the 12.20-degree roof slope so its inner edge is full height.
- Predrill and drive three screws through the front into the fixed side and two into the floor. Keep the opening-side edge free for its pivot.
- Leave the inner front face rough so birds can climb toward the opening.
Check: The front sits flush with the floor underside and the entrance is clear.
Step 4 Fit the roof
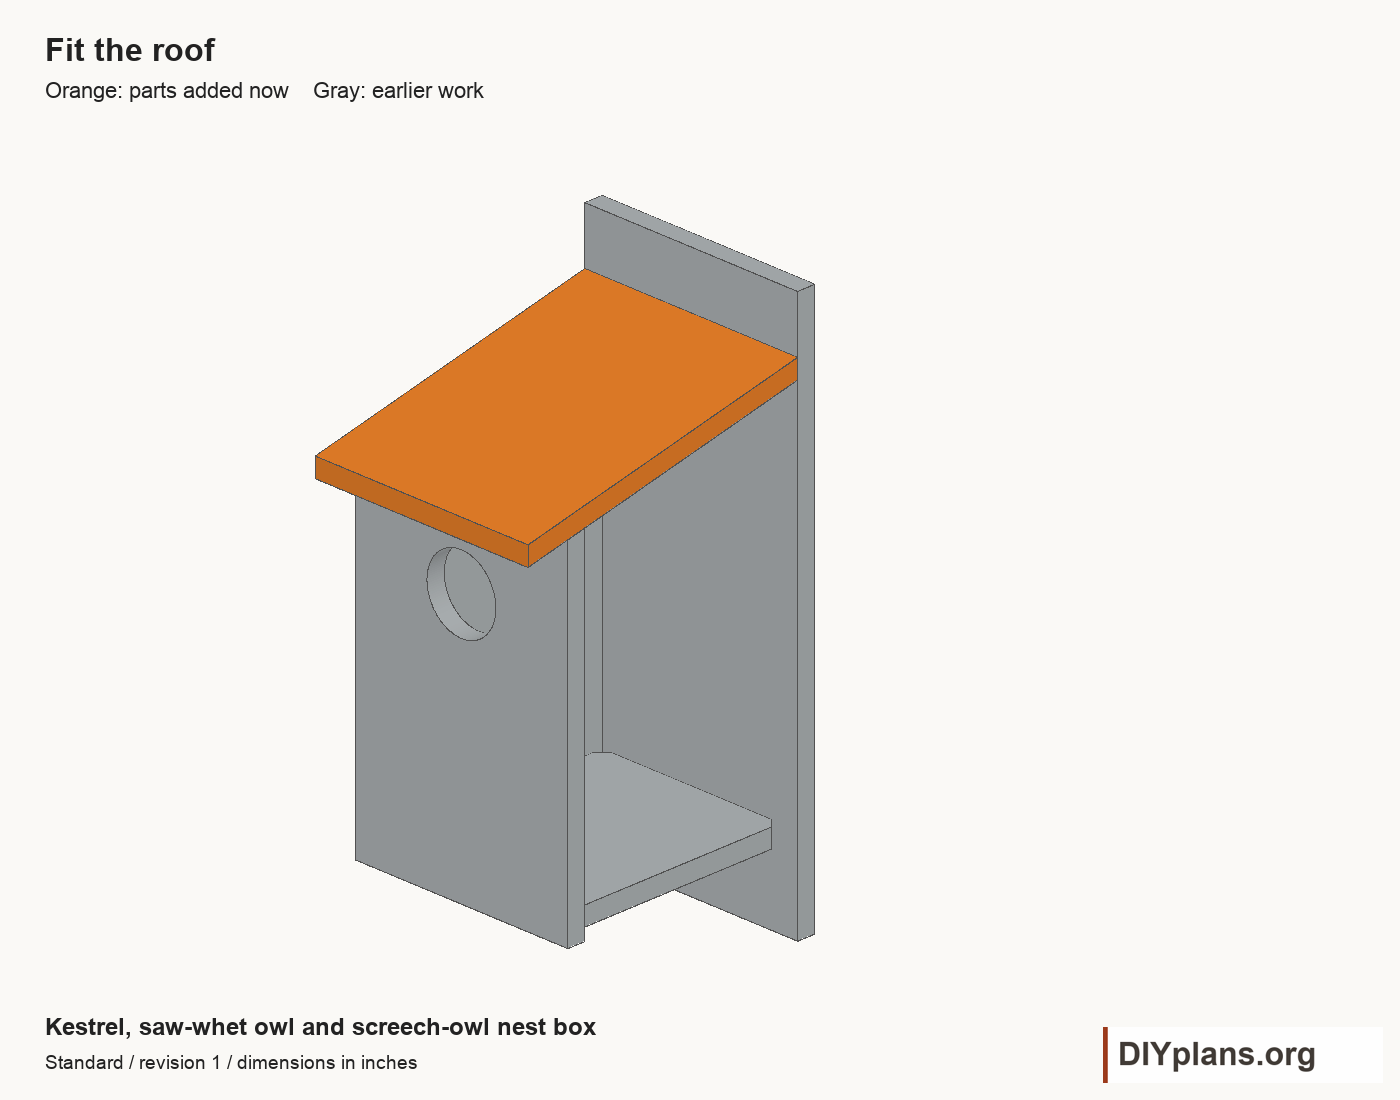
- Cut the roof 9 1/4 inches wide and 12 inches long measured along its sloping face.
- Bevel its rear edge 12.20 degrees so it meets the backboard. Dry-fit on the fixed side and front without a gap.
- Predrill and fasten the roof to the fixed side and front only. Keep its opening-side edge free.
Check: The roof seats on the slope and projects beyond the front.
Step 5 Fit the pivoting side
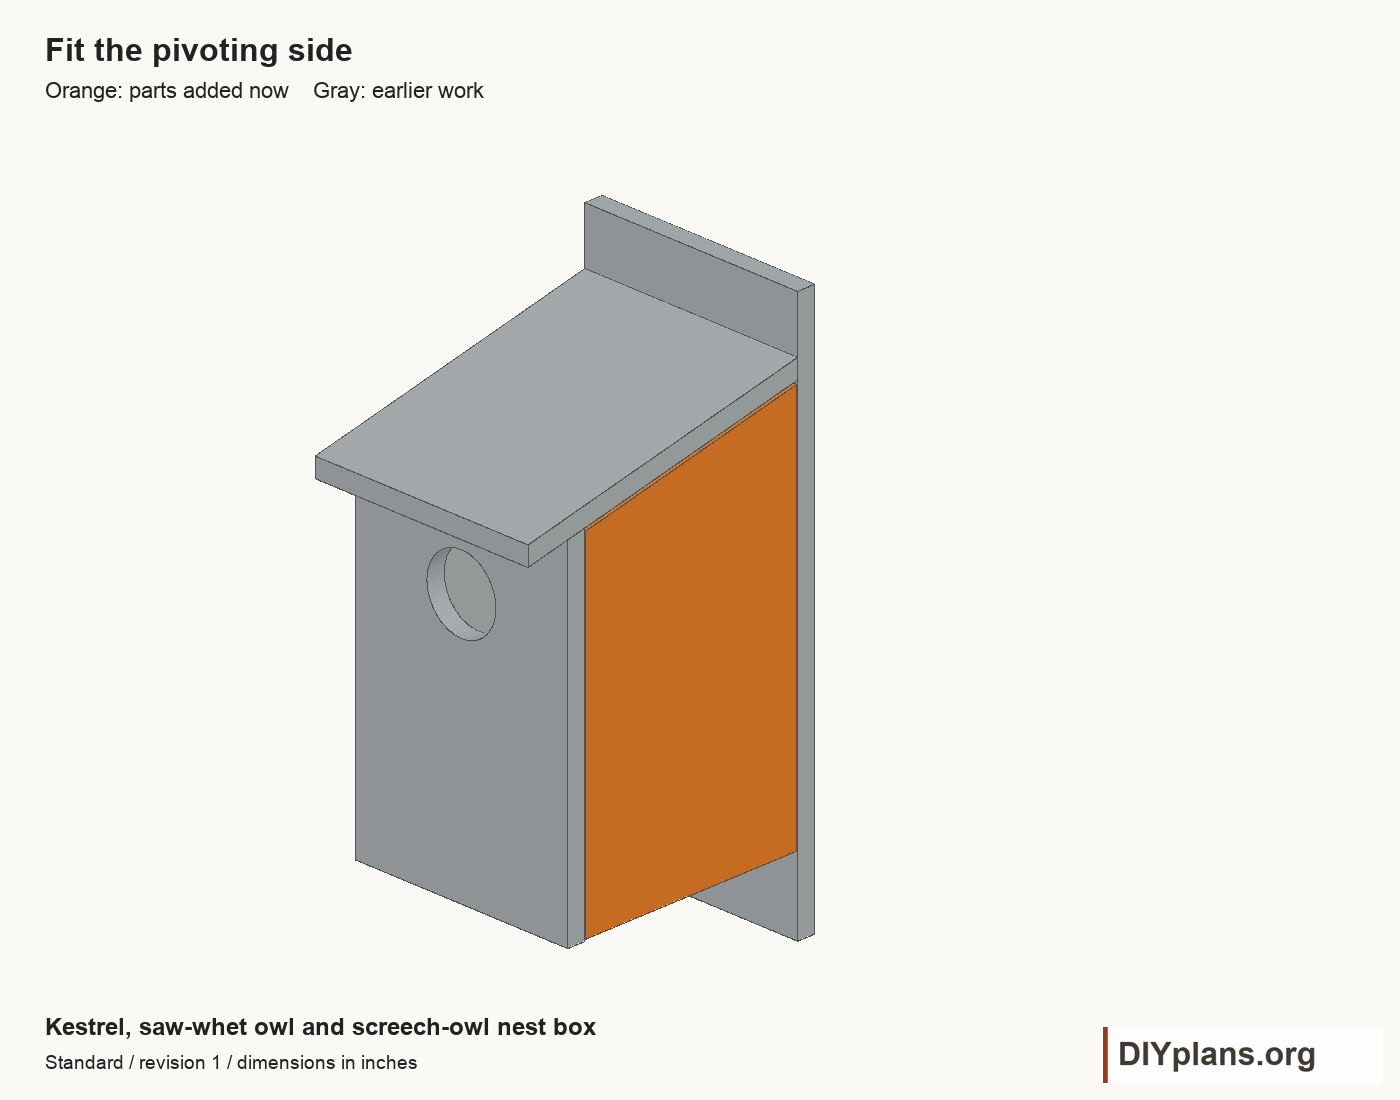
- Trim 1/32 inch from each end of the opening side, 1/16 inch from its bottom and 1/8 inch below its roof slope.
- Dry-fit before drilling.
- Mark both pivot holes level at 13 inches above the floor underside. On the backboard, that is 16 inches above its bottom.
- Center each hole 3/8 inch inward from the opening-side edge.
- Bore clearance holes through front and back for the chosen screw shanks; drill pilot holes into the side ends. Install one pivot screw from each end and leave the side free to turn.
- Fit a wire latch at the lower front corner. Round over the side's upper inside edge if dry fitting shows a rub.
Check: Both pivot screws share one level axis and the bottom swings outward.
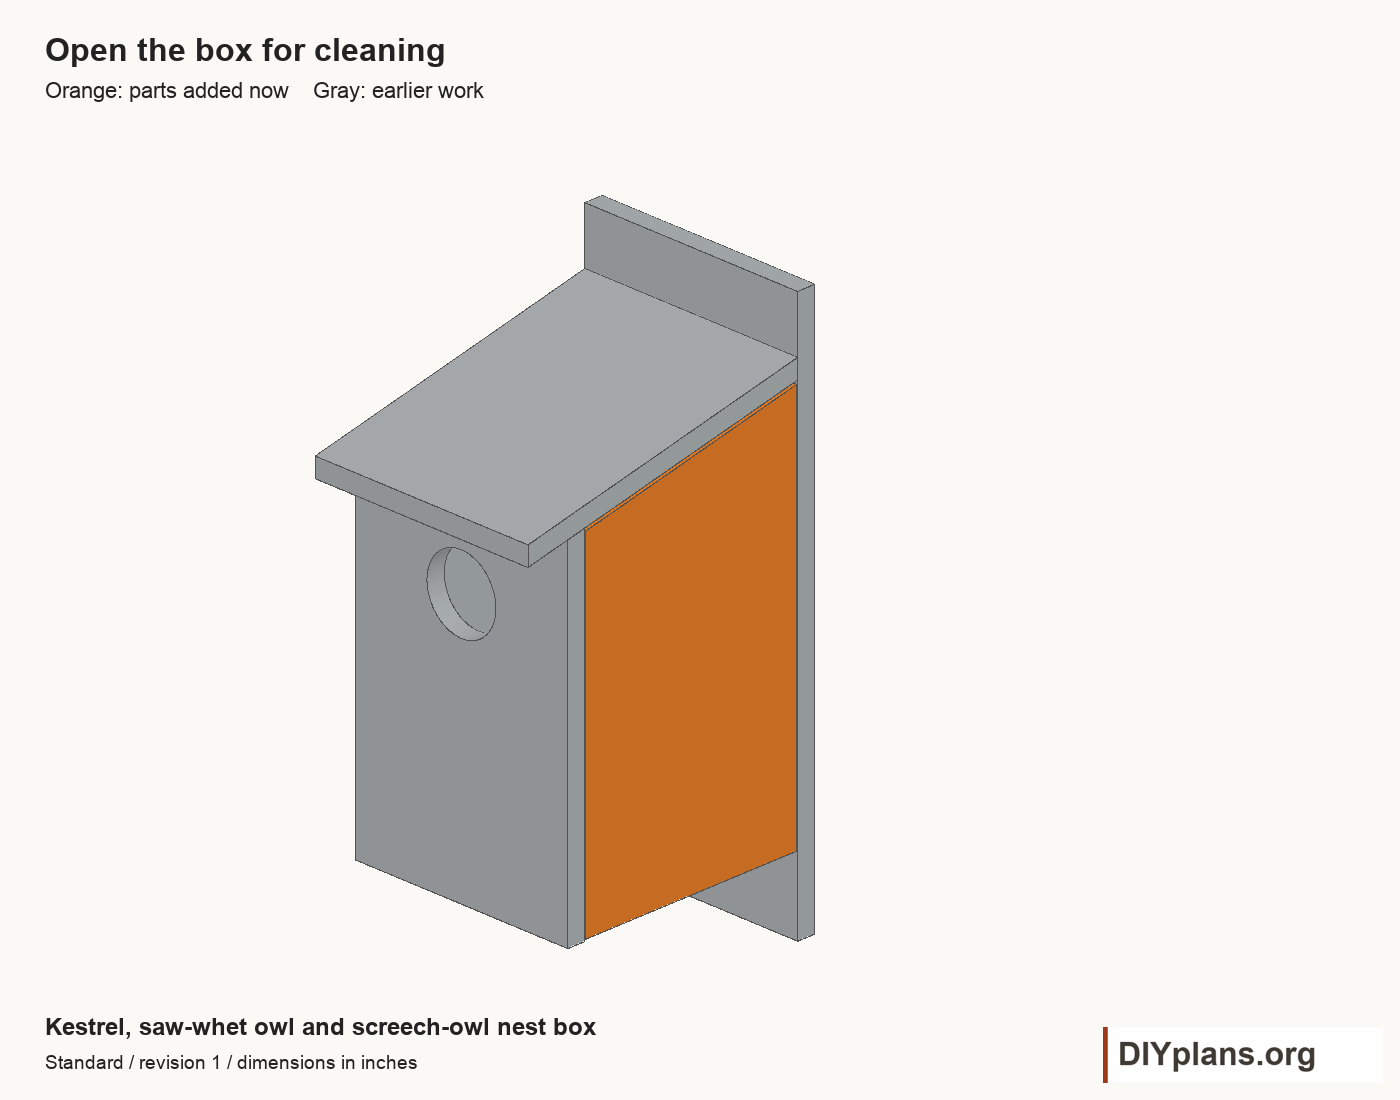
Step 6 Check the cleaning opening
Play animationStop animation
 Loading image
 Loading image
- Release the wire latch and swing the side bottom outward.
- Move the panel slowly through its cleaning range. Adjust hardware until it clears the roof, front and back without rubbing.
- Close and secure the wire. Check for sharp screw points, loose wire and splinters inside the chamber.
Check: The opening closes securely and provides access to remove old nesting material.
Step 7 Mount and prepare the box
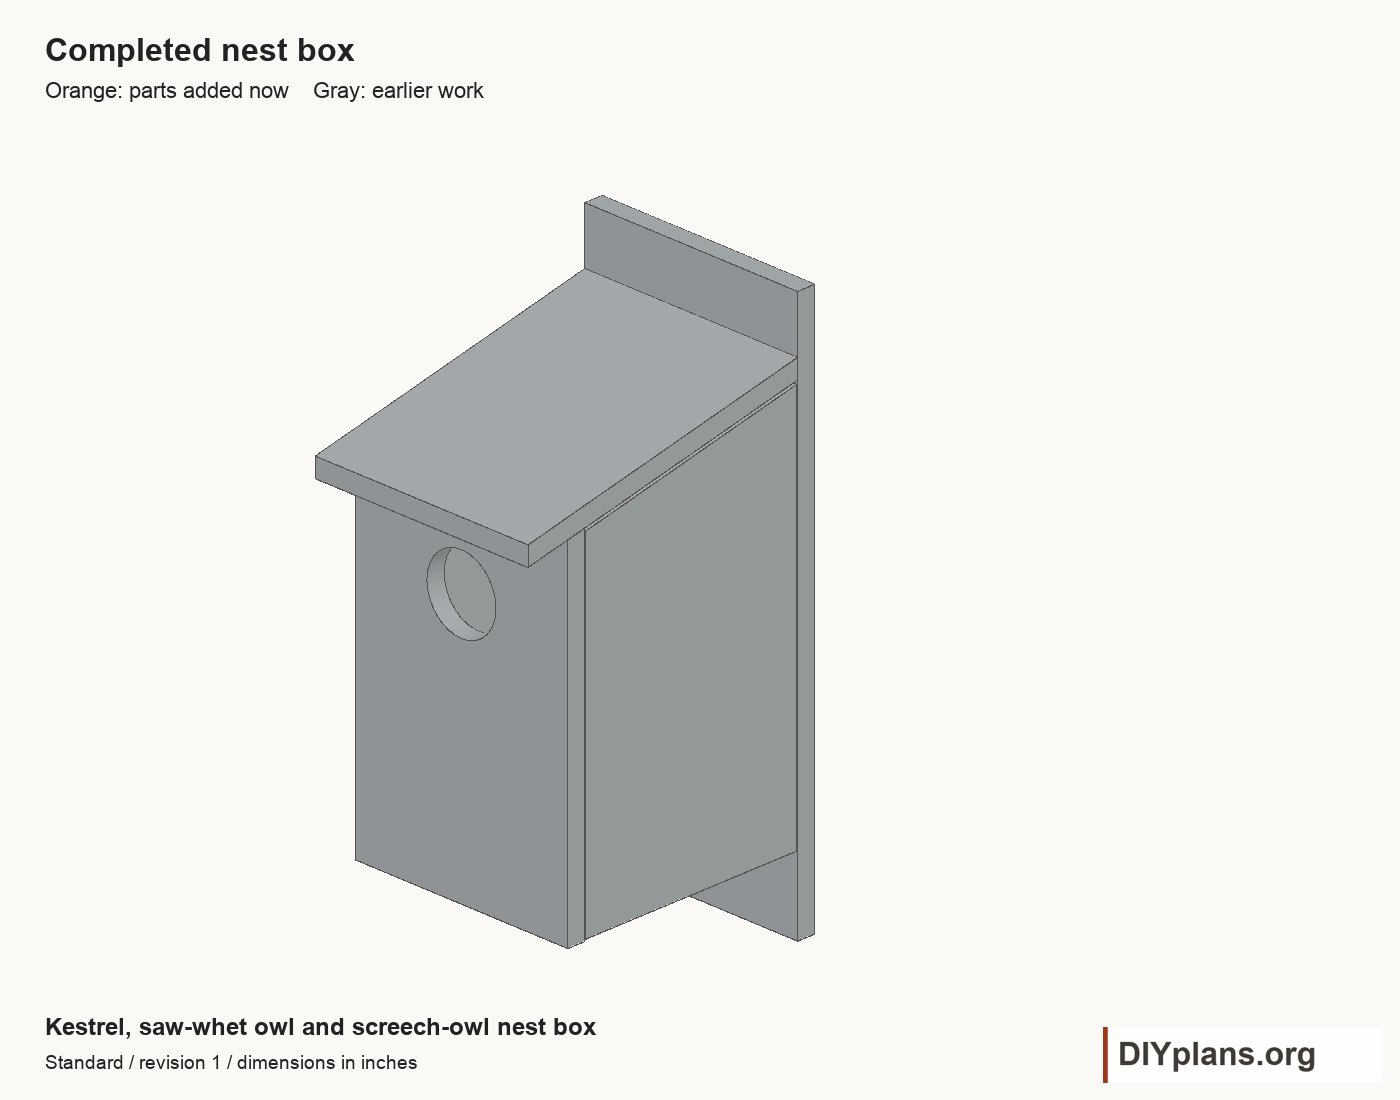
- Choose a mounting site and nesting preparation appropriate to the intended species using current WDFW guidance.
- Choose exterior mounting fasteners for the post or support. Drill through the exposed backboard above and below the chamber to match that hardware.
- Fit the selected predator protection and secure the box against twisting. Arrange access so cleaning can be done safely.
- Check the box when unoccupied. Clear blocked drainage openings and replace loose or damaged hardware.
Check: The box is secure against twisting, with predator protection fitted and access for cleaning.
Sources
Functional dimensions informed by the cited Washington Department of Fish and Wildlife woodworking sheet. CAD, instructions, schedules and illustrations authored for DIY Plans.