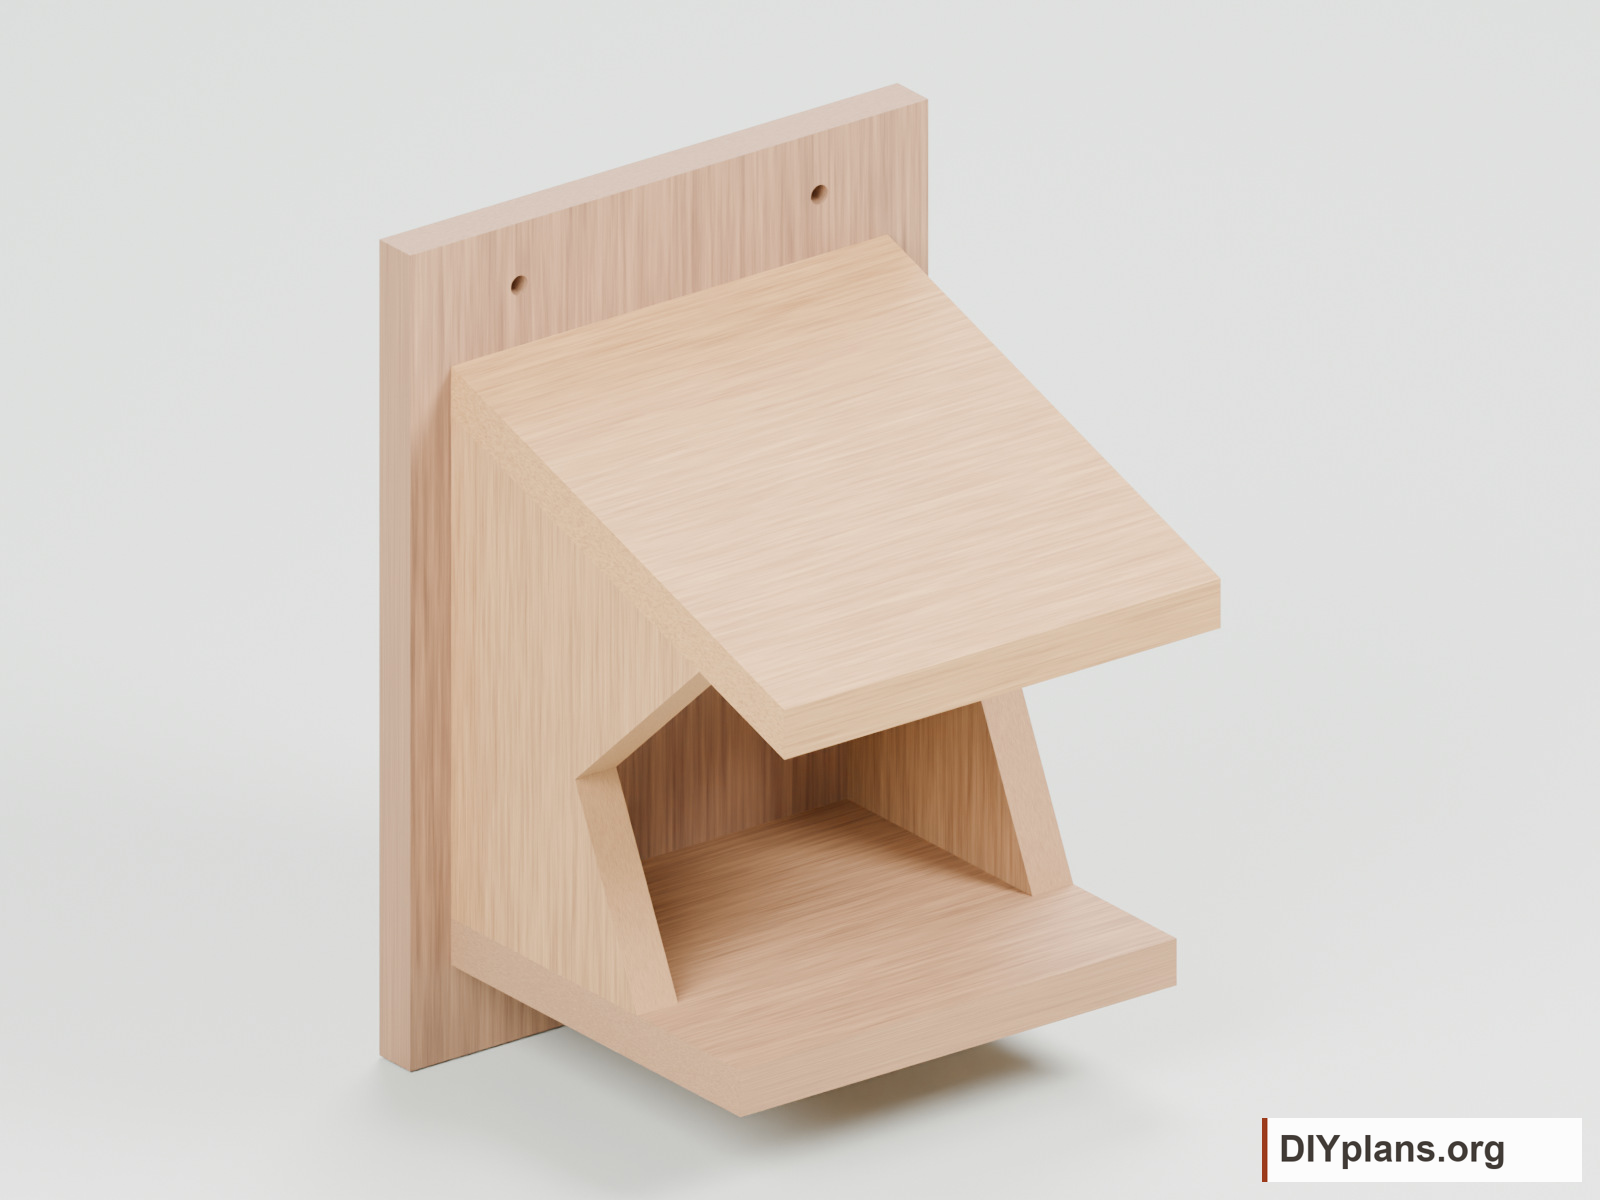
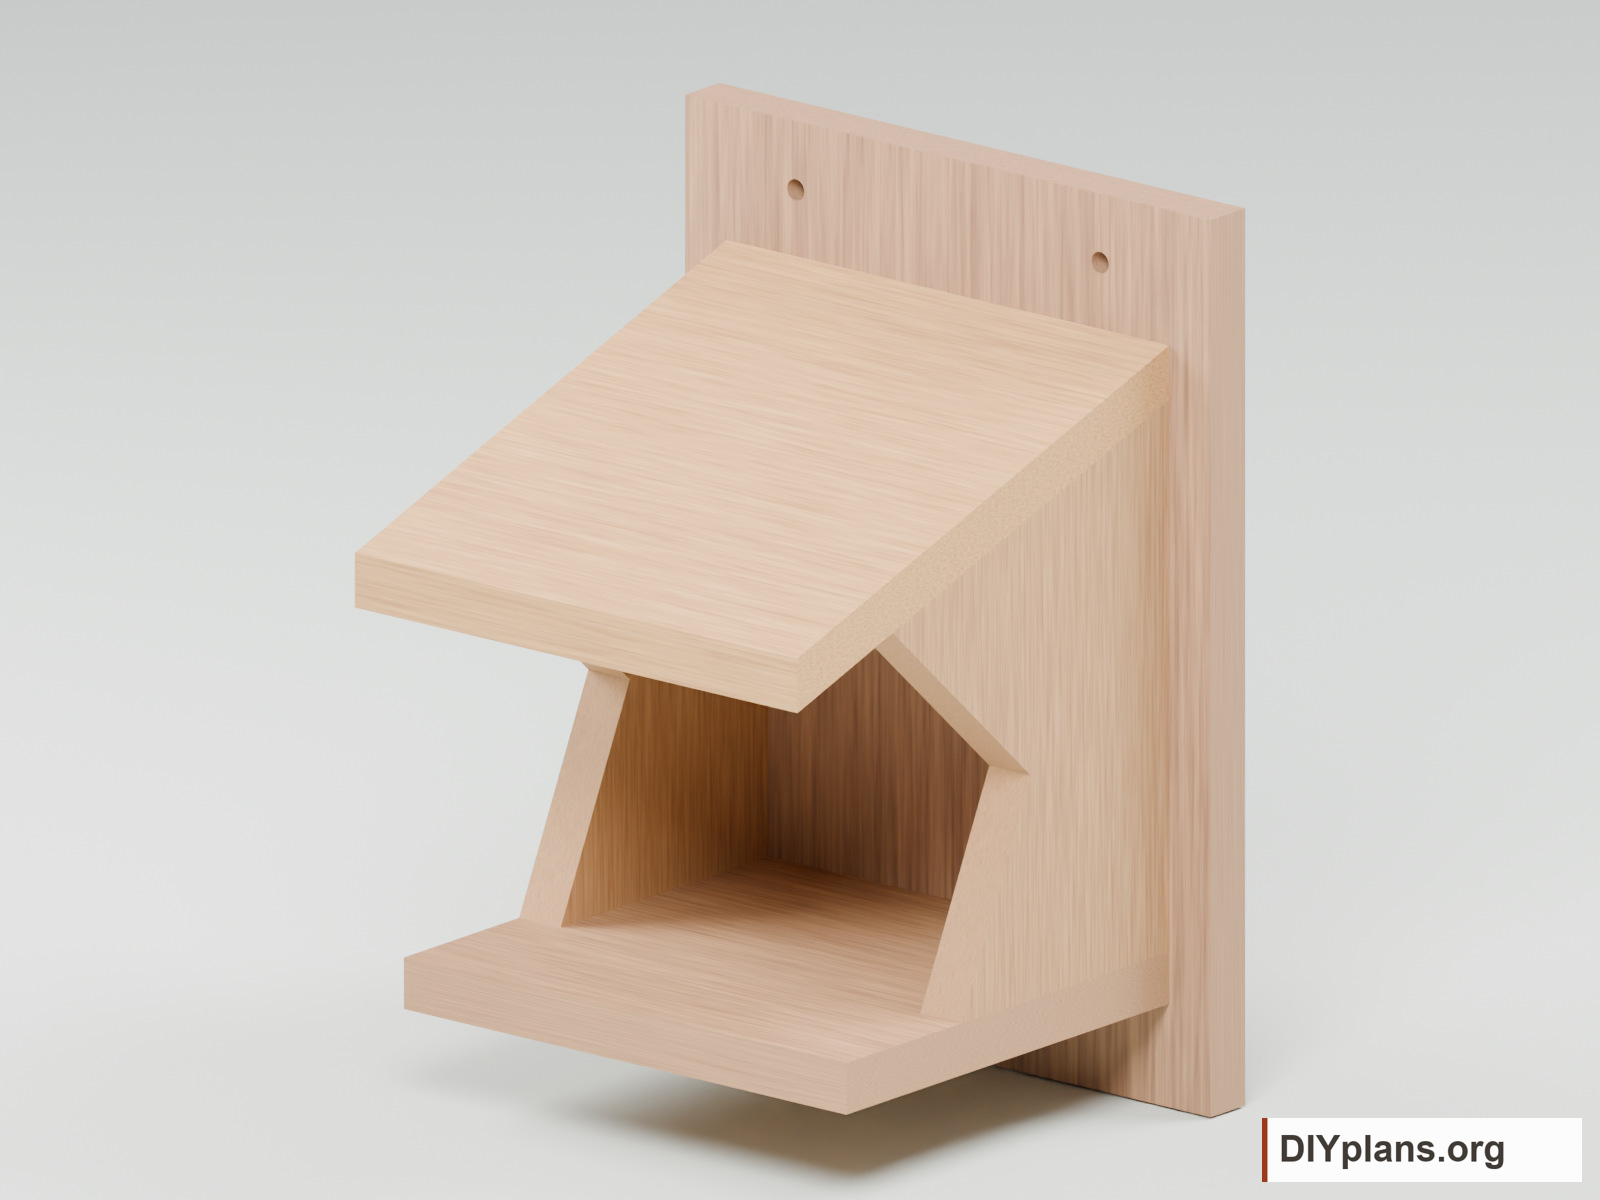
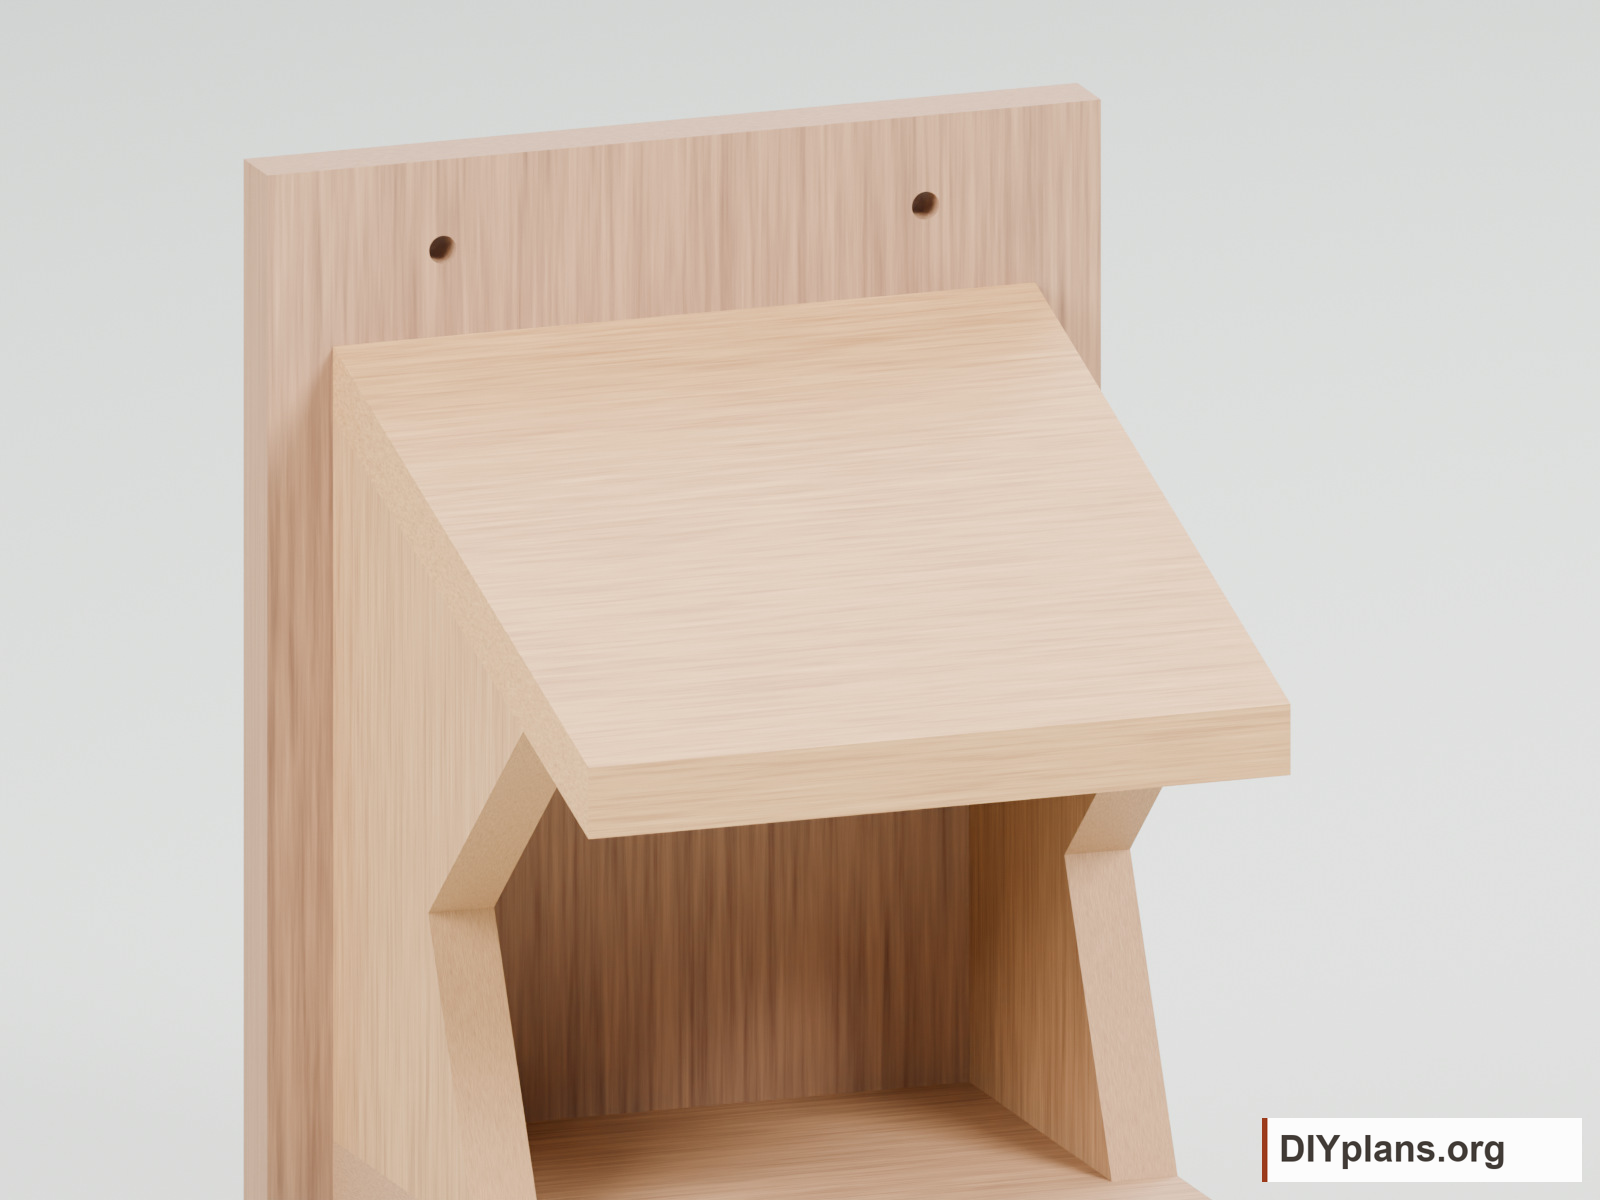
BEFORE YOU BUILD
Use this work at your own risk
These files have not been checked for accuracy, safety, structural adequacy, or building-code compliance. They may contain serious errors and are not construction-ready. Obtain independent qualified design and review before building.
No person or organization makes any guarantee or warranty, express or implied, regarding this design, its documentation, digital files, or website views. They are not professional services and do not create an architect-client or other professional-client relationship. No promise is made about accuracy, completeness, reliability, code compliance, or fitness for your project.
Buildings and building projects are complex, and many things can go wrong. You are responsible for checking dimensions and site conditions, choosing suitable materials and methods, obtaining permits, following codes and manufacturer instructions, and getting qualified professional help when needed. To the fullest extent permitted by law, DIYPlans.org disclaims liability for damages resulting from use of this work. Read the FAQ about your responsibilities.
Instructions
Step 1 Lay out the boards
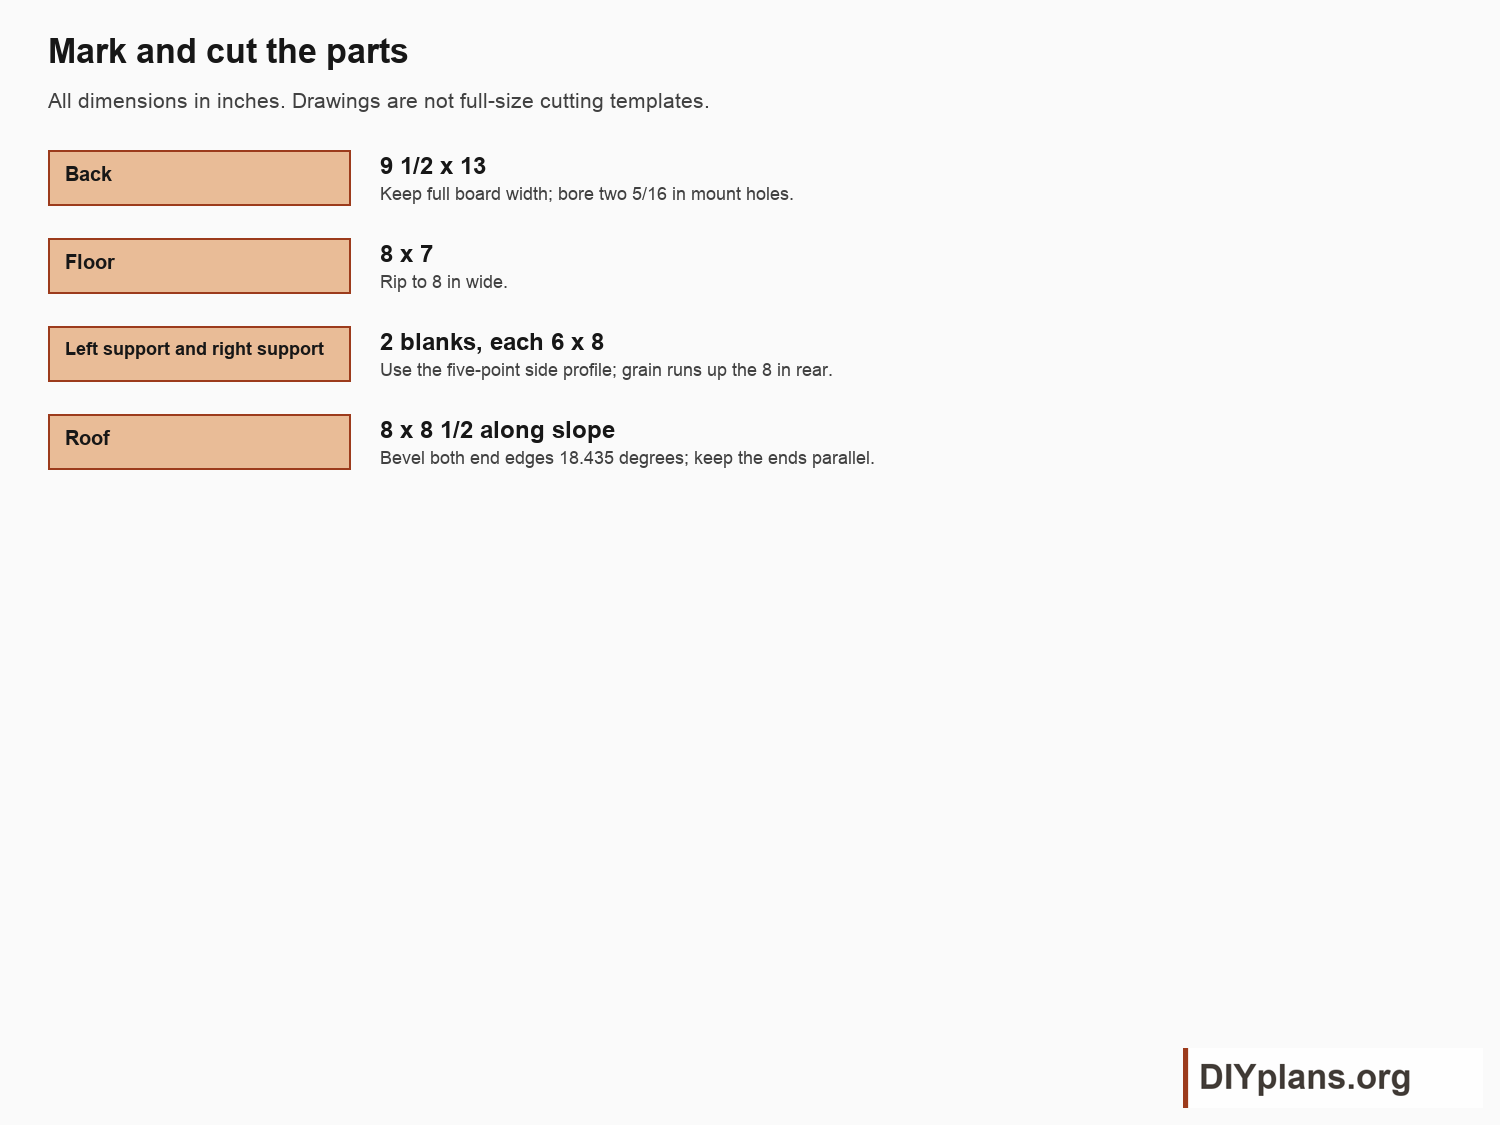
- Crosscut a 13 in back, 7 in floor blank, 8 1/2 in roof blank and two 8 in support blanks.
- Allow 1/8 in per saw cut.
- Rip the floor and roof to 8 in wide; rip the support blanks to 6 in wide. Keep the back 9 1/2 in wide.
- Mark the two support outlines using the dimension sheet. Use the same template for both.
Check: The two support outlines match and the floor and roof are each 8 in wide.
Step 2 Cut the supports and bevel
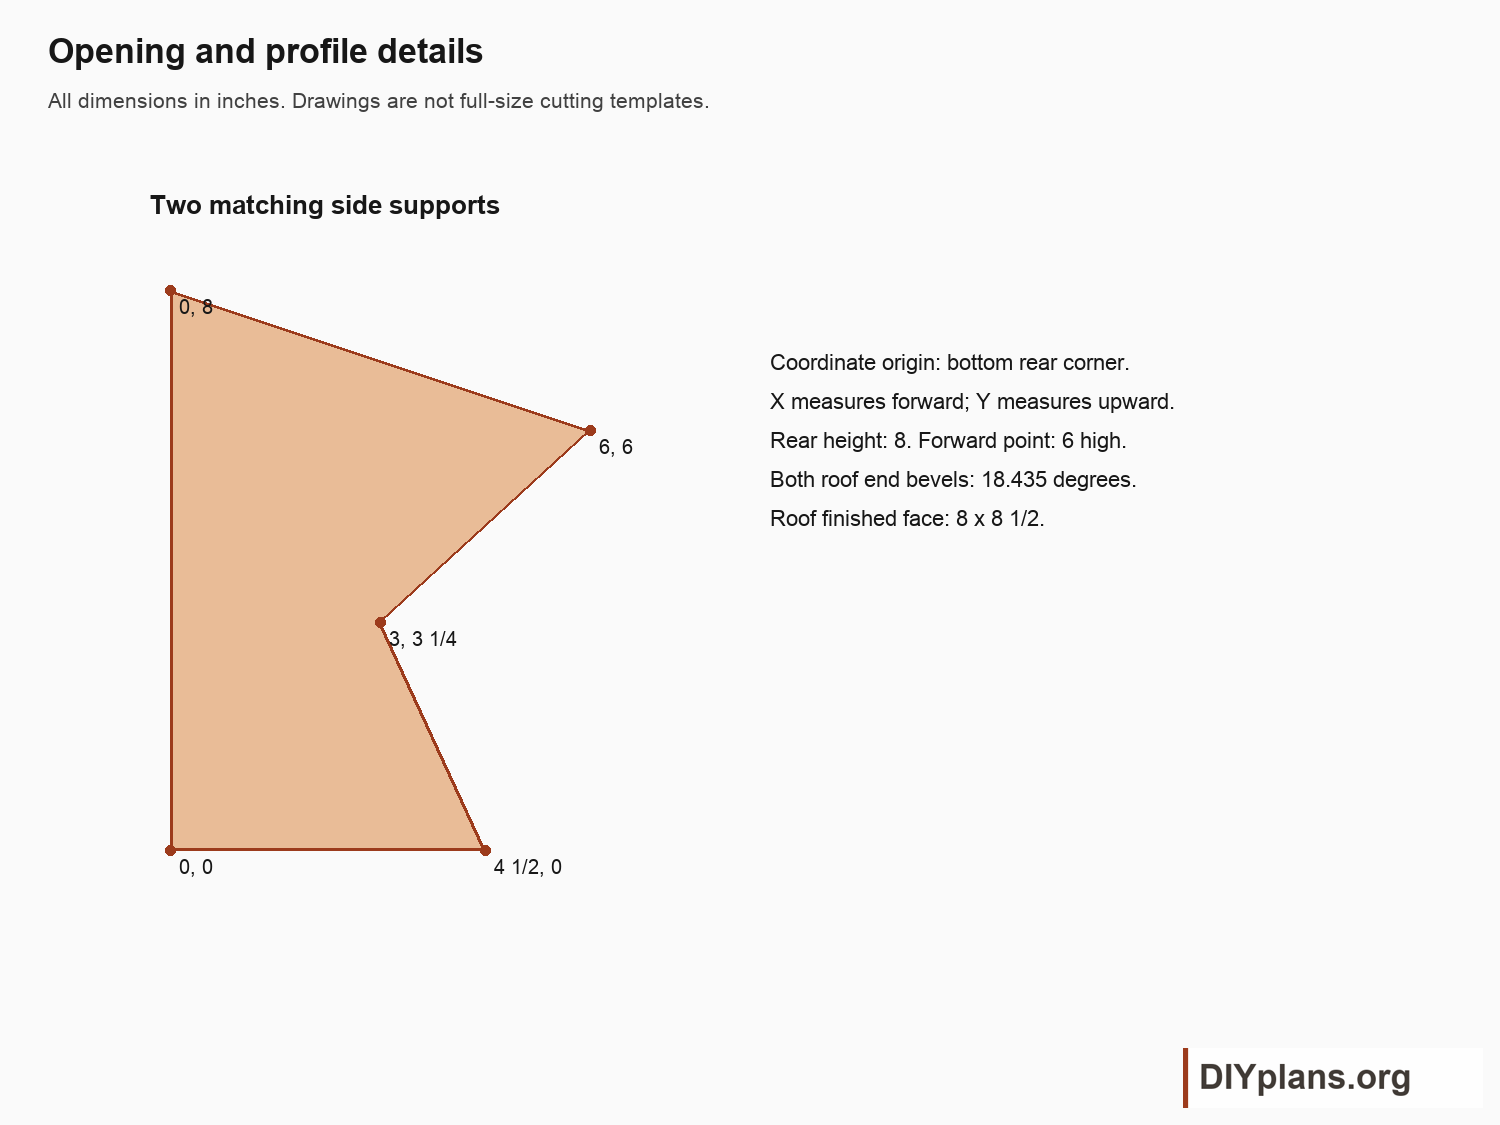
- Cut each support through these points, in inches from its bottom rear corner: (0,0), (4 1/2,0), (3,3 1/4), (6,6), (0,8). Horizontal values measure forward.
- Bevel both roof end edges 18.435 degrees so they are parallel and stand vertical when the roof is fitted. Keep the roof 8 1/2 in long along its broad face.
- Dry-fit before final trimming.
- Ease sharp edges. Predrill screw pilot holes sized for your selected screw; countersink flush.
Check: Both supports match the profile, and both roof end bevels are parallel at 18.435 degrees.
Step 3 Fix the floor to the back
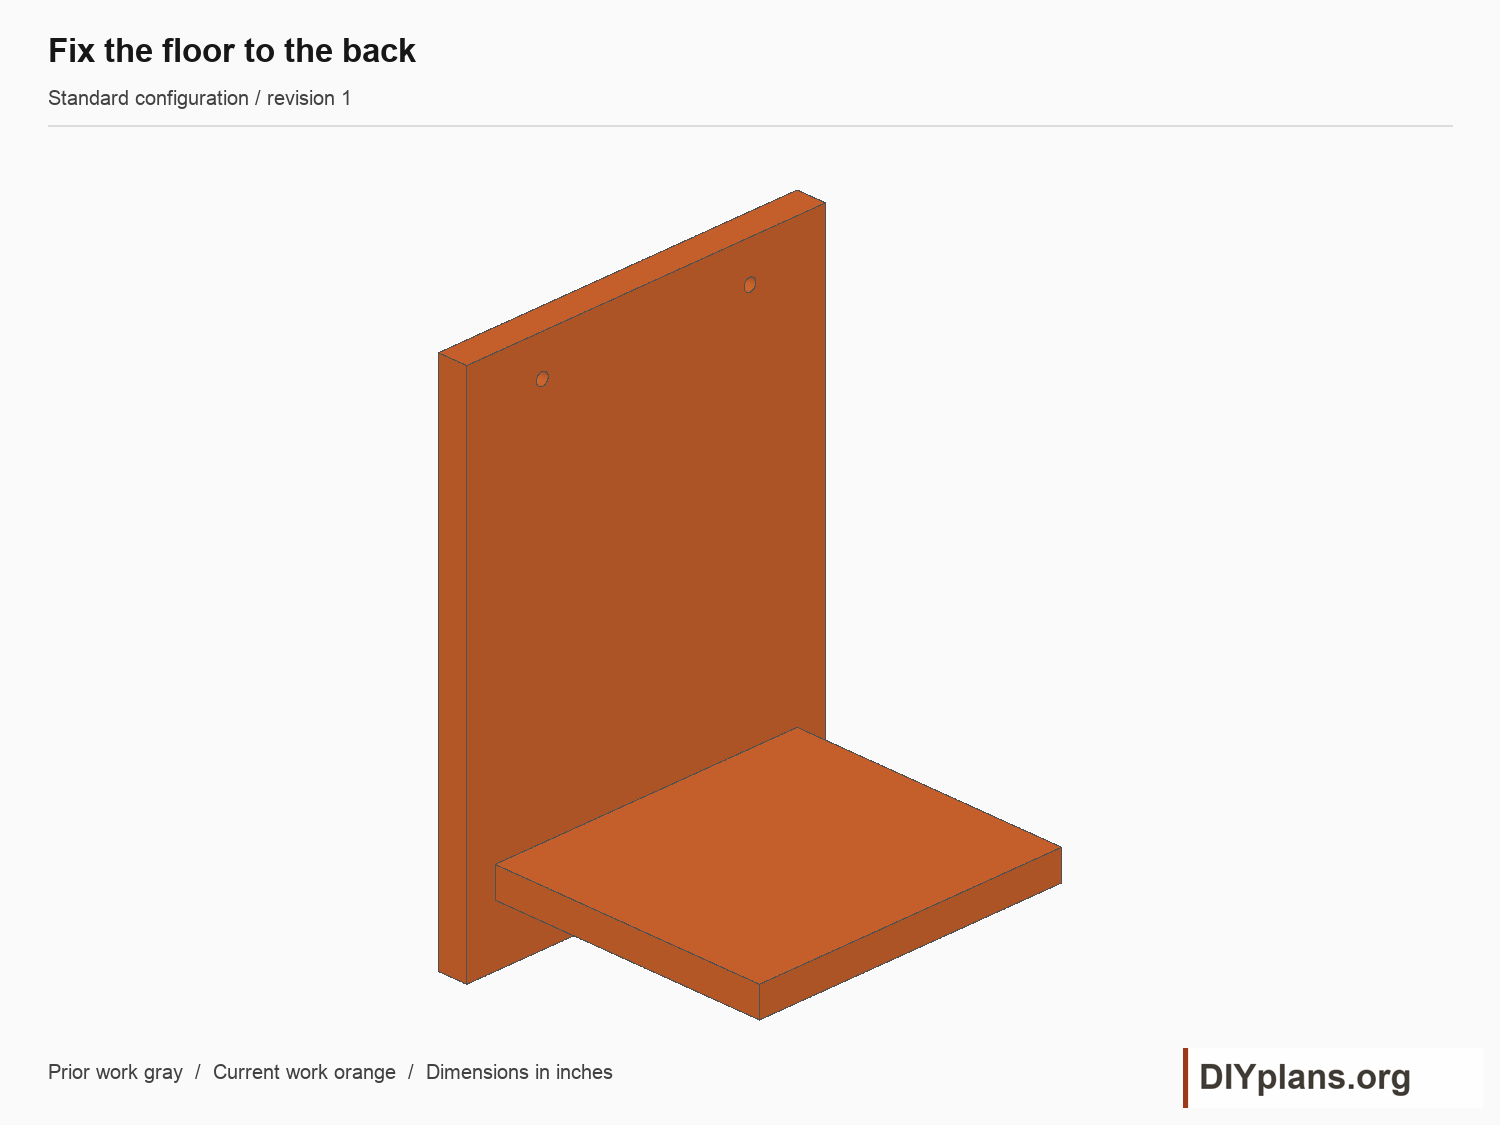
- Mark a level line 1 1/2 in above the back bottom for the floor underside.
- Center the 8 in floor on the 9 1/2 in back, leaving 3/4 in at each side. Butt its rear edge against the back face.
- Drive two 1 1/4 in screws through the back into the floor edge, 2 in from the floor sides.
Check: The floor is centered, level and 1 1/2 in above the back bottom, with 3/4 in of back exposed at each side.
Step 4 Attach both shaped supports
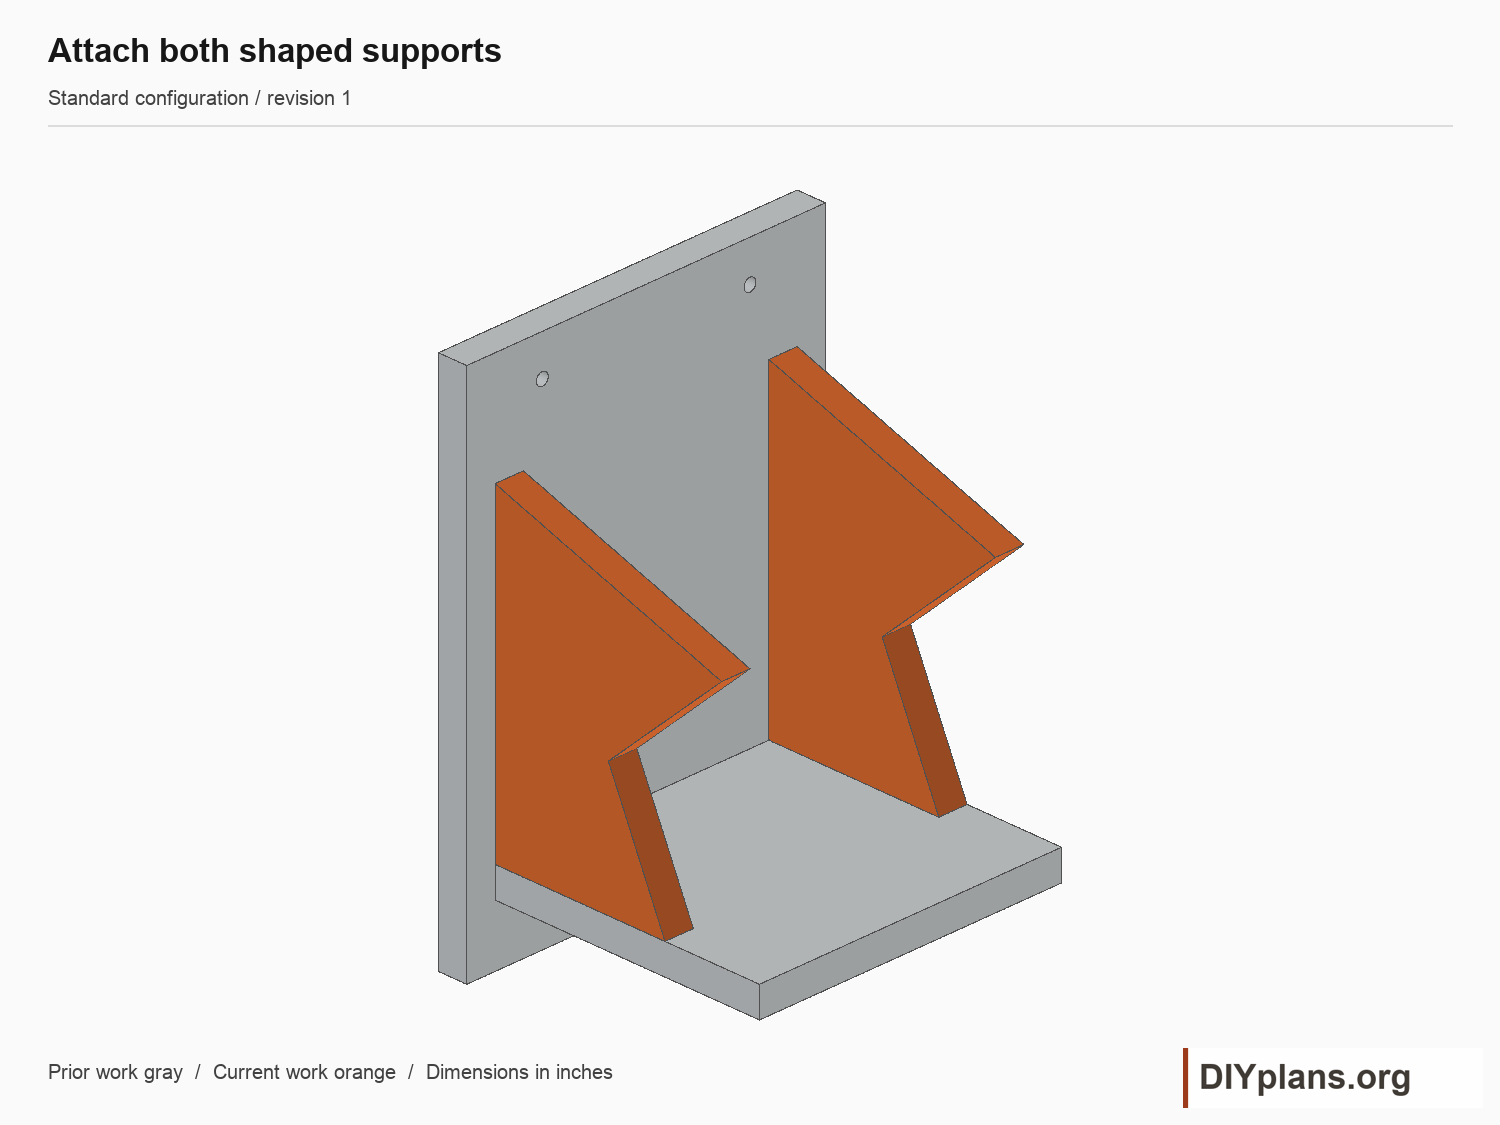
- Stand each support on the floor with its tall 8 in edge against the back. Set the outside faces flush with the floor sides.
- Drive two screws through the back into each support, about 2 and 6 in above the floor top.
- Drive one screw up through the floor into each support, about 2 in forward of the back.
Check: The supports sit flush with the floor sides, against the back, and their sloping tops align.
Step 5 Attach the roof
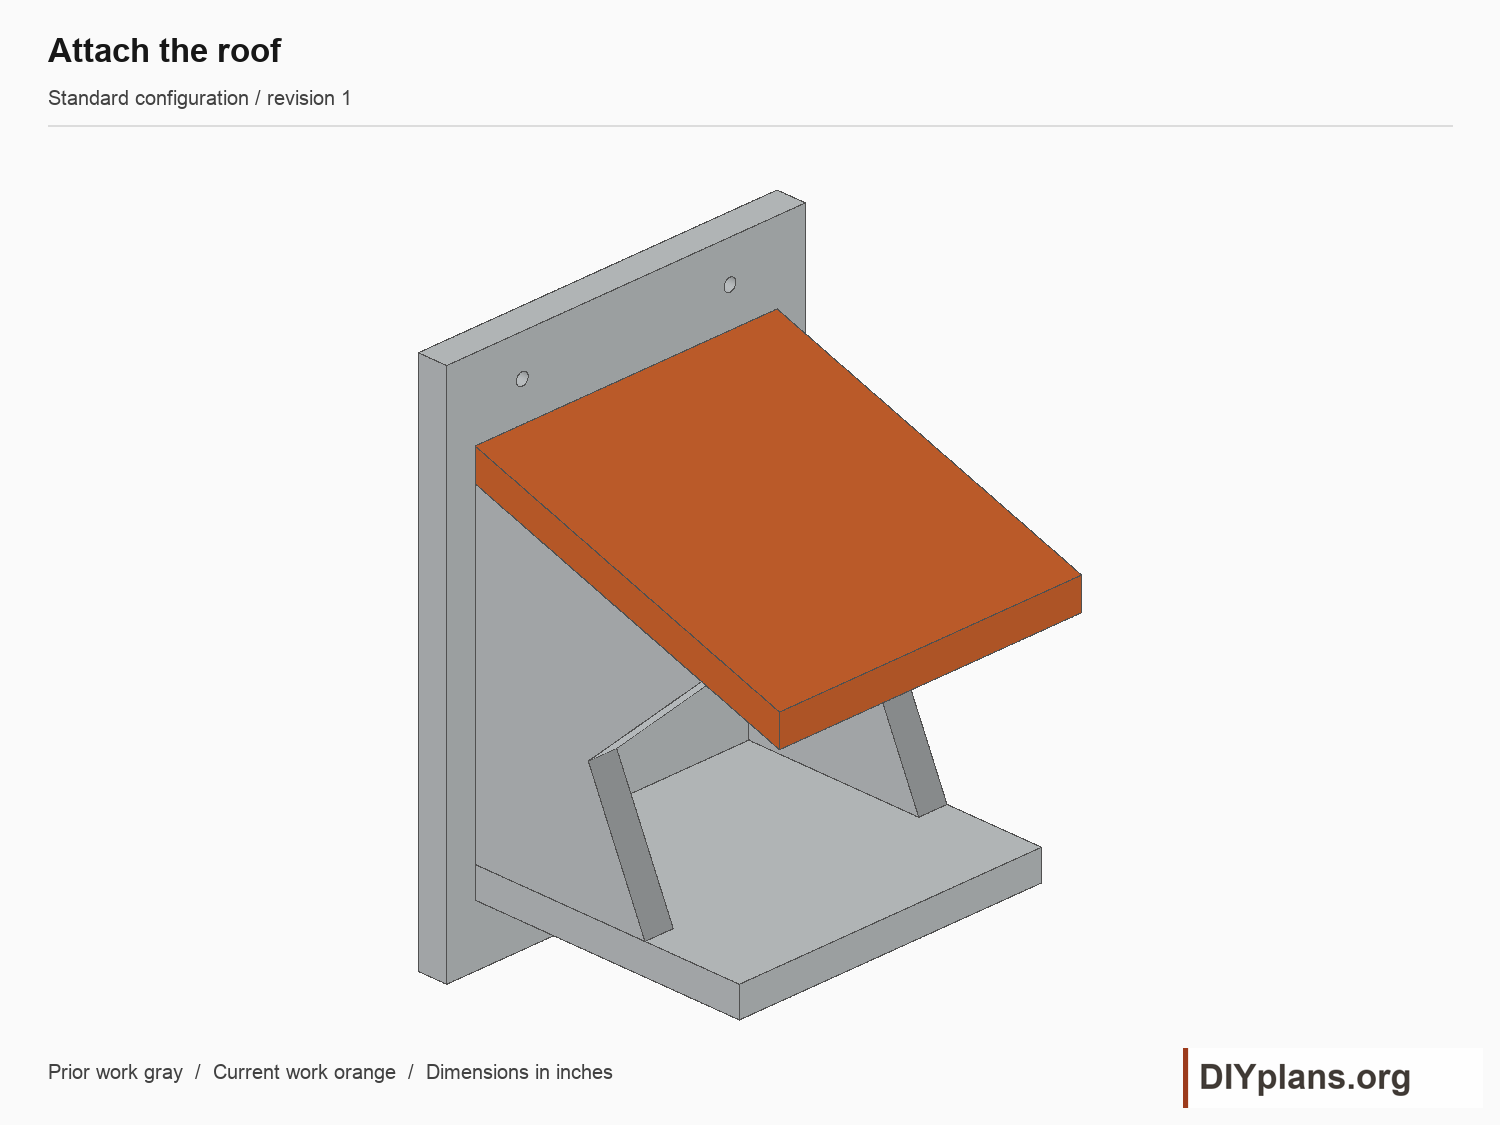
- Center the 8 in roof over the supports. Seat its bevel against the back and its lower face on both support slopes.
- Check that the roof top meets the back about 1 15/16 in below its top.
- Predrill and drive two screws through the roof into each support, about 1 1/2 and 4 1/2 in forward of the back.
- Check the front stays open and the roof sheds water forward.
Check: The roof bears on both supports, meets the back, and leaves the platform front open.
Step 6 Mount and inspect the platform
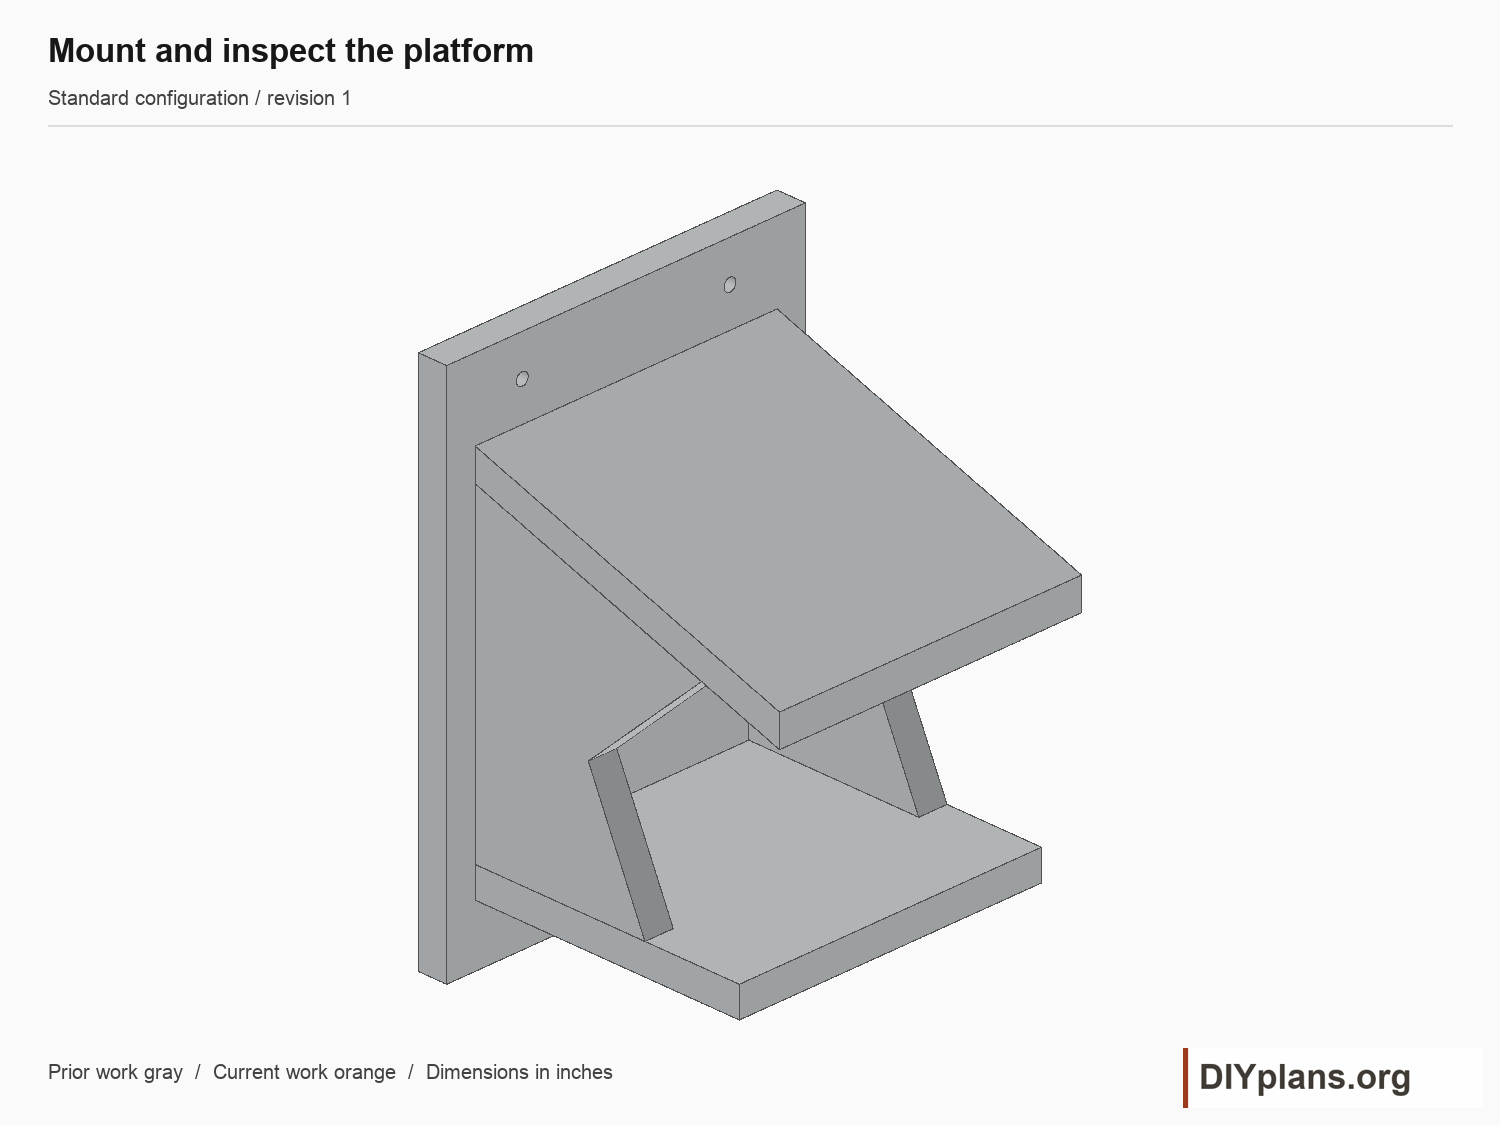
- Bore the two 5/16 in back holes 2 in from each side and 1 in below the top.
- Choose a sheltered position with a firm mounting surface and a clear flight approach. Select anchors for that surface and attach through both back holes.
- Check that the platform cannot rock or rotate, that screw tips stay out of the nesting space, and that the supports and roof are secure.
- Inspect and clean only when no active nest is present.
Check: The platform cannot rock or rotate, all parts are secure, and screw tips remain outside the nesting space.
Sources
Functional dimensions informed by the cited Washington Department of Fish and Wildlife woodworking sheet. CAD, instructions, schedules and illustrations authored for DIY Plans.