BEFORE YOU BUILD
Use this work at your own risk
These files have not been checked for accuracy, safety, structural adequacy, or building-code compliance. They may contain serious errors and are not construction-ready. Obtain independent qualified design and review before building.
No person or organization makes any guarantee or warranty, express or implied, regarding this design, its documentation, digital files, or website views. They are not professional services and do not create an architect-client or other professional-client relationship. No promise is made about accuracy, completeness, reliability, code compliance, or fitness for your project.
Buildings and building projects are complex, and many things can go wrong. You are responsible for checking dimensions and site conditions, choosing suitable materials and methods, obtaining permits, following codes and manufacturer instructions, and getting qualified professional help when needed. To the fullest extent permitted by law, DIYPlans.org disclaims liability for damages resulting from use of this work. Read the FAQ about your responsibilities.
Instructions
Step 1 Read the triangular layout
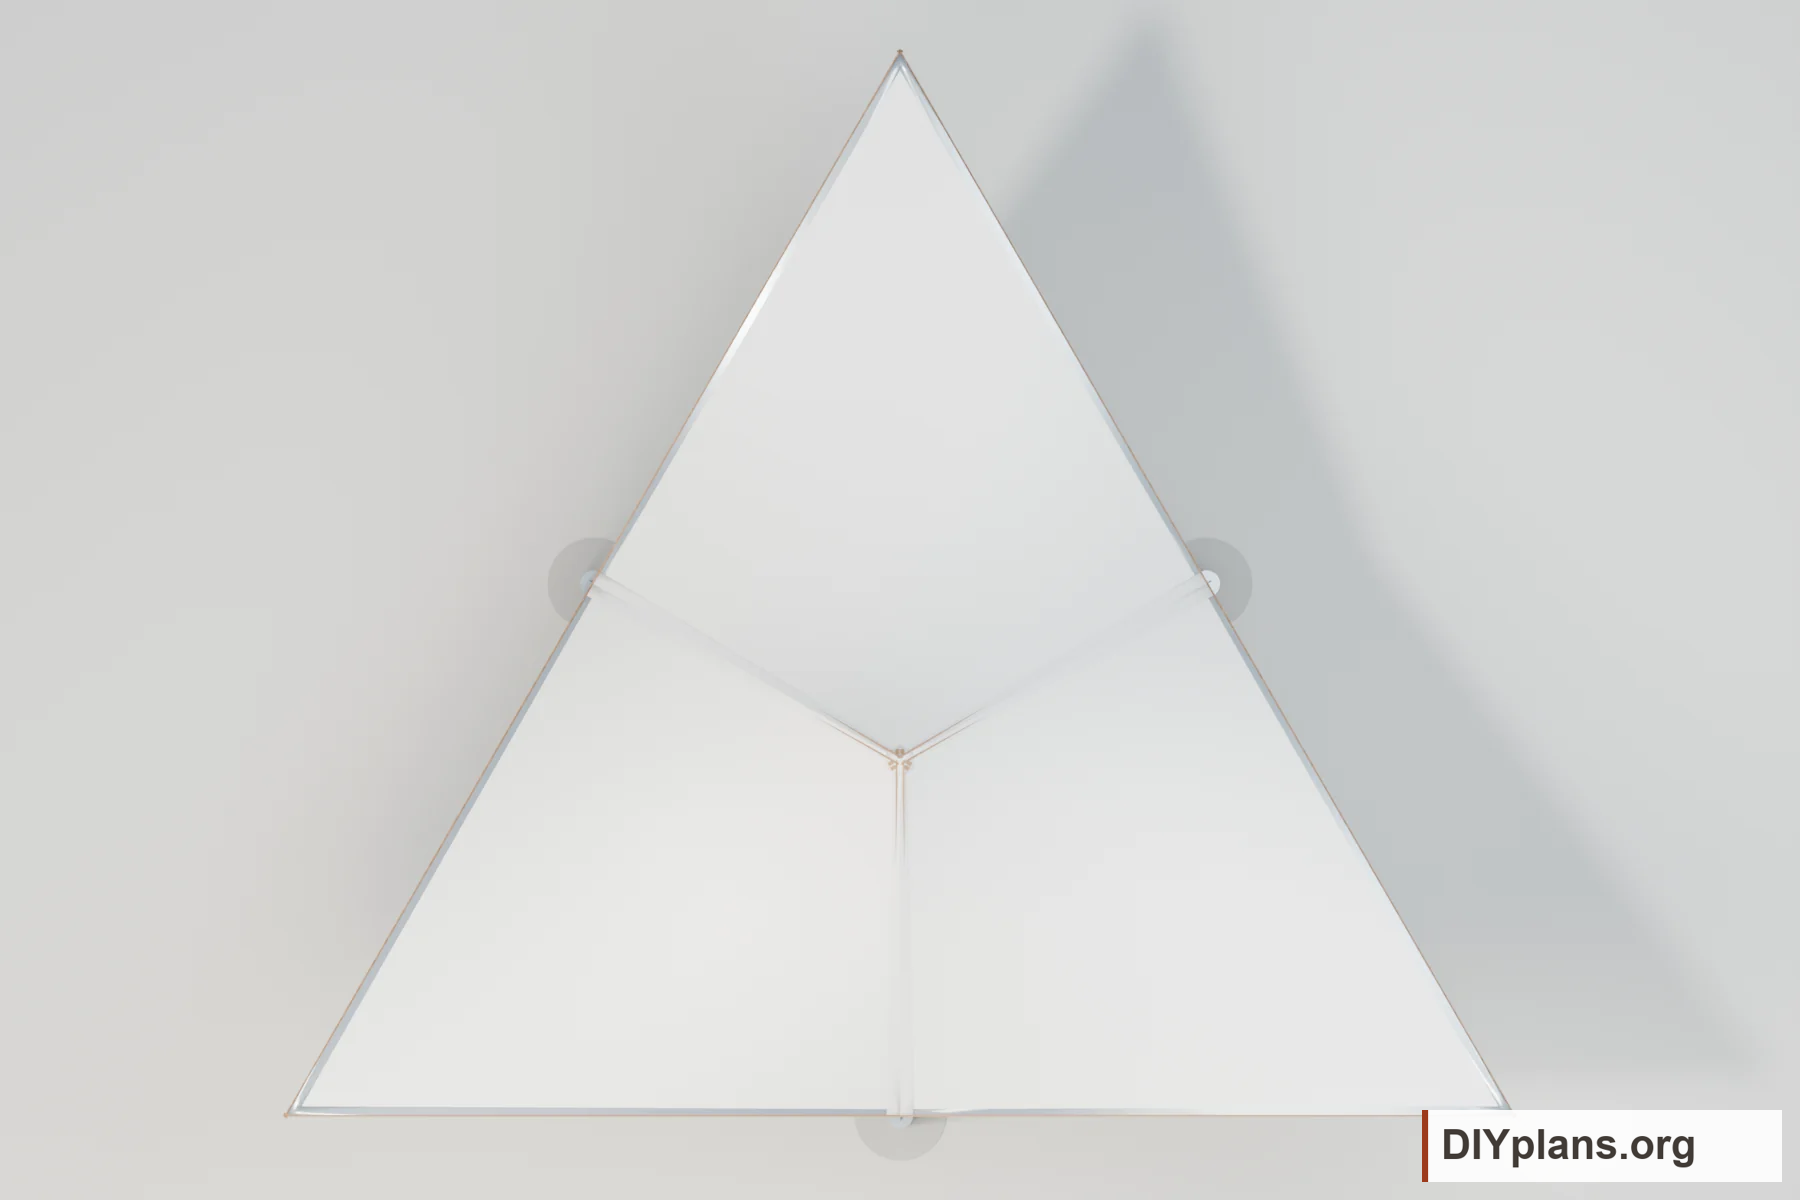
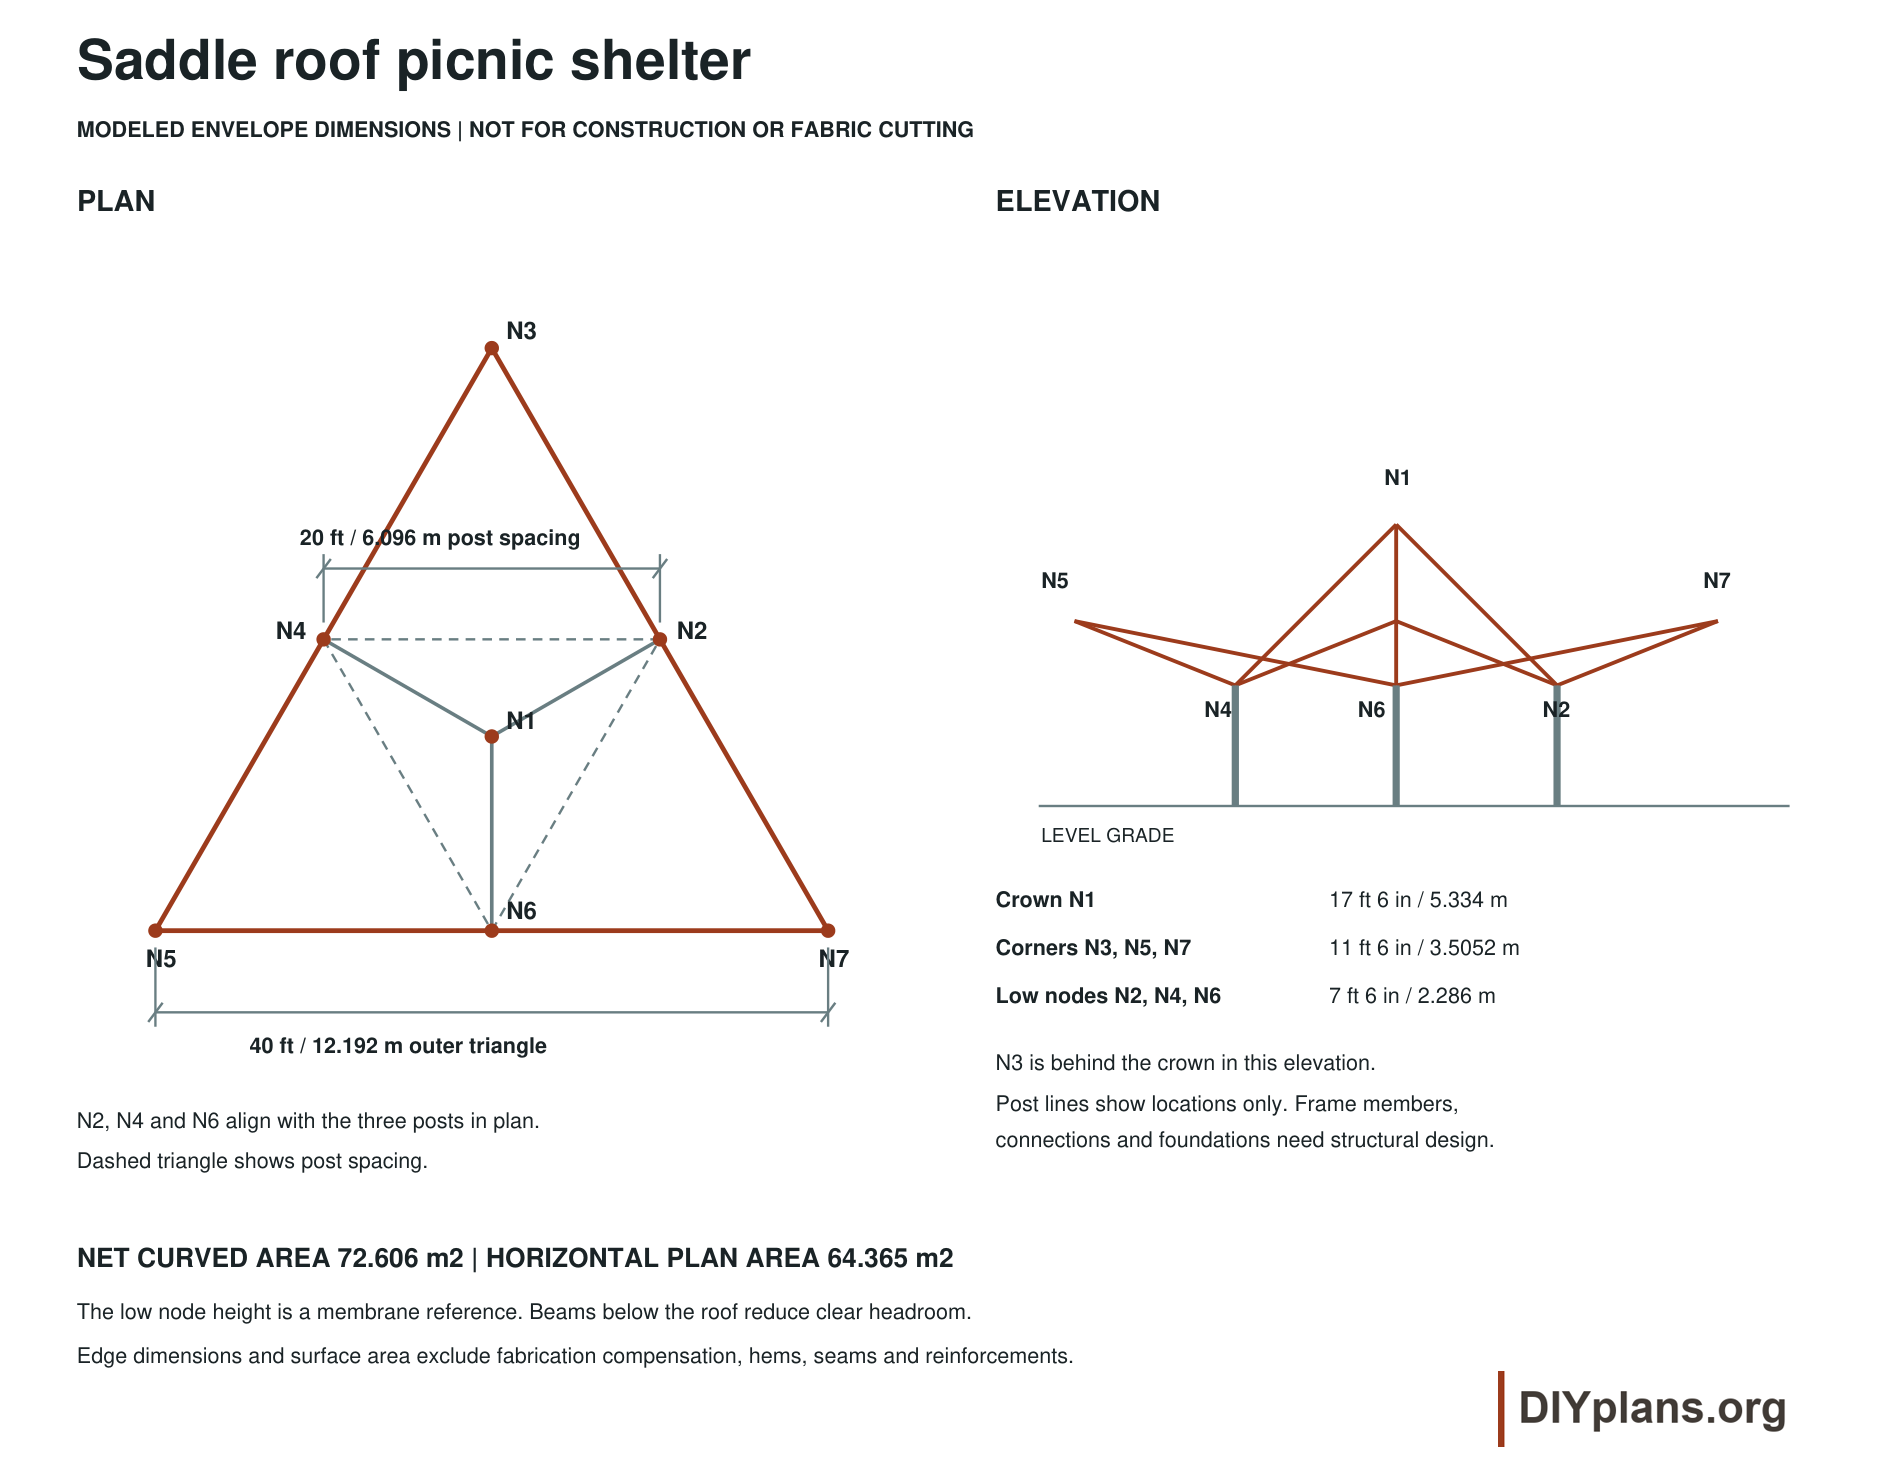
- Use the dimensioned plan to locate the three posts and seven envelope nodes. The outer triangle has 40 ft sides and the post triangle has 20 ft sides. Use them to review the concept layout.
Check: Identify the three low attachment nodes and distinguish the outer triangle from post spacing.
Step 2 Compare the roof views
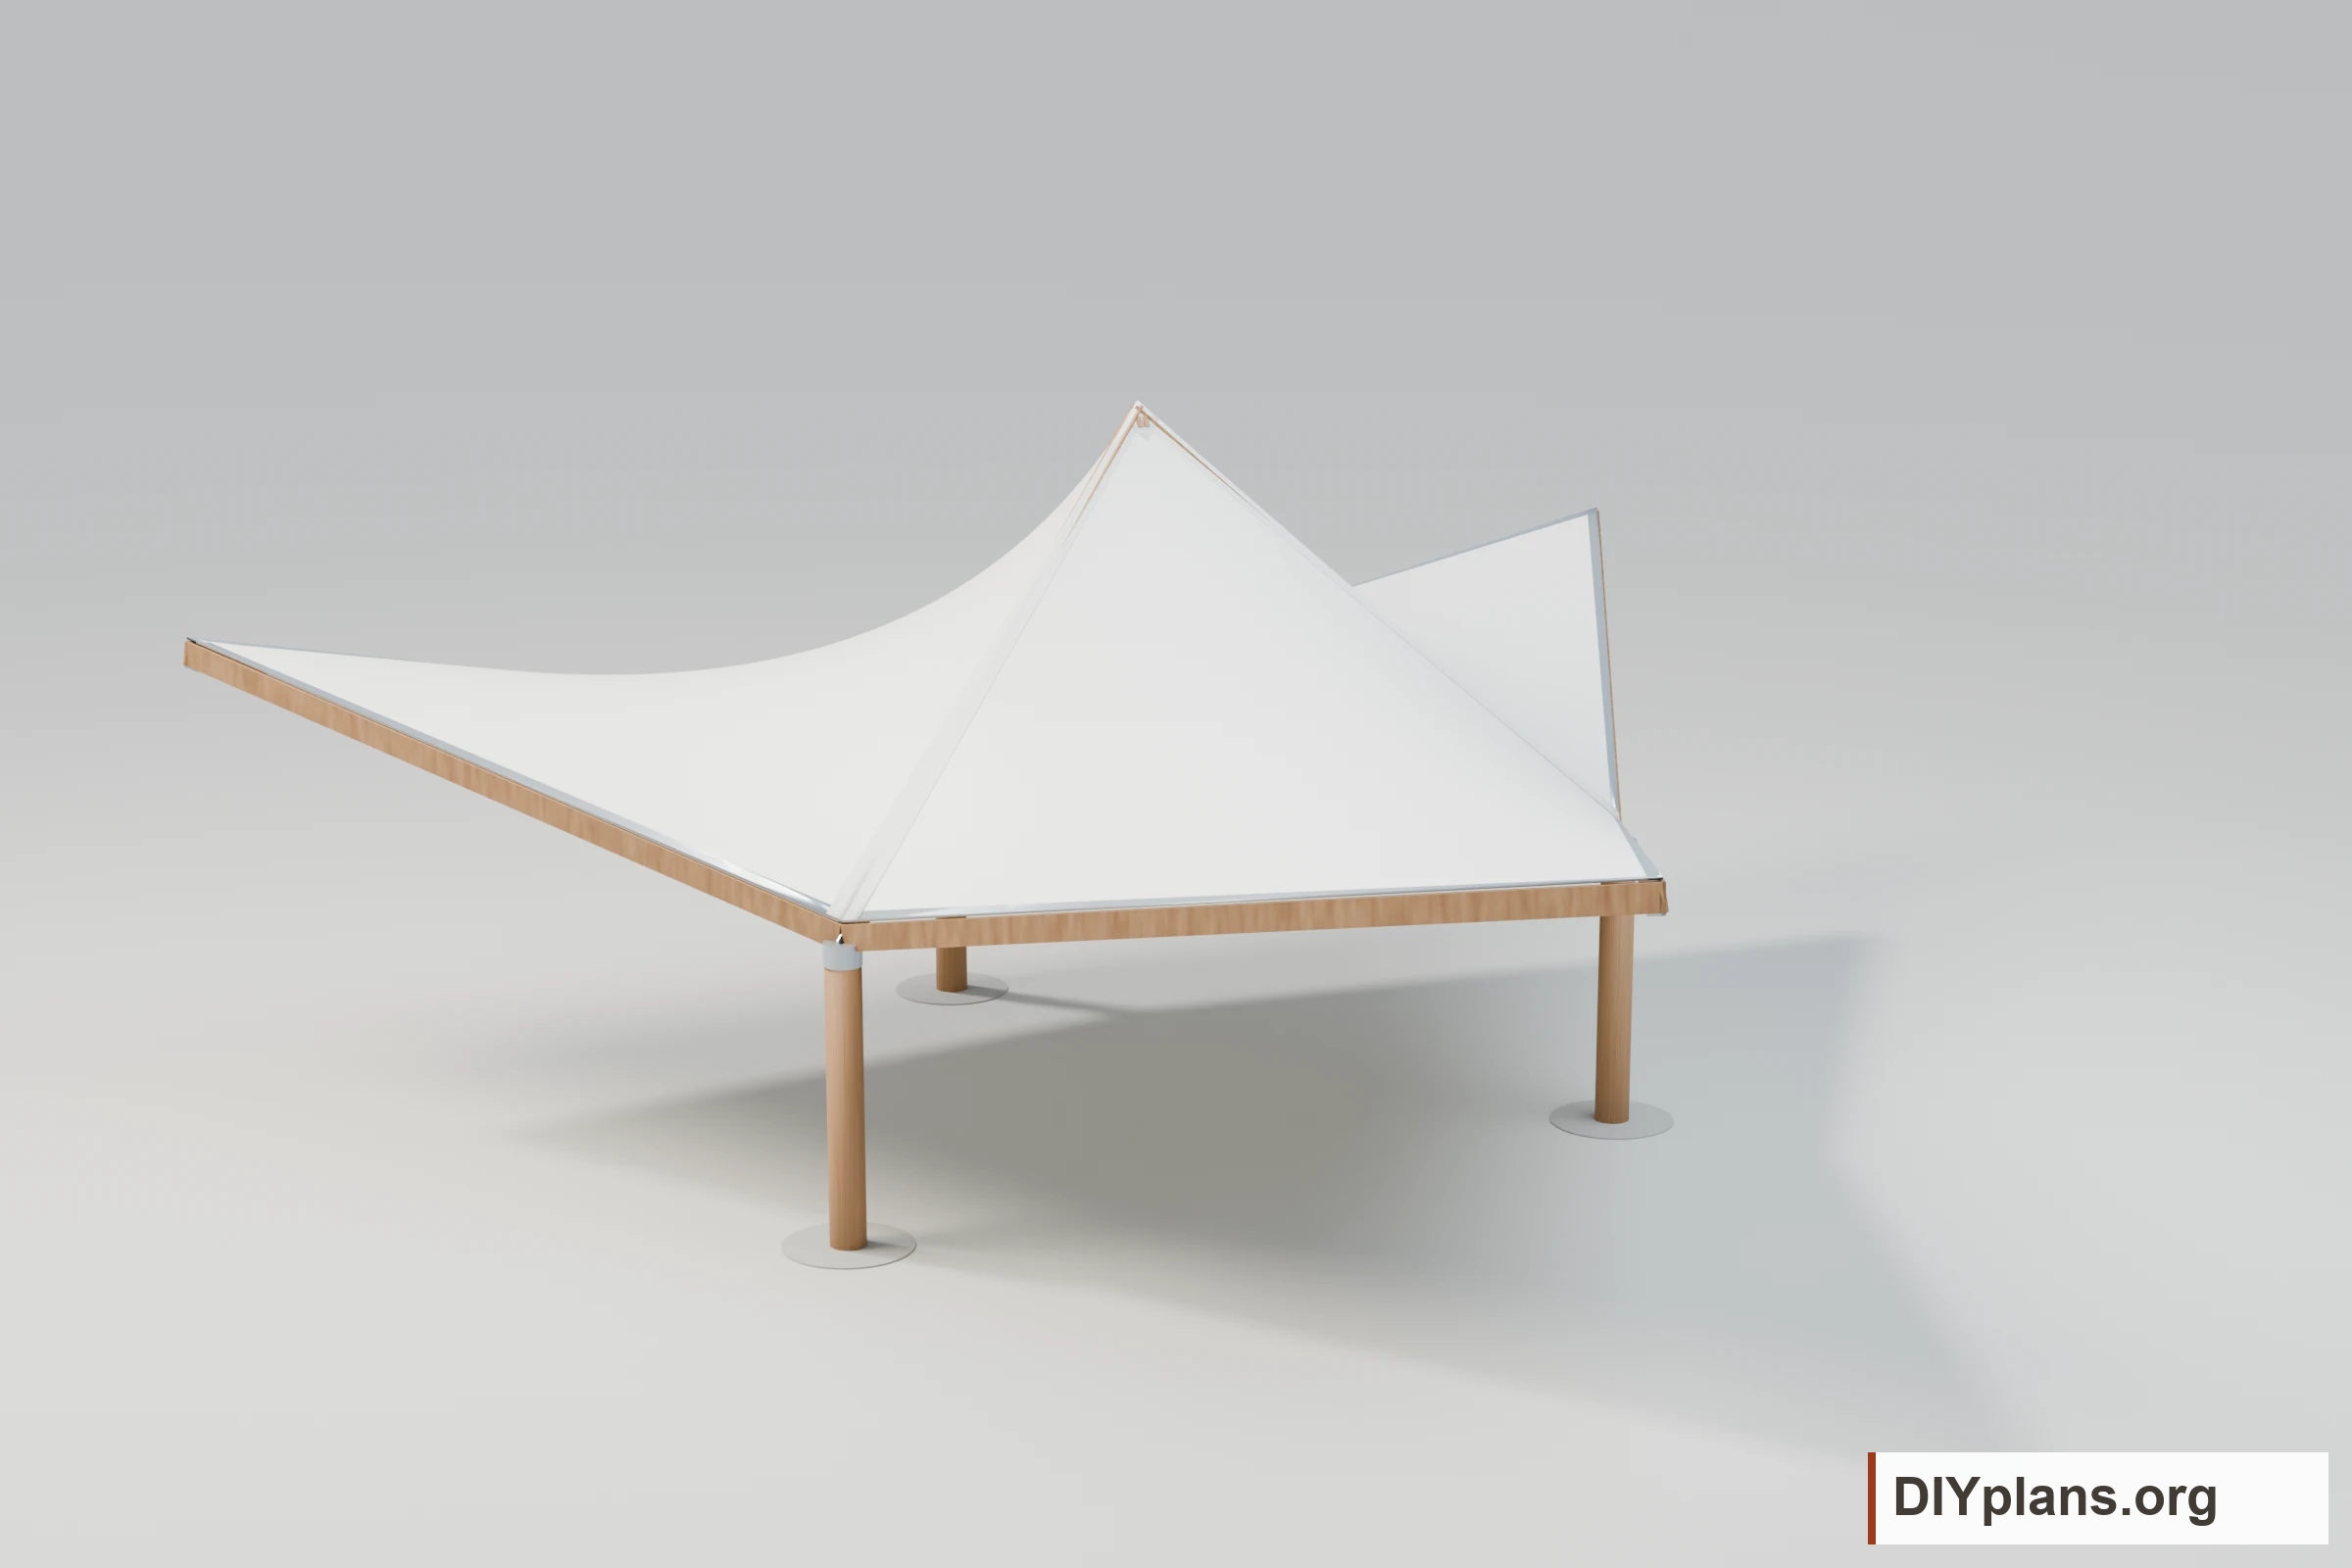
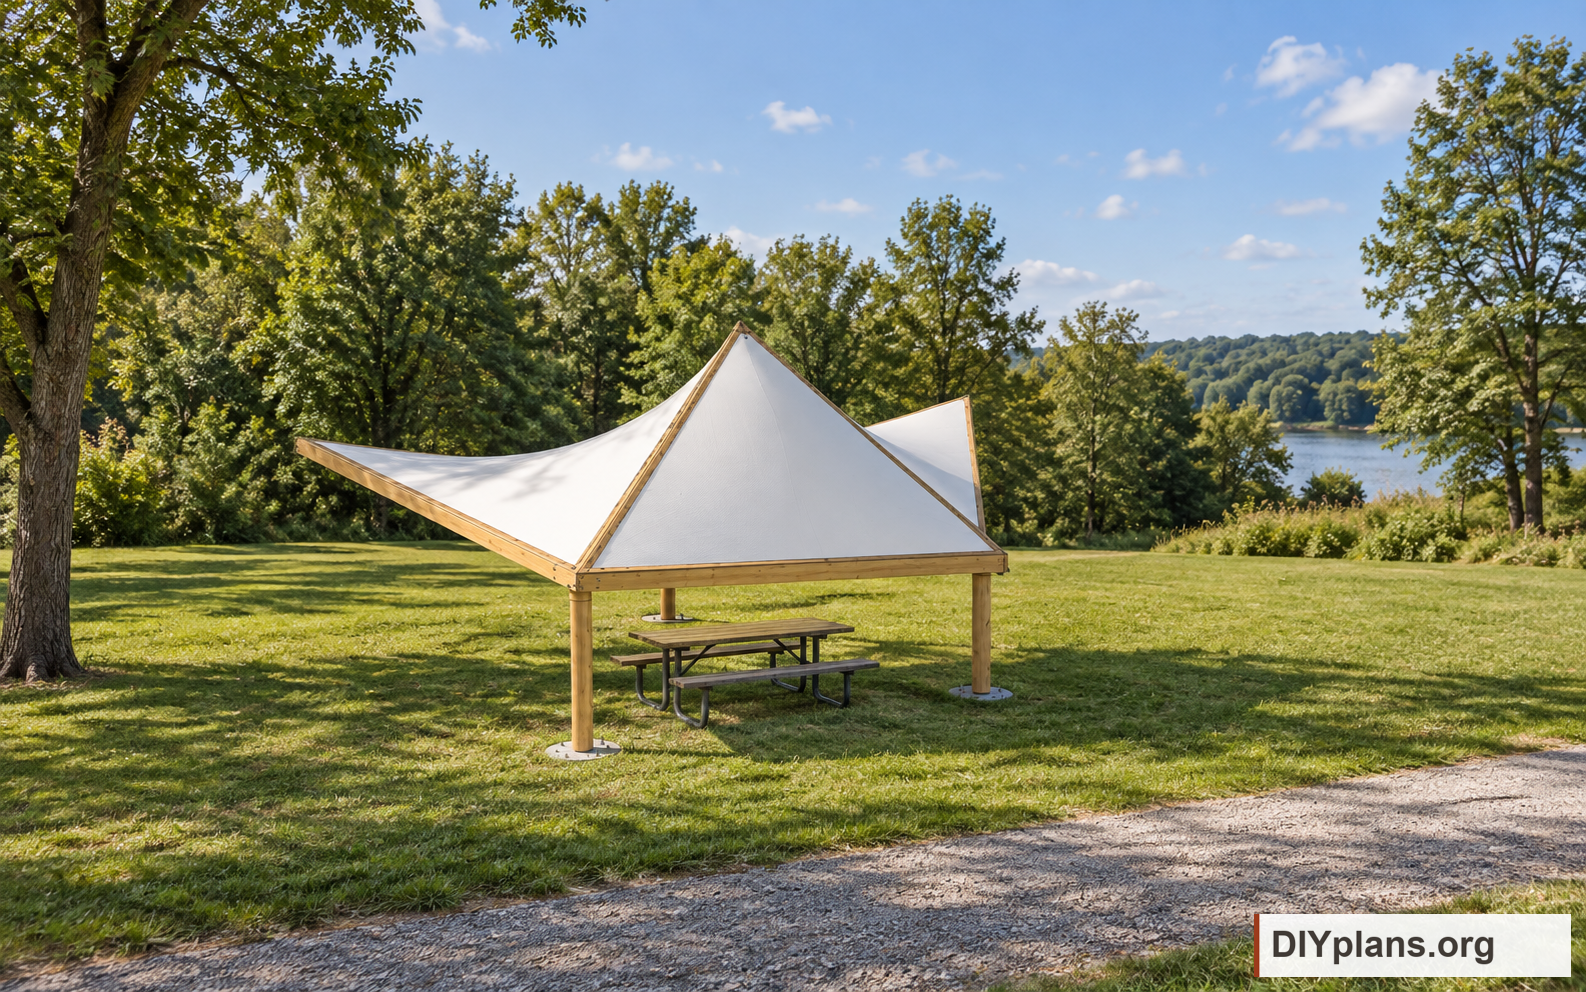
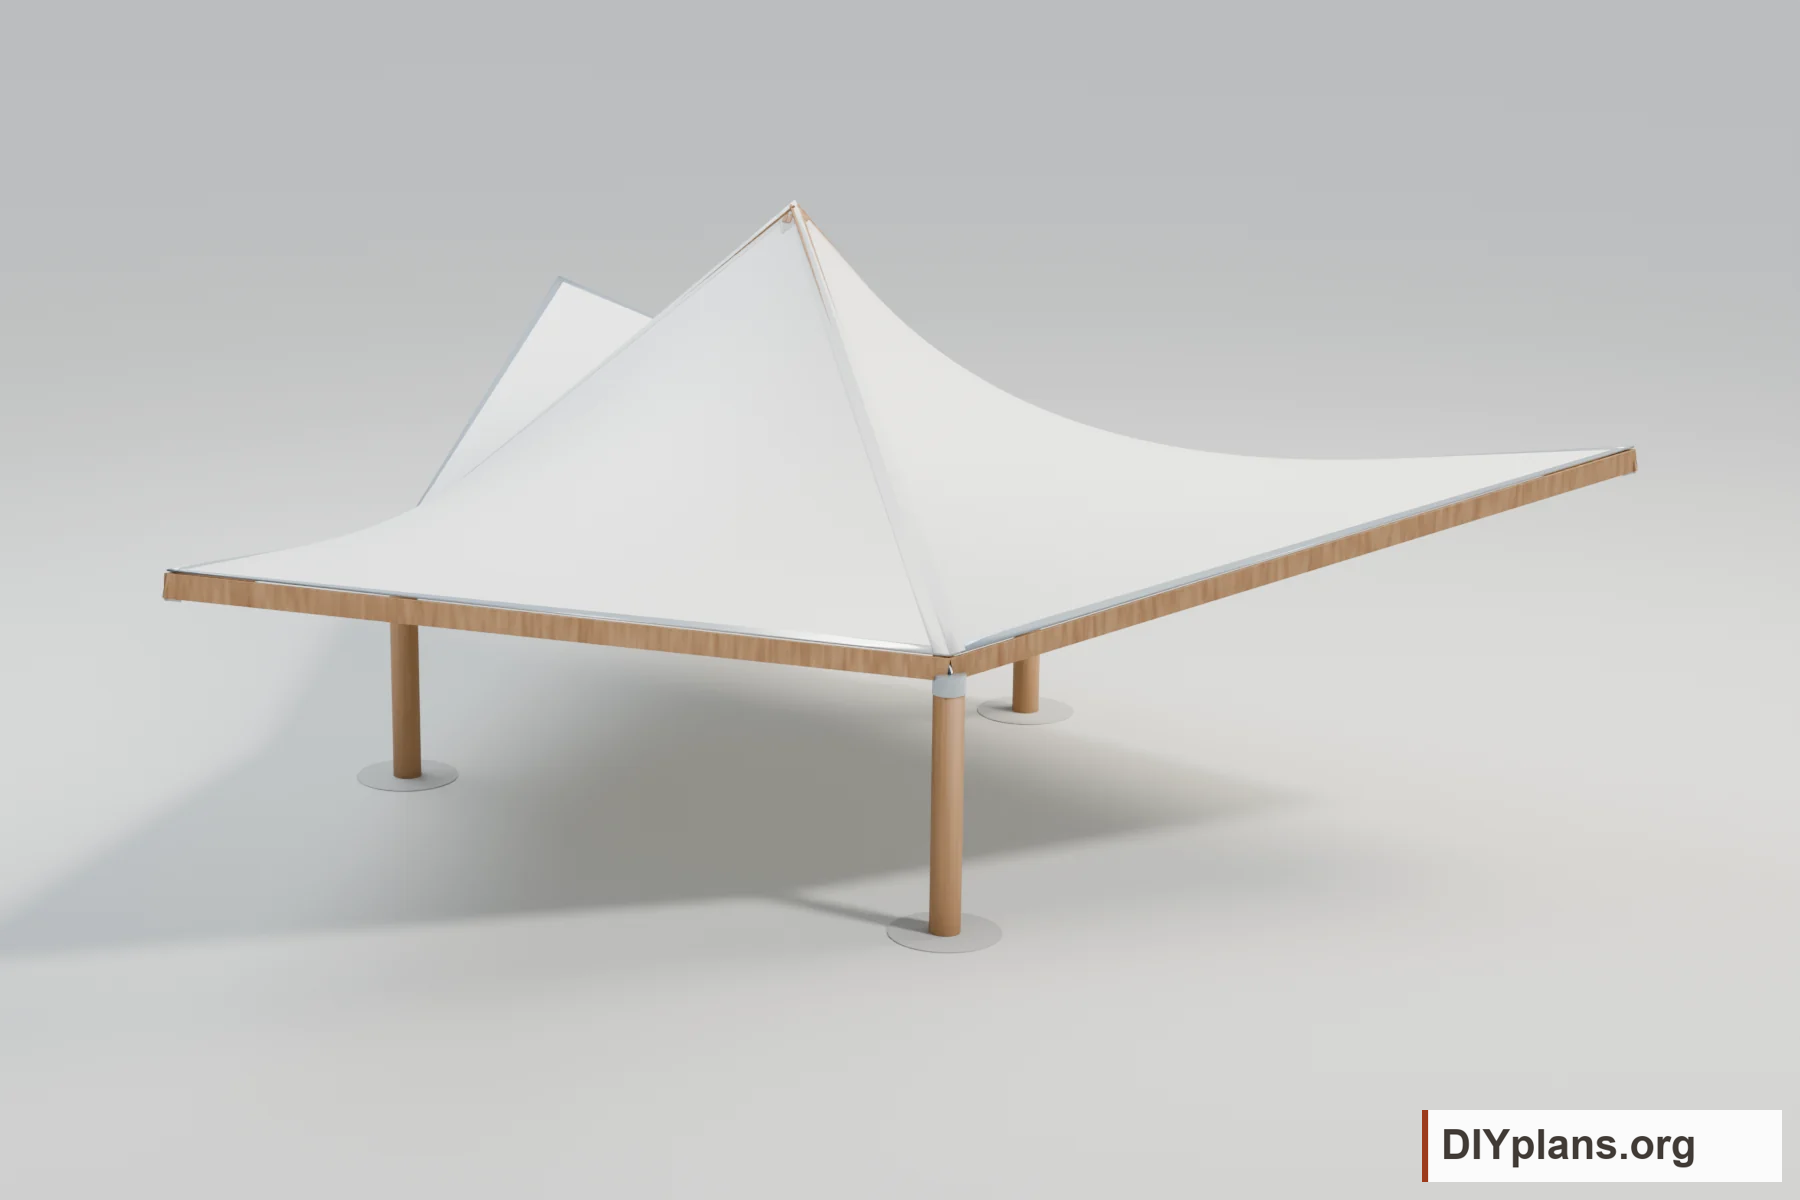
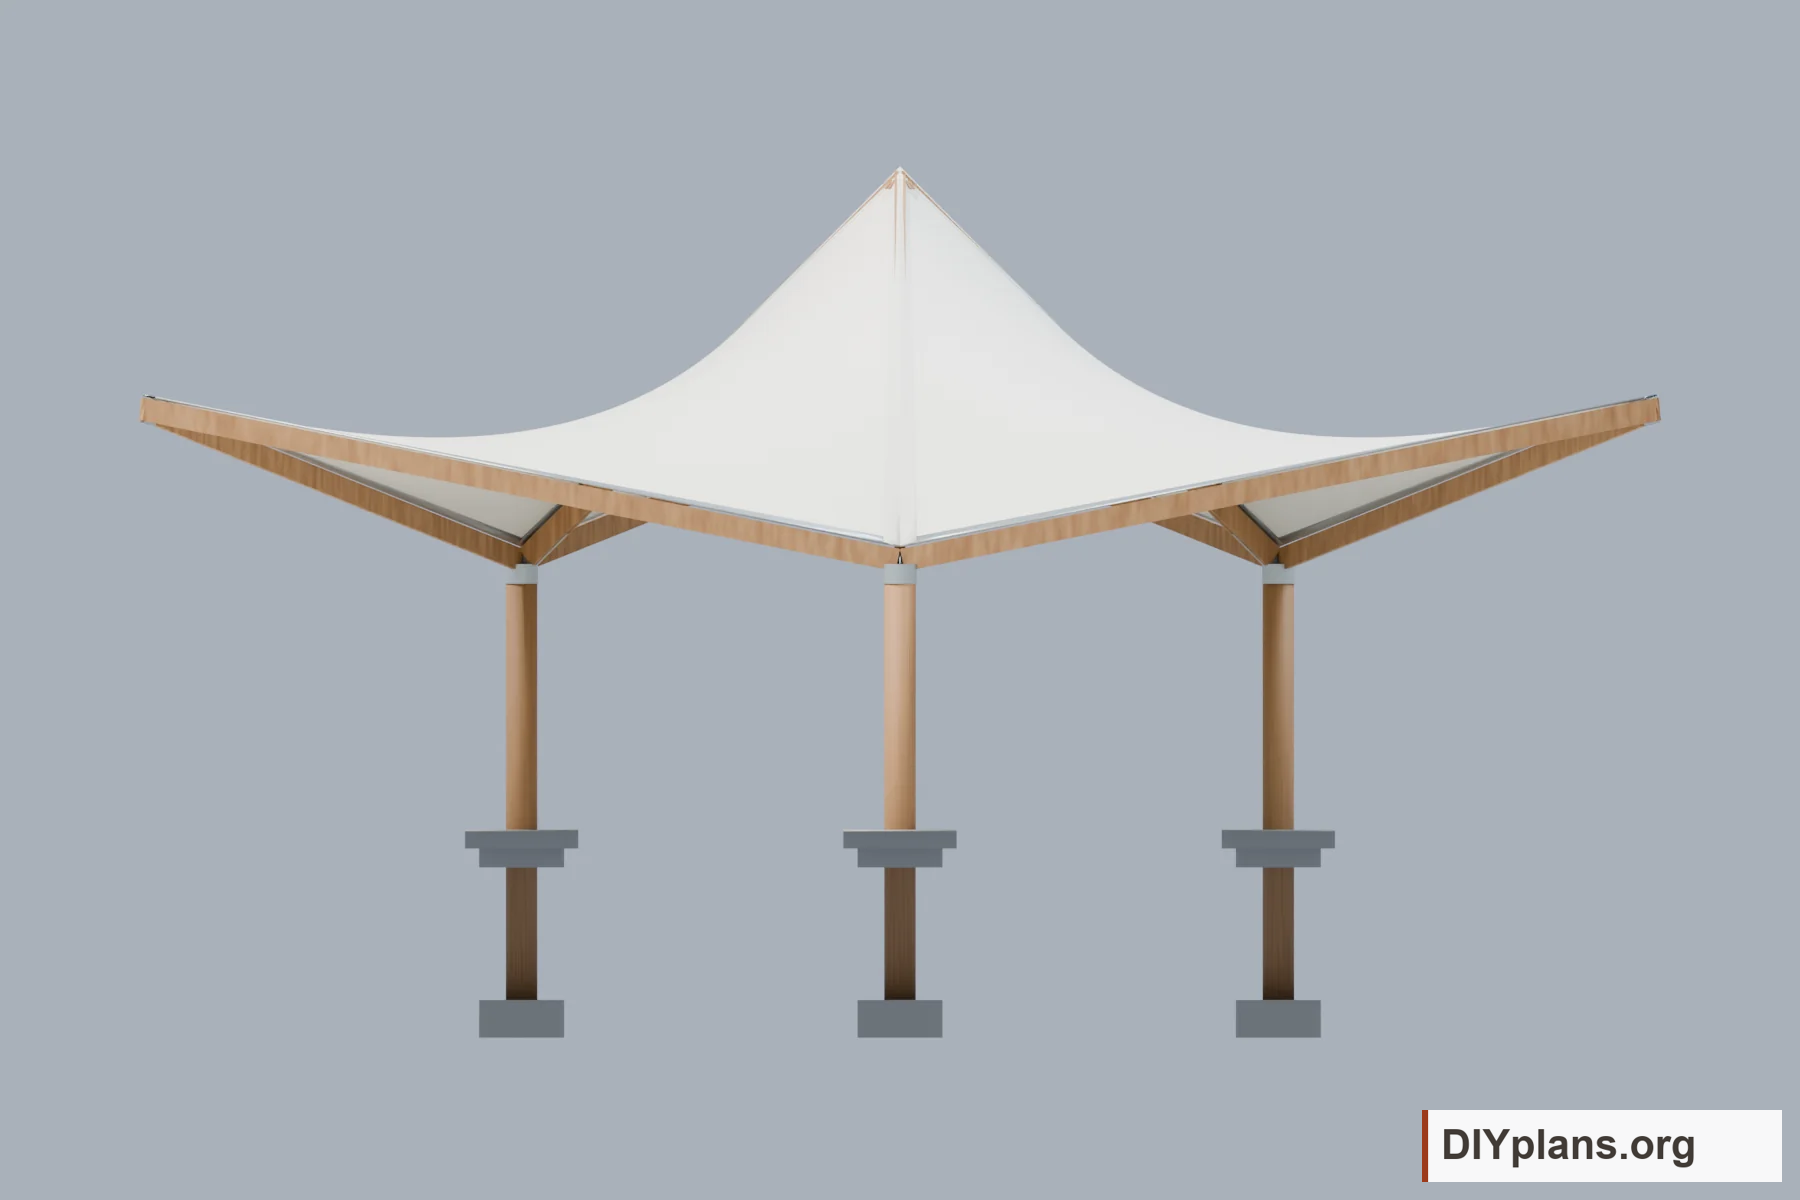
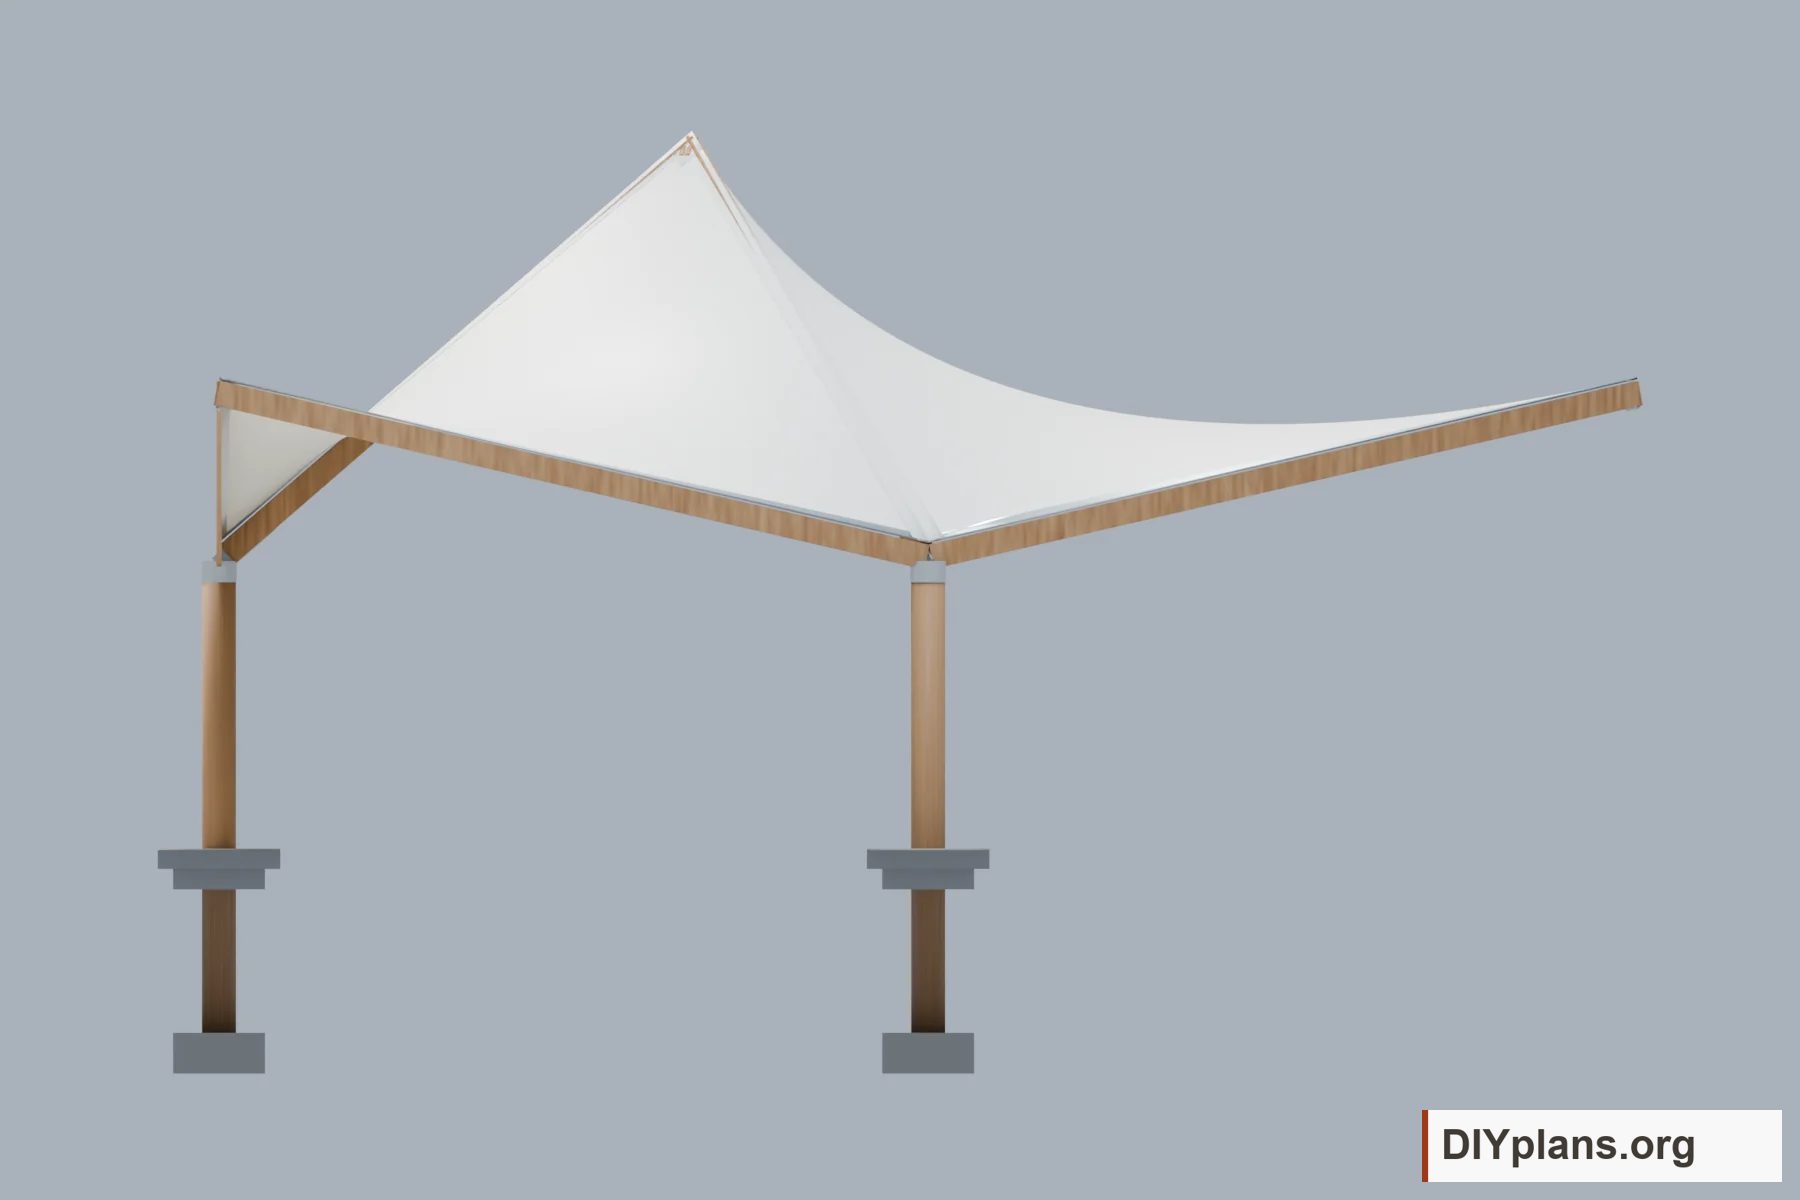
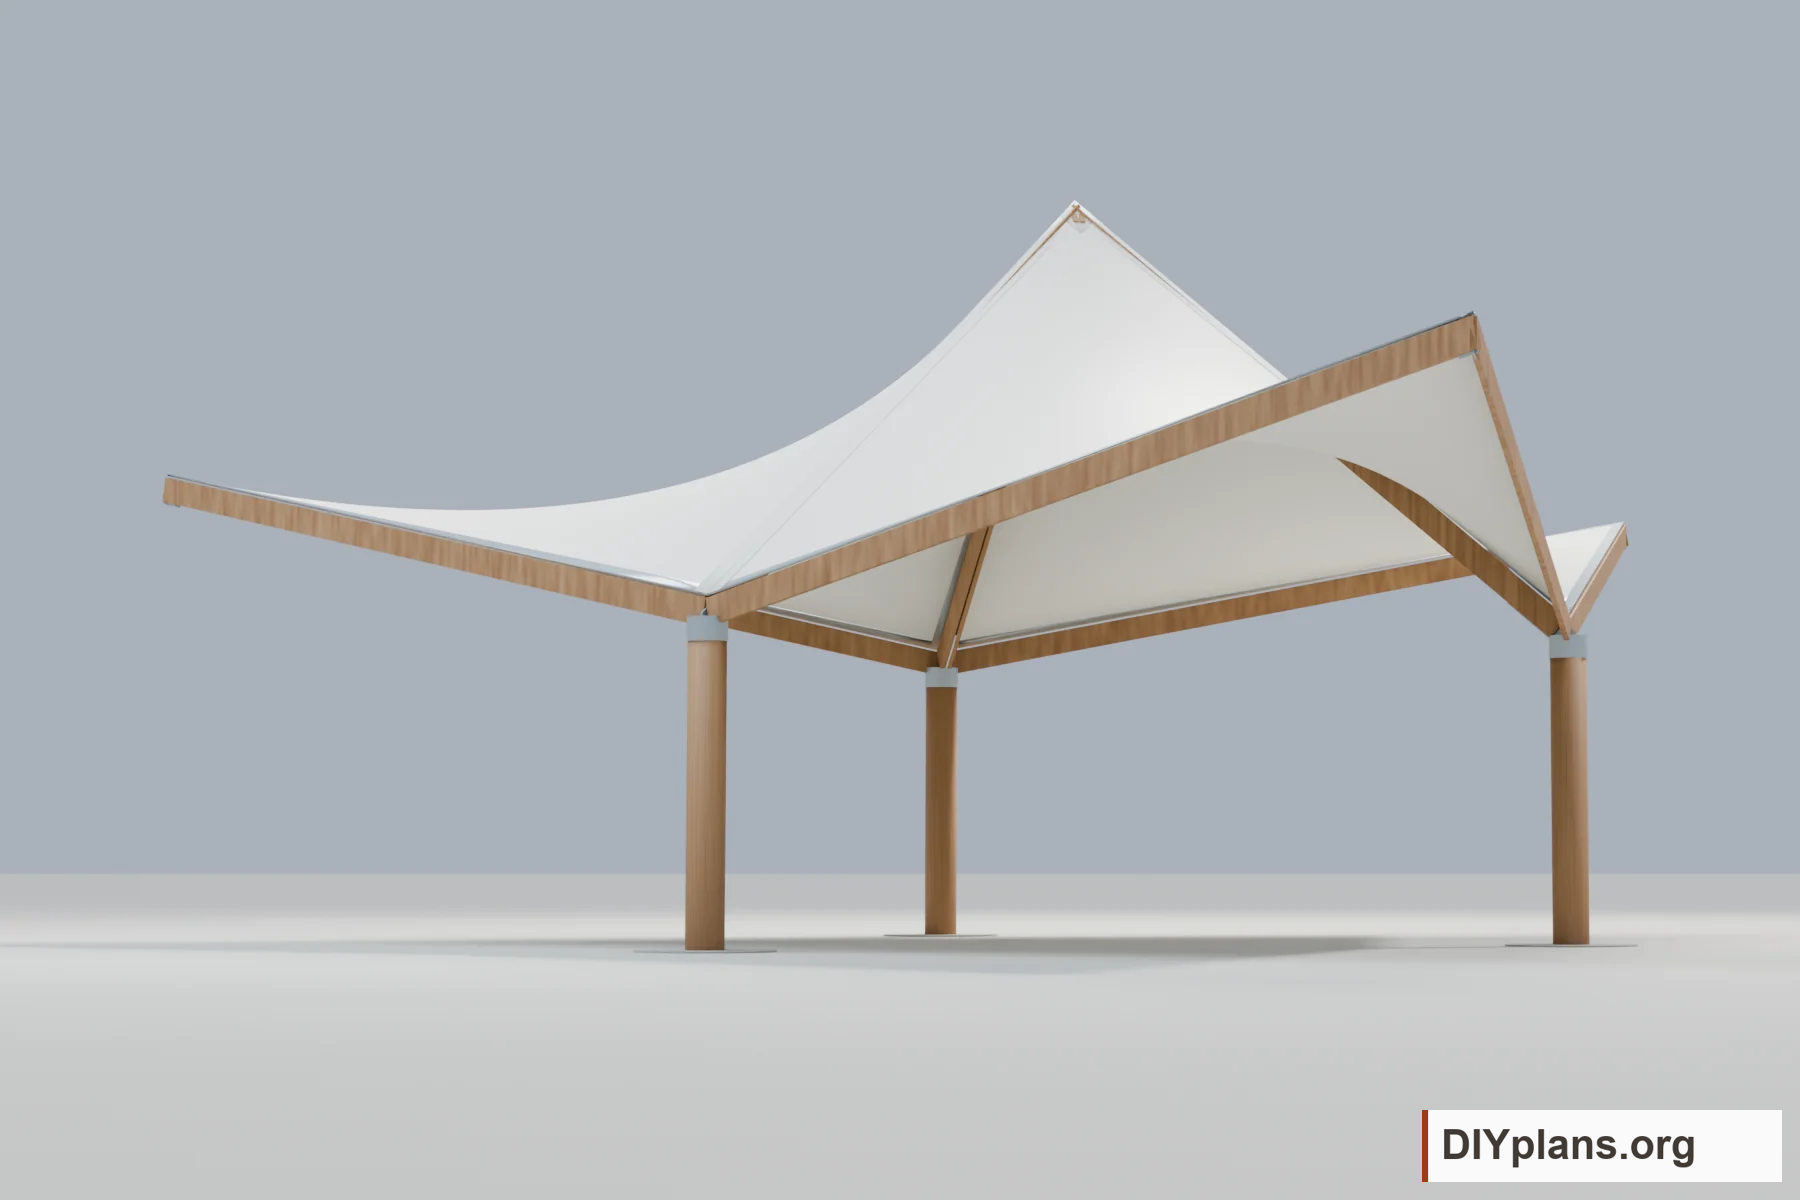
- Compare the overall, reverse and elevation views. Three saddle-shaped membrane assemblies meet at the central crown. The low roof reference is 7 ft 6 in, outer corners are 11 ft 6 in and the crown is 17 ft 6 in above level grade.
Check: Locate the crown, three raised outer corners and three low attachment points in the views.
Step 3 Inspect the exposed frame
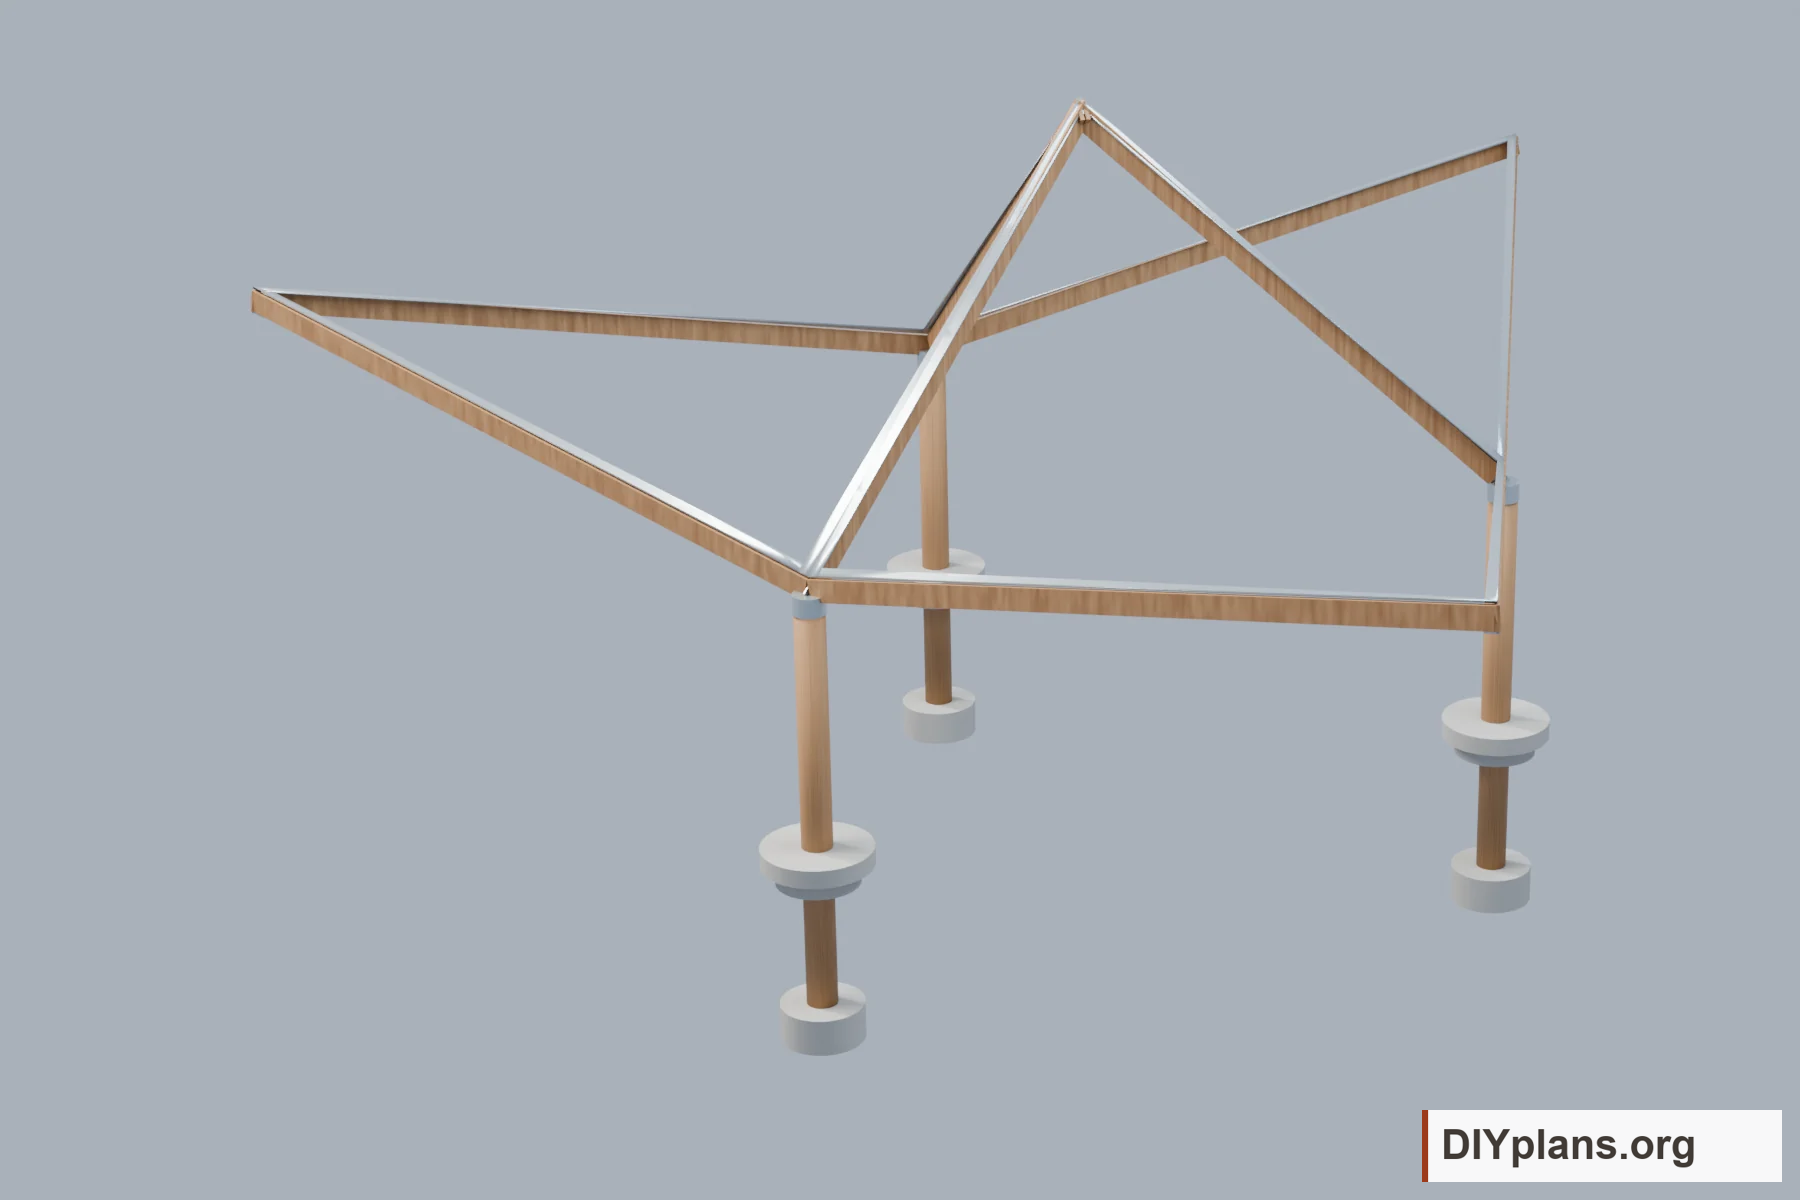
- Locate the beams below the fabric and the three foundations in the underside views. Have these supports designed for the membrane loads.
Check: Distinguish the reference frame and footing geometry from an engineered support specification.
Step 4 Review the proposed attachments
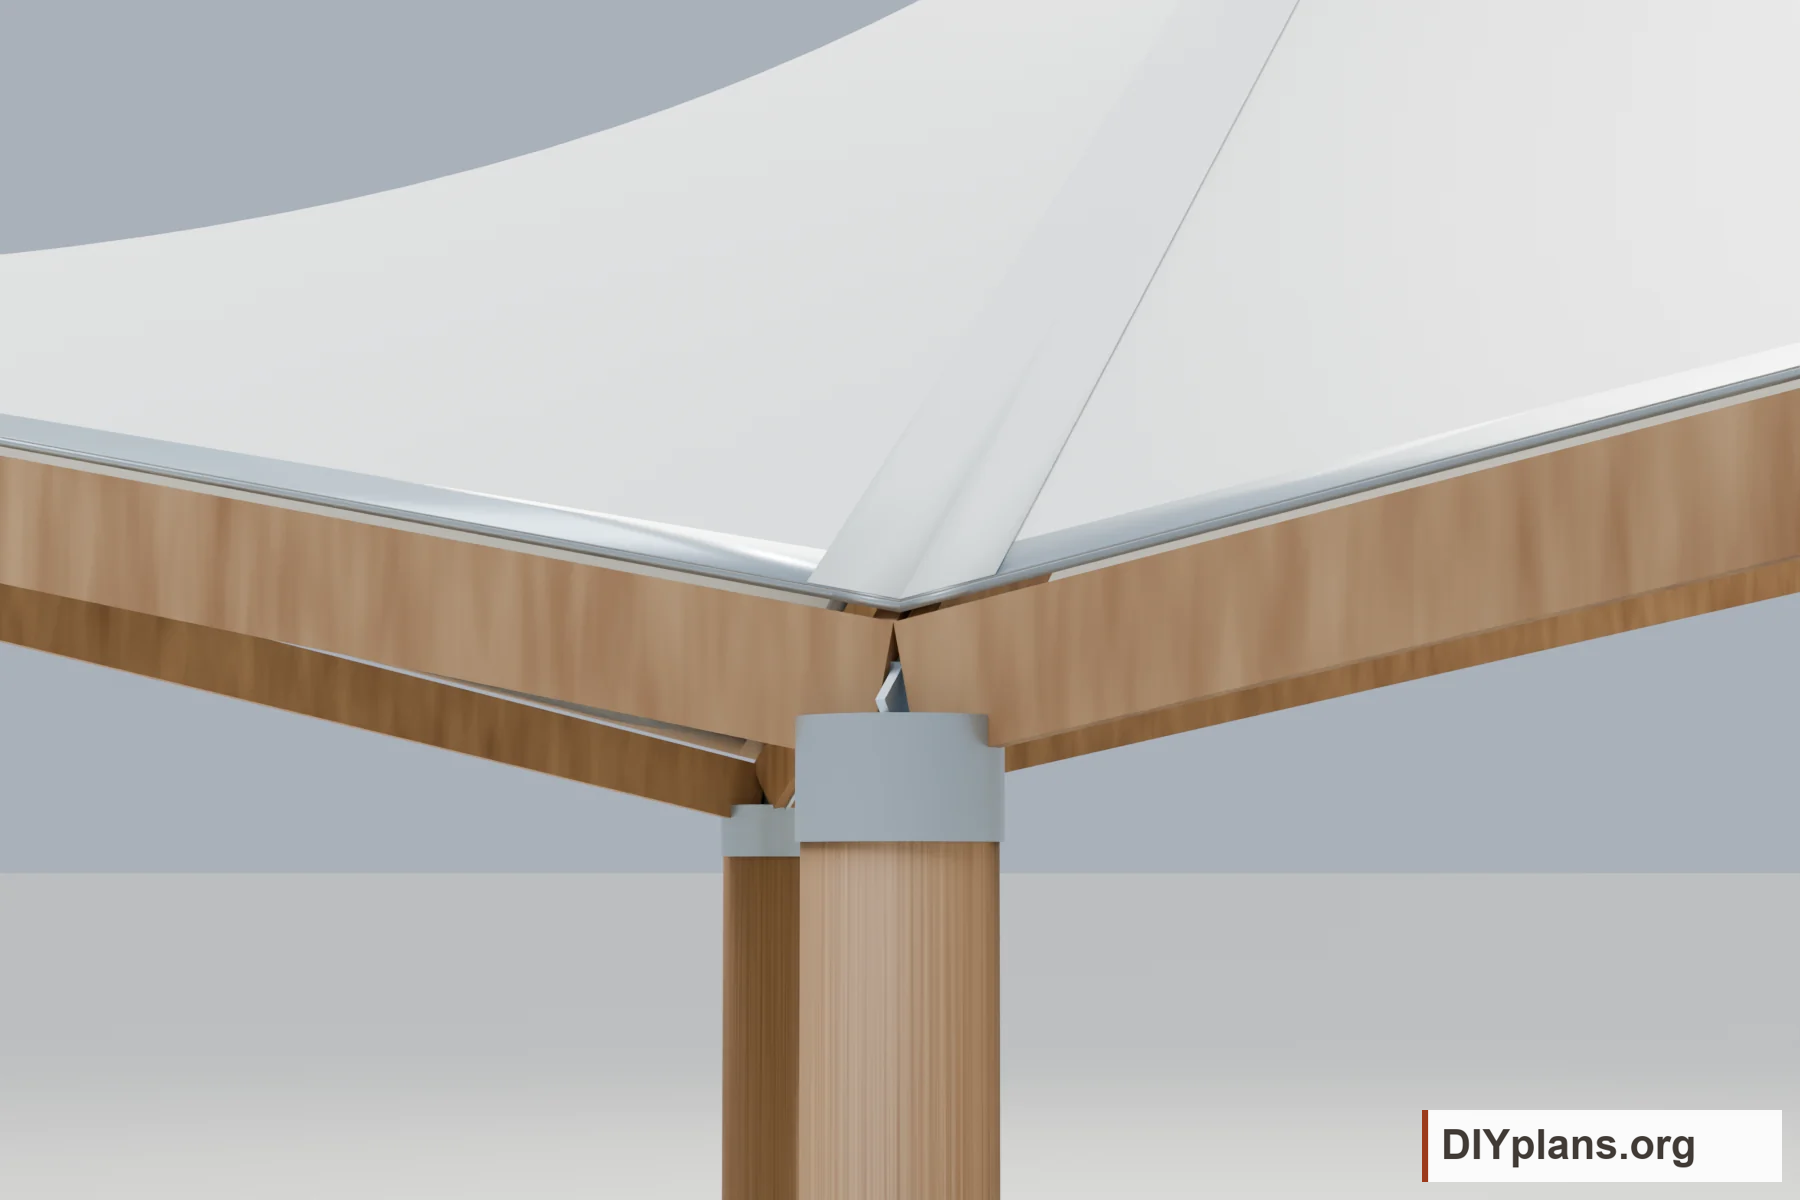
- Locate the proposed continuous edge clamps and post-to-beam connections in the connection view.
- Treat the bands as attachment zones. Rail dimensions, crown closures, reinforcement, fasteners and watertight joints still need design.
Check: The attachment zones and missing connection details are identified.
Step 5 Use the matching design files
- Open the native CAD for direct geometry inspection, STEP for exchange and Blender for rendering. Do not rely on changing stored control points or display thickness to regenerate the solids. Read the seven-page guide and geometric inventories together.
Check: Confirm the files are for this three-assembly membrane concept and that inventory rows are not purchase or cutting instructions.
Step 6 Arrange the remaining design work
- Obtain accepted fabric data and numerical site loads.
- Coordinate membrane form-finding, frame and foundation design, fabric patterns, drainage and installation details with the fabricator and structural designer.
- Prepare purchasing and cutting schedules only after that coordinated design is complete.
Check: The membrane fabricator and structural design work needed before construction are identified.