Before you start
- Use only sound untreated wood. Wear eye protection, clamp round stock in a V-block, and use a drill depth stop.
- Dimensions are in inches. These CAD assemblies have not been physically built or load-tested. Purchased hardware is schematic; measure it before drilling.
- Choose a secure support and rated hanging hardware for the finished feeder. Keep the feeder accessible for inspection and cleaning.
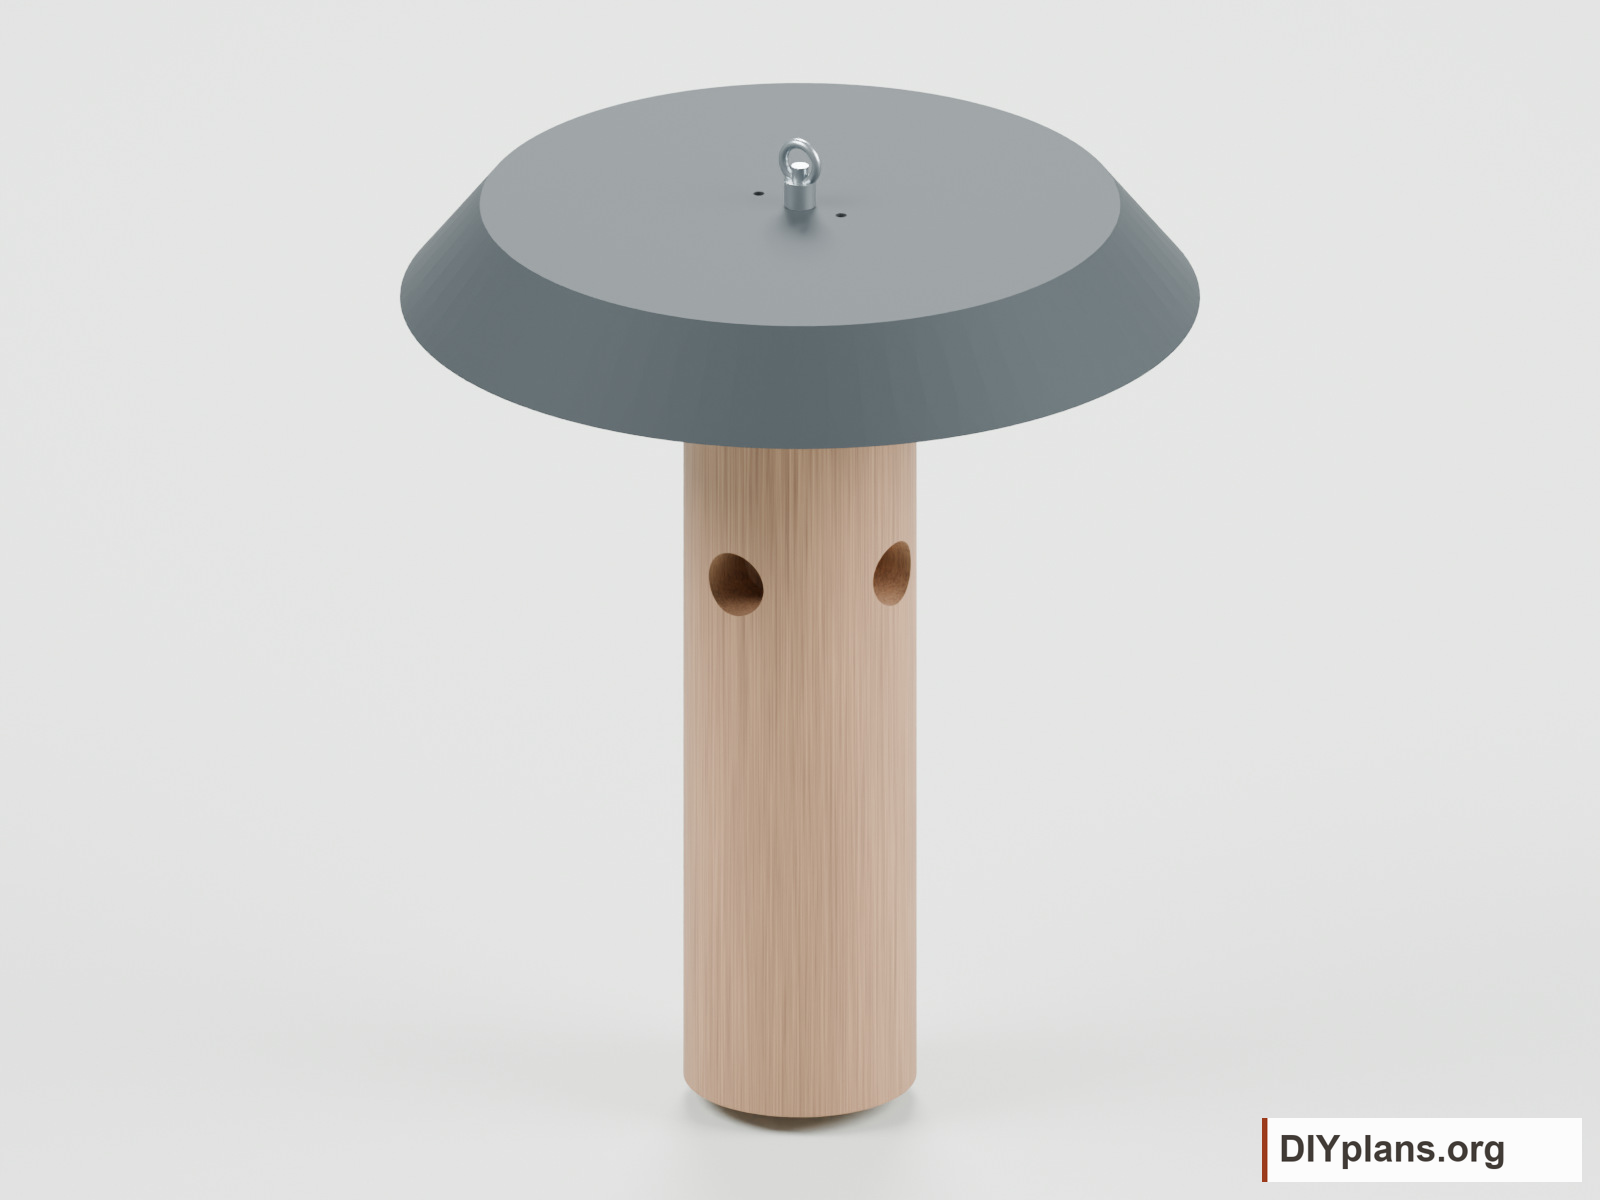
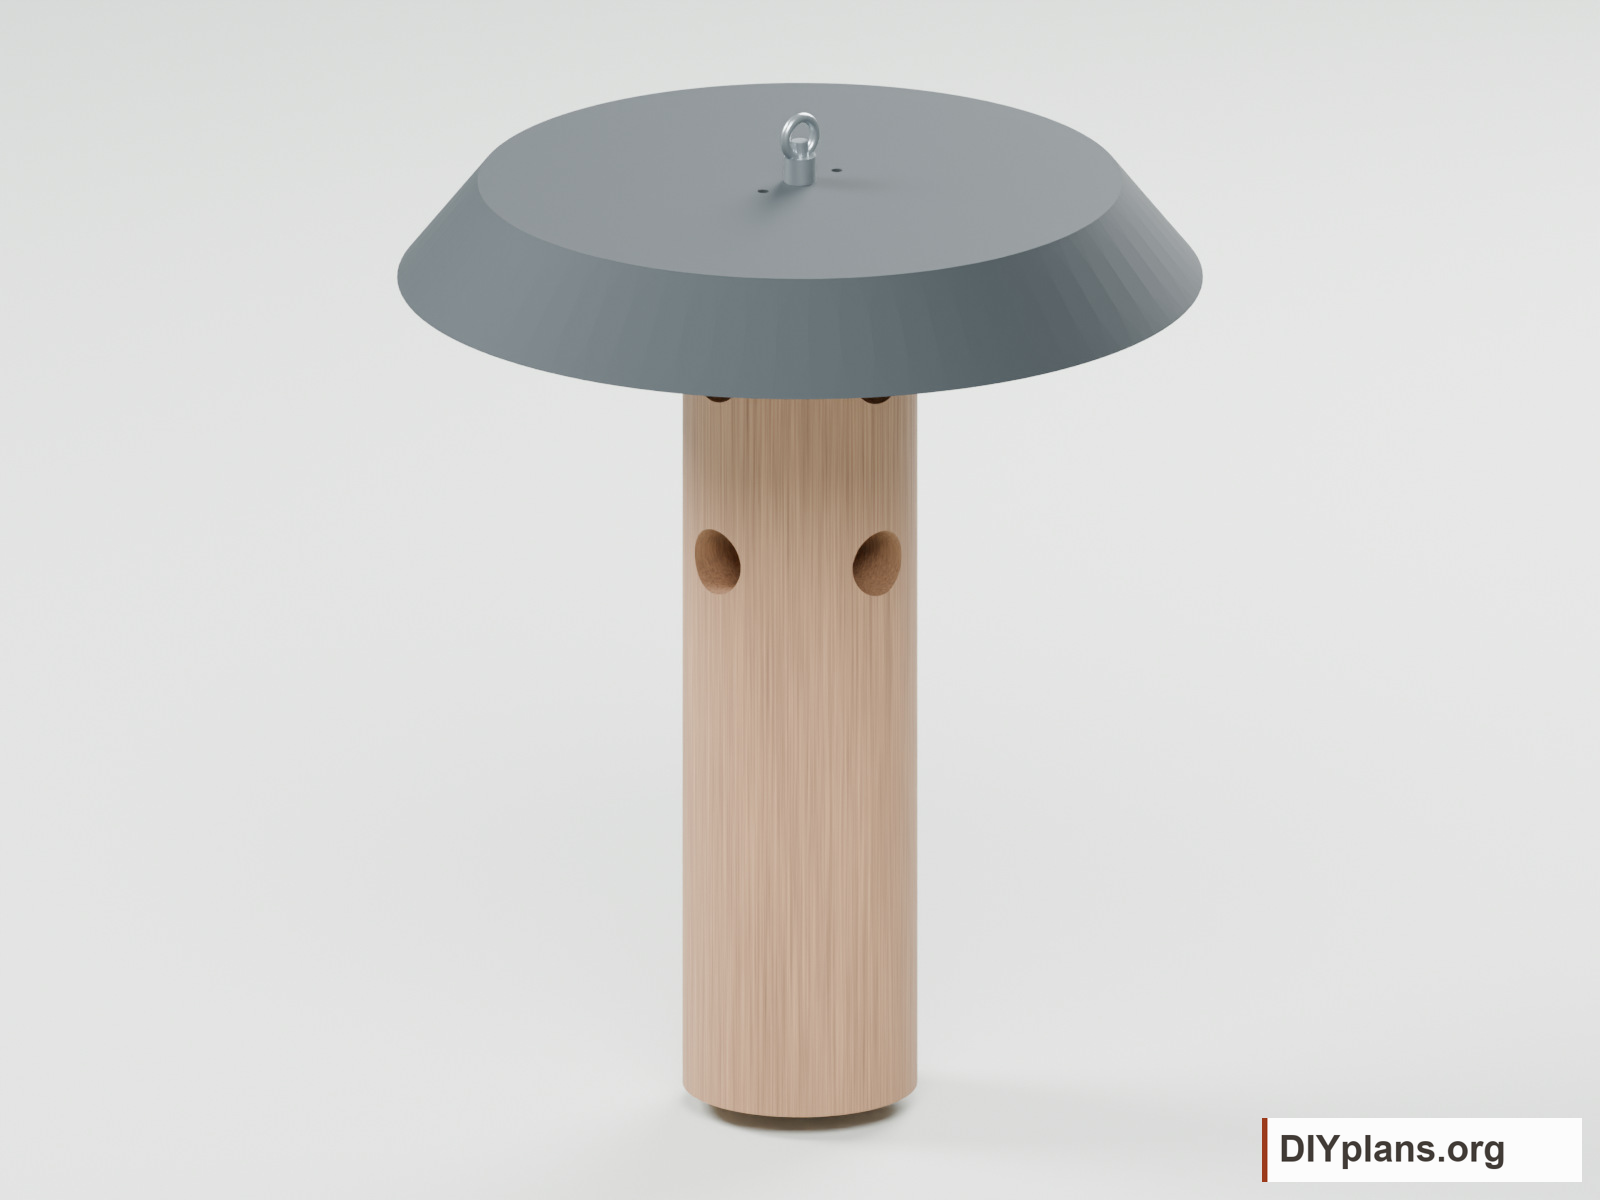
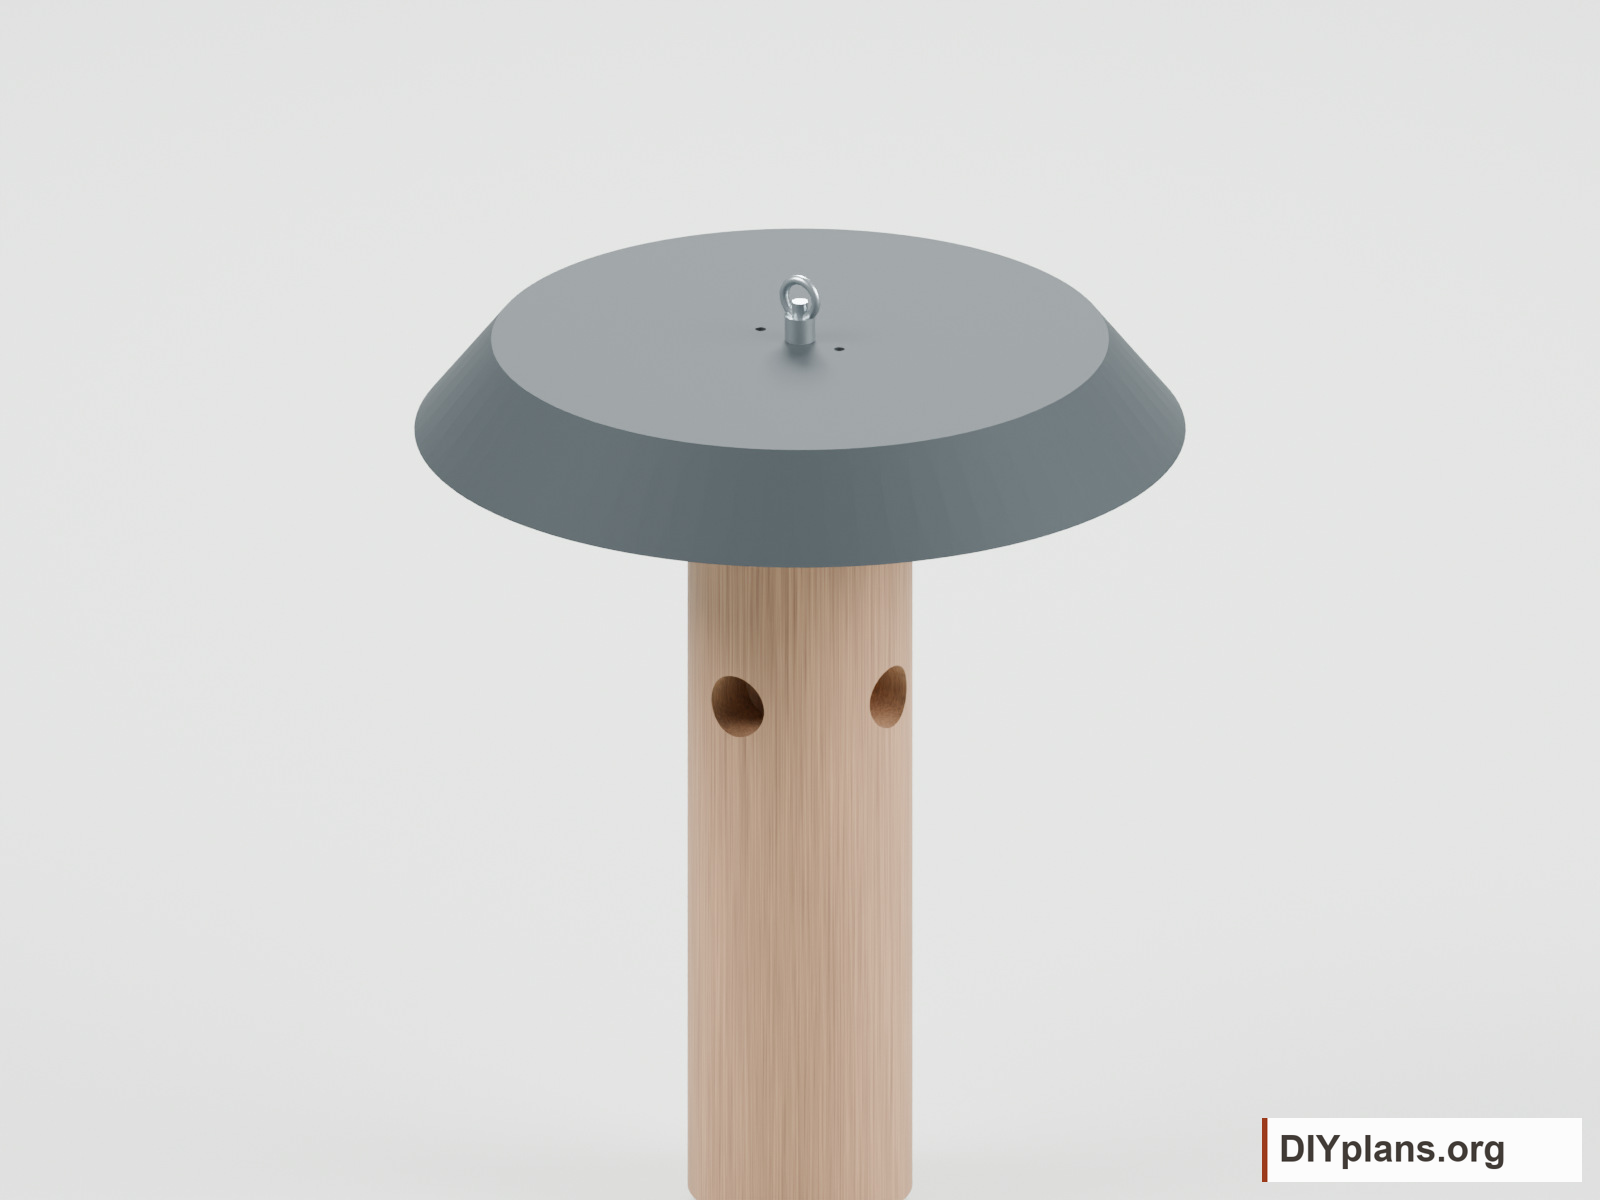
- Use a sound 3 1/2 in diameter log cut 14 in long, with eight feeding holes.
- A single 1/4-20 through-rod, bottom washer and locking nut provide a positive hanging connection. This replaces an unspecified top attachment with a dimensioned assembly.
- Select a lightweight skillet about 12 in wide. Measure its rim and depth before drilling; the pictured cover is 1 1/2 in deep. Fit two screws to prevent it turning.
Dimensions and opening sizes
- Roof nominal diameter
- 12 in
- Log diameter
- 3 1/2 in
- Log length
- 14 in
- Feeding hole diameter
- 1 in
- Feeding hole depth
- 1 in
Shopping list
| Buy | Material | Stock size |
|---|---|---|
| 1 piece | Sound untreated log | At least 3 1/2 in diameter x 16 in long |
| 1 piece | Lightweight metal skillet, handle removed | Approximately 12 in diameter |
| 1 piece | Exterior corrosion-resistant threaded rod | 1/4-20 x 18 in |
| 1 piece | Exterior flat washer | 1/4 in bolt size, approximately 1 in outside diameter |
| 1 piece | Exterior locking nut | 1/4-20 |
| 1 piece | Rated exterior eye nut | 1/4-20 thread; compatible with rod |
| 2 piece | Exterior pan-head wood screws | #8 x 2 in |
| 1 piece | Rated exterior chain and closed connectors | Select for finished weight and support |
Quantity notes
Stock for one complete feeder of this configuration; allowances included where noted.
Required installation supplies
- Match all purchased hardware to the actual support and finished feeder weight.
Tools & equipment
- Tape measure, square, pencil and center punch
- Saw suitable for wood and selected metal hardware
- Drill, V-block and clamps, 1 in boring bit and depth stop
- Pilot bits and screwdriver for selected hardware
- Sandpaper and deburring file
BEFORE YOU BUILD
Use this work at your own risk
No person or organization makes any guarantee or warranty, express or implied, regarding this design, its documentation, digital files, or website views. They are not professional services and do not create an architect-client or other professional-client relationship. No promise is made about accuracy, completeness, reliability, code compliance, or fitness for your project.
Buildings and building projects are complex, and many things can go wrong. You are responsible for checking dimensions and site conditions, choosing suitable materials and methods, obtaining permits, following codes and manufacturer instructions, and getting qualified professional help when needed. To the fullest extent permitted by law, DIYPlans.org disclaims liability for damages resulting from use of this work. Read the FAQ about your responsibilities.
CC CC BY-NC-SA 4.0 InternationalShare and adapt this free design for noncommercial purposes with appropriate credit. Link to the license, indicate changes, and license adaptations under the same terms.
Instructions

01 Cut and mark the log
- Debark a sound log and cut a 14 in length with a 3 1/2 in finished diameter. Reject splits through the center.
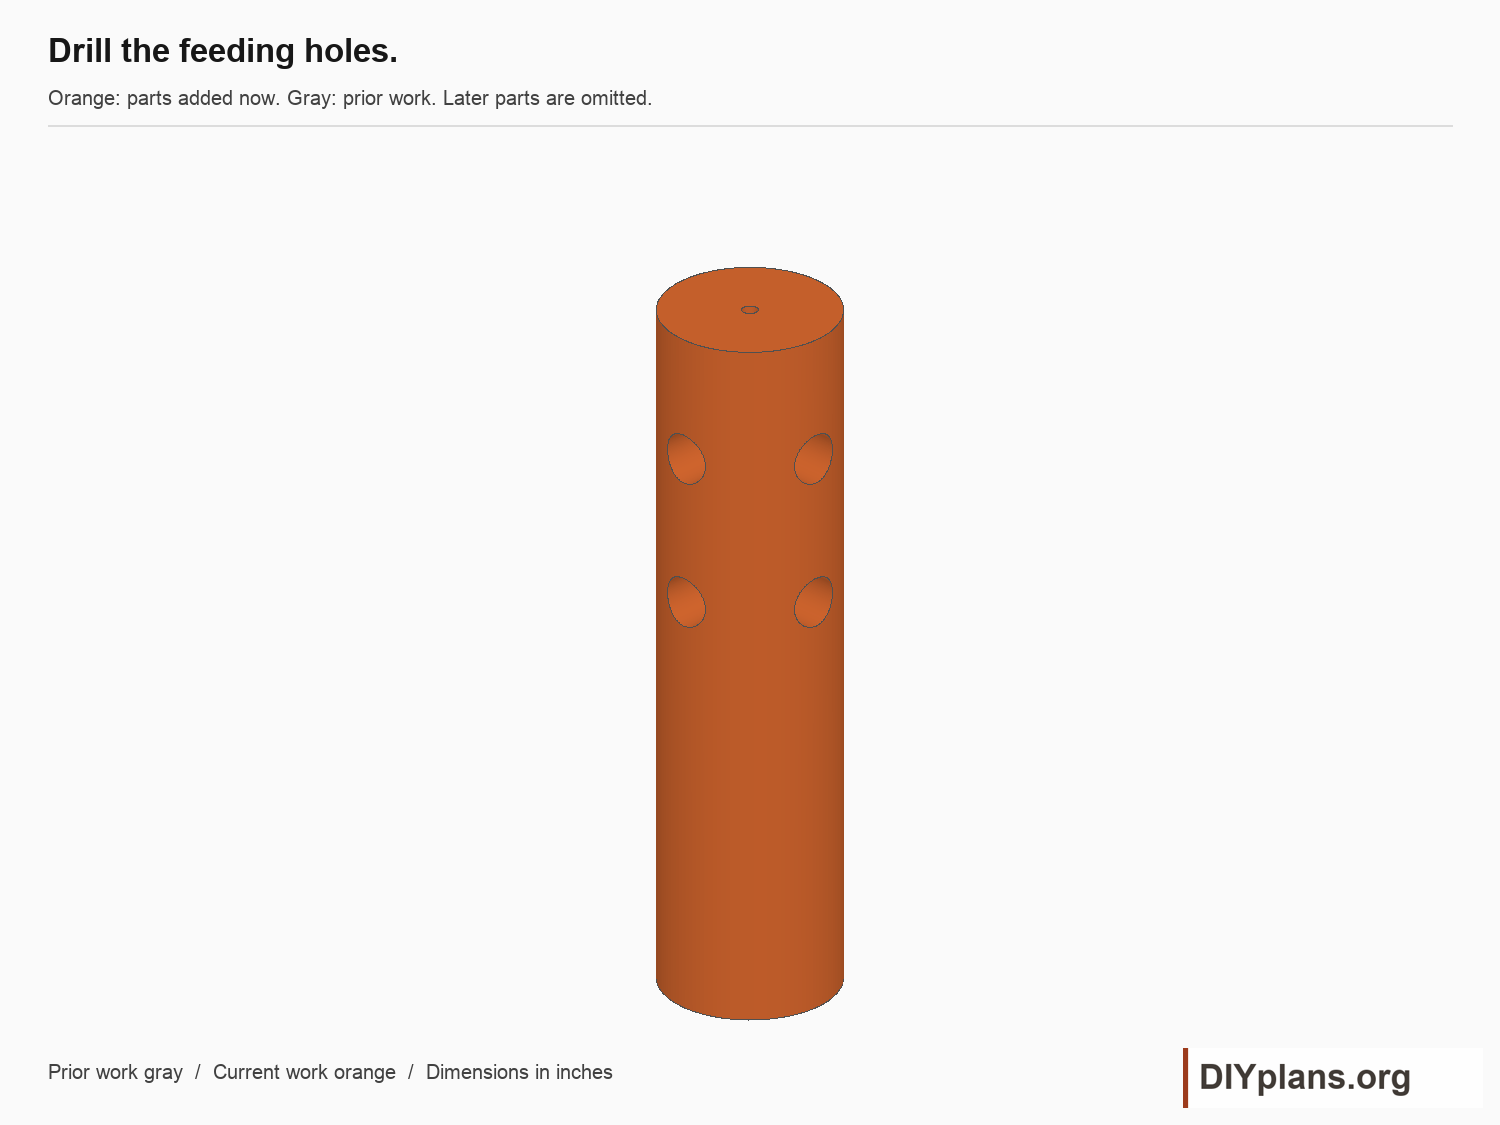
- Mark two rings 8 1/2 in and 11 1/2 in above the bottom. Mark four holes at 90-degree intervals on each ring.
- Mark the centers of both ends for the hanging rod.
Check: Mark the centers of both ends for the hanging rod.
02 Drill the feeding holes
- Clamp the log in a V-block. Drill eight 1 in diameter holes, 1 in deep, at the marked centers.
- Bore a straight 5/16 in hole along the log axis. Work from both ends with a long bit and confirm that the rod passes freely.
- Remove splinters from each opening and keep the lower 8 in of the log clear for tail support.
Check: Remove splinters from each opening and keep the lower 8 in of the log clear for tail support.
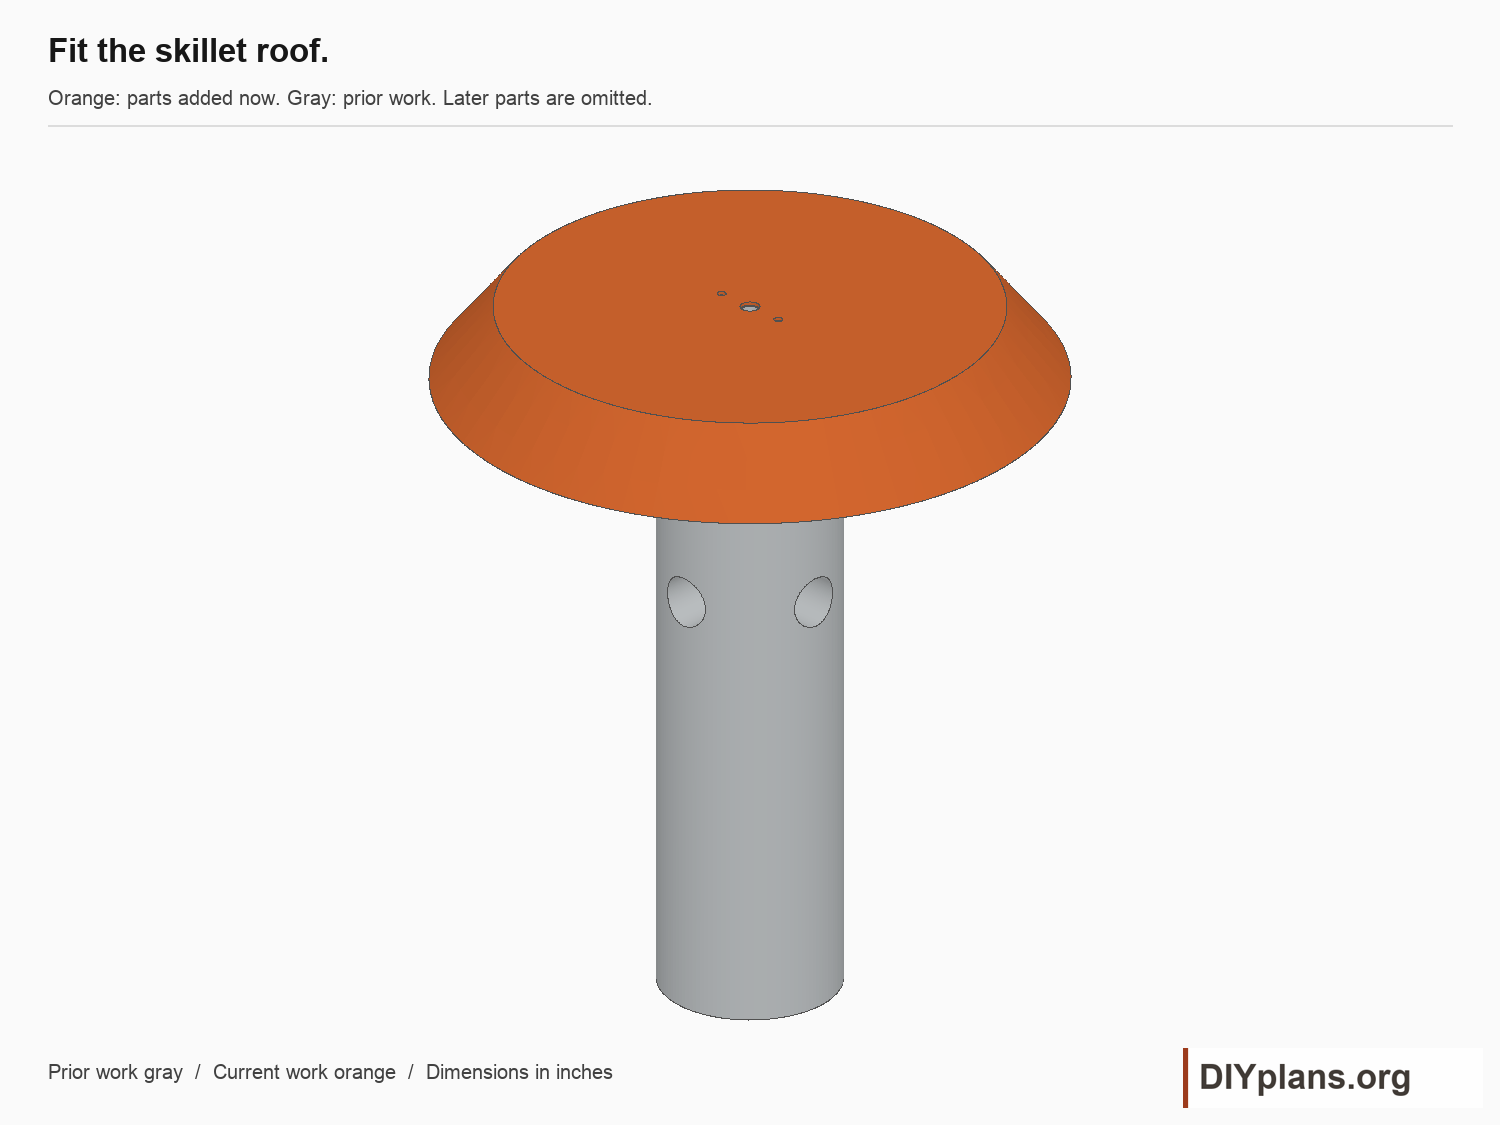
03 Fit the skillet roof
- Remove the handle from a lightweight 12 in skillet and smooth every sharp edge.
- Center the inverted skillet over the log. Drill a 3/8 in center hole and two screw clearance holes 3/4 in either side of it.
- Drill pilot holes into the log through the two outer holes. Fit two #8 x 2 in screws; confirm their tips remain clear of feeding holes.
Check: Drill pilot holes into the log through the two outer holes. Fit two #8 x 2 in screws; confirm their tips remain clear of feeding holes.
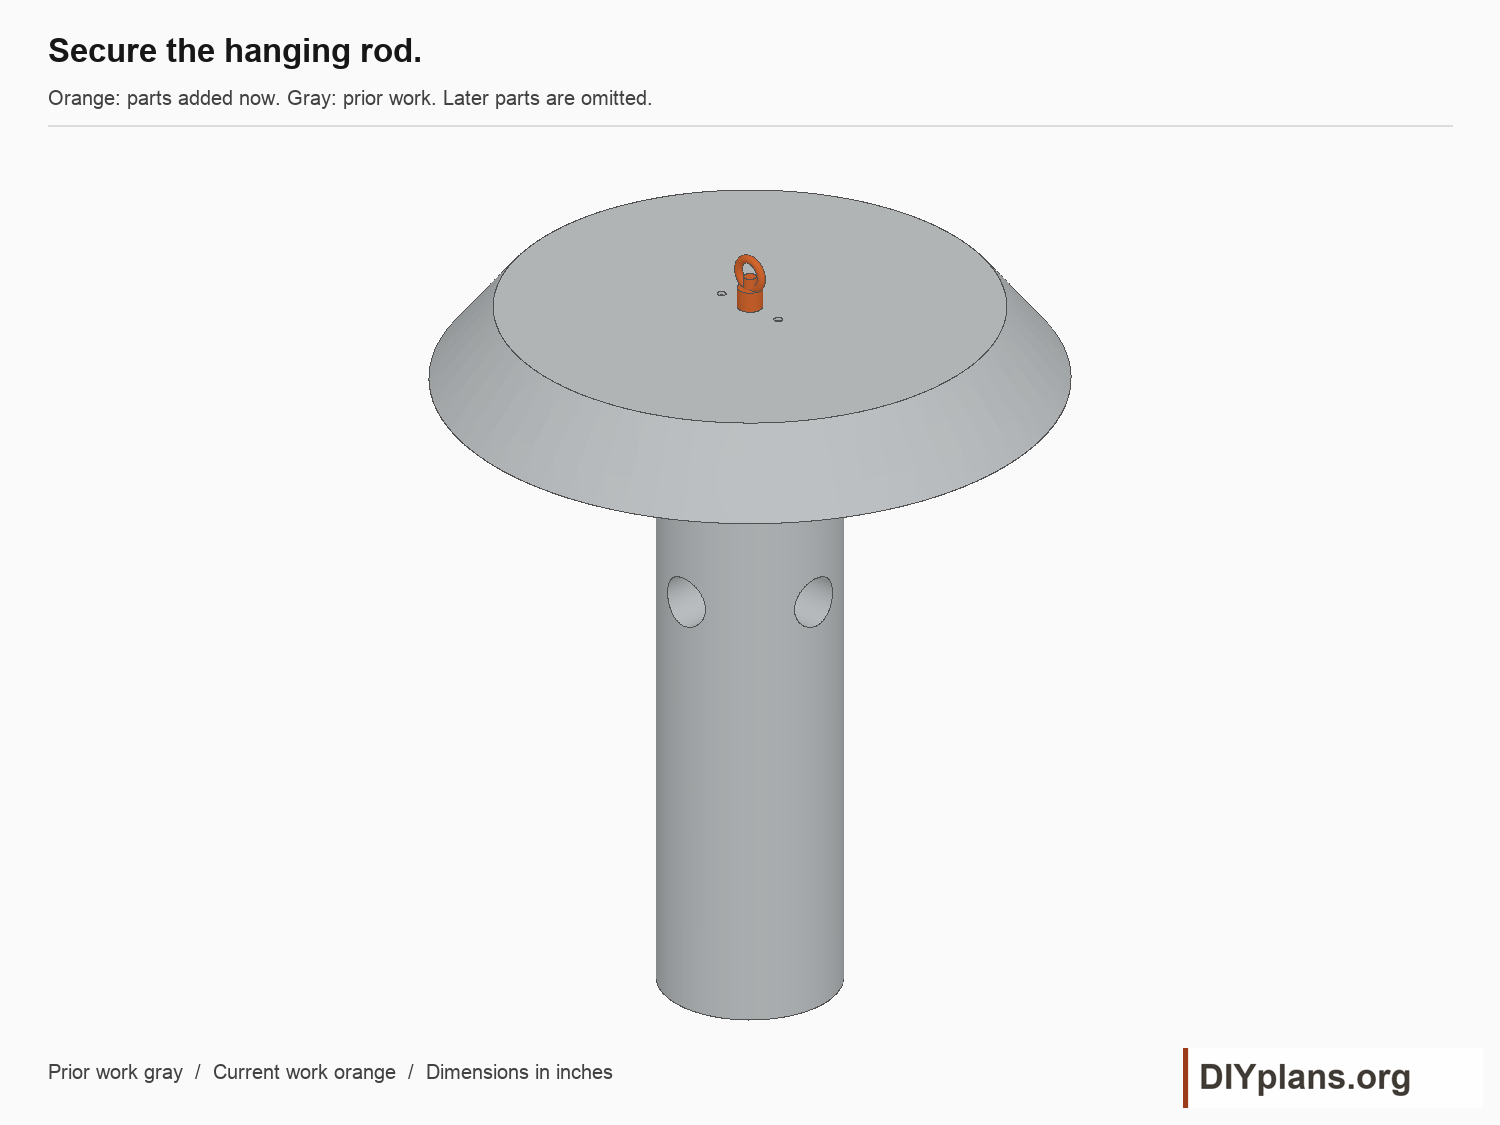
04 Secure the hanging rod
- Feed a 1/4-20 rod through the log and skillet. Start with an 18 in stock rod and dry-fit all hardware.
- Fit the lower washer and locking nut, then the rated eye nut above the roof. Nominal rod cut length is 15 in; confirm actual engagement before trimming.
- Use compatible exterior hardware and keep adequate thread engagement in both nuts. Deburr the cut end and tighten without crushing the log.
Check: Use compatible exterior hardware and keep adequate thread engagement in both nuts. Deburr the cut end and tighten without crushing the log.
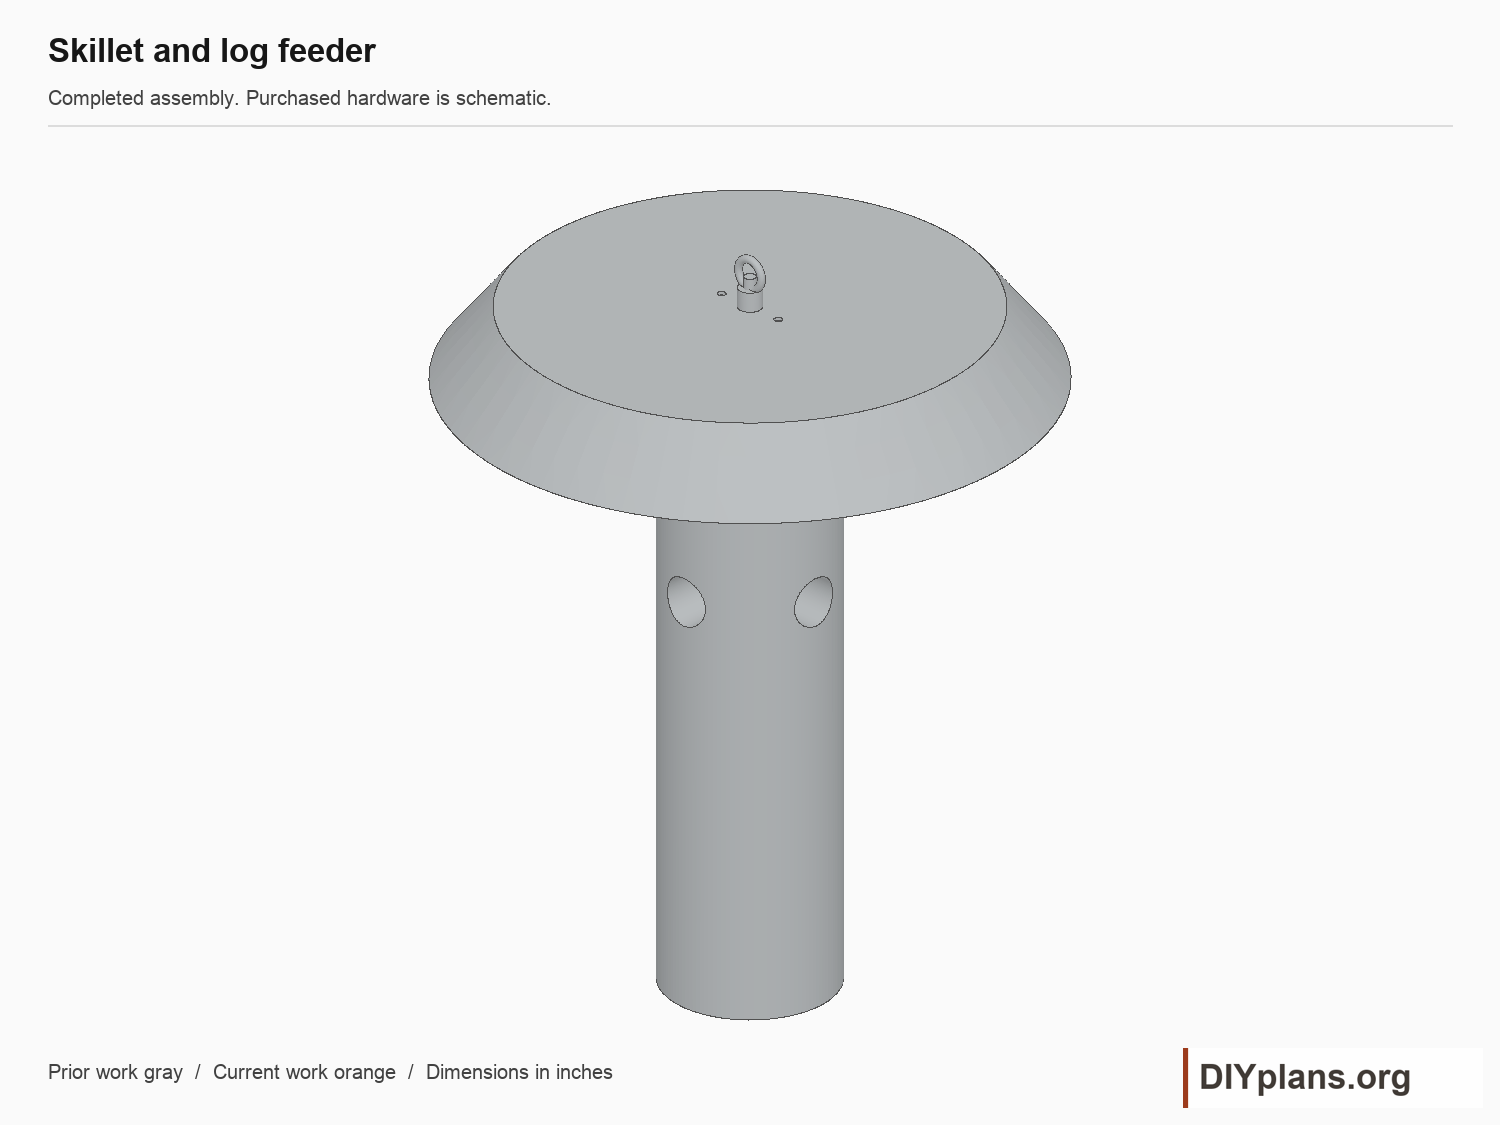
05 Hang and maintain the feeder
- Attach the eye to a short chain and a closed connector on a secure support. Check the complete connection before adding suet.
- Pack suet into the blind holes. Remove spoiled feed and clean the holes before refilling; take the feeder down if wood or hardware deteriorates.
- Inspect the support, rod, eye, nut, and roof regularly. Retighten the lower nut without crushing the wood.
Check: Feeder hangs securely and can be taken down for cleaning.
Sources
Functional dimensions informed by the cited Washington Department of Fish and Wildlife woodworking sheet. CAD, instructions, schedules and illustrations authored for DIY Plans.