Before you start
- Use only sound untreated wood. Wear eye protection, clamp round stock in a V-block, and use a drill depth stop.
- Dimensions are in inches. These CAD assemblies have not been physically built or load-tested. Purchased hardware is schematic; measure it before drilling.
- Choose a secure support and rated hanging hardware for the finished feeder. Keep the feeder accessible for inspection and cleaning.
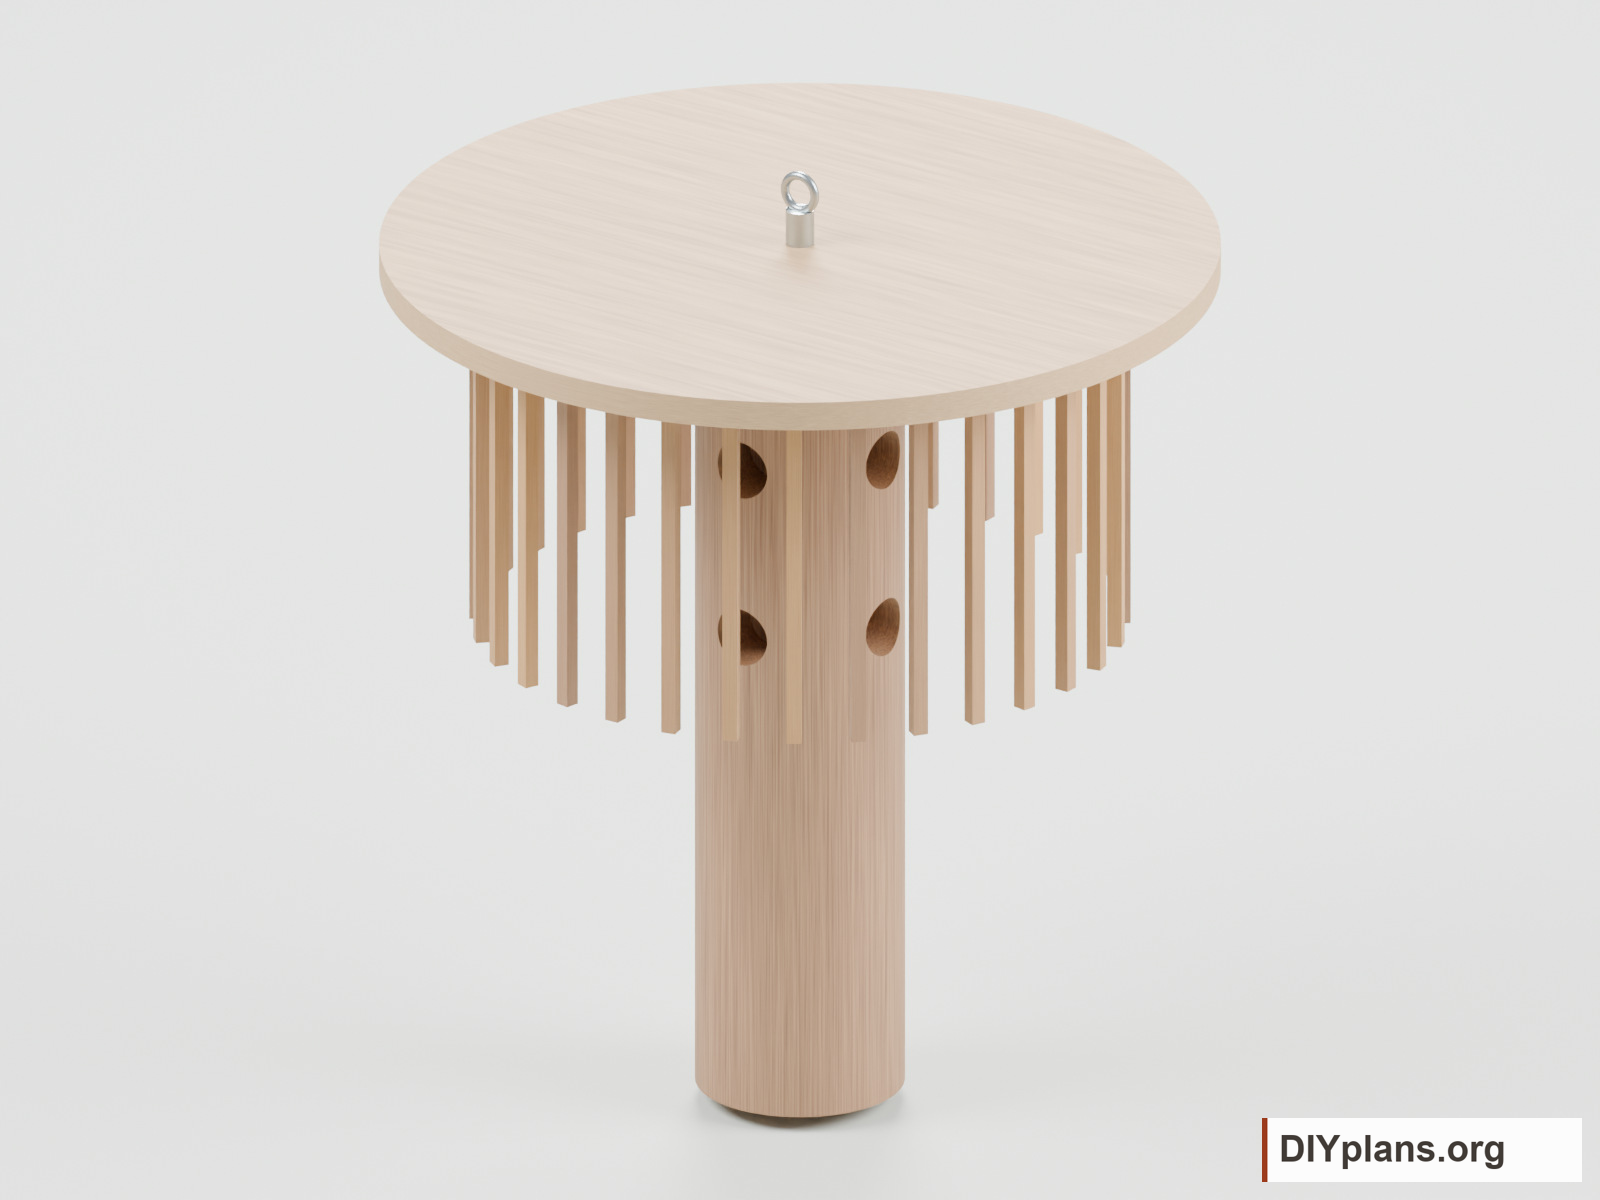
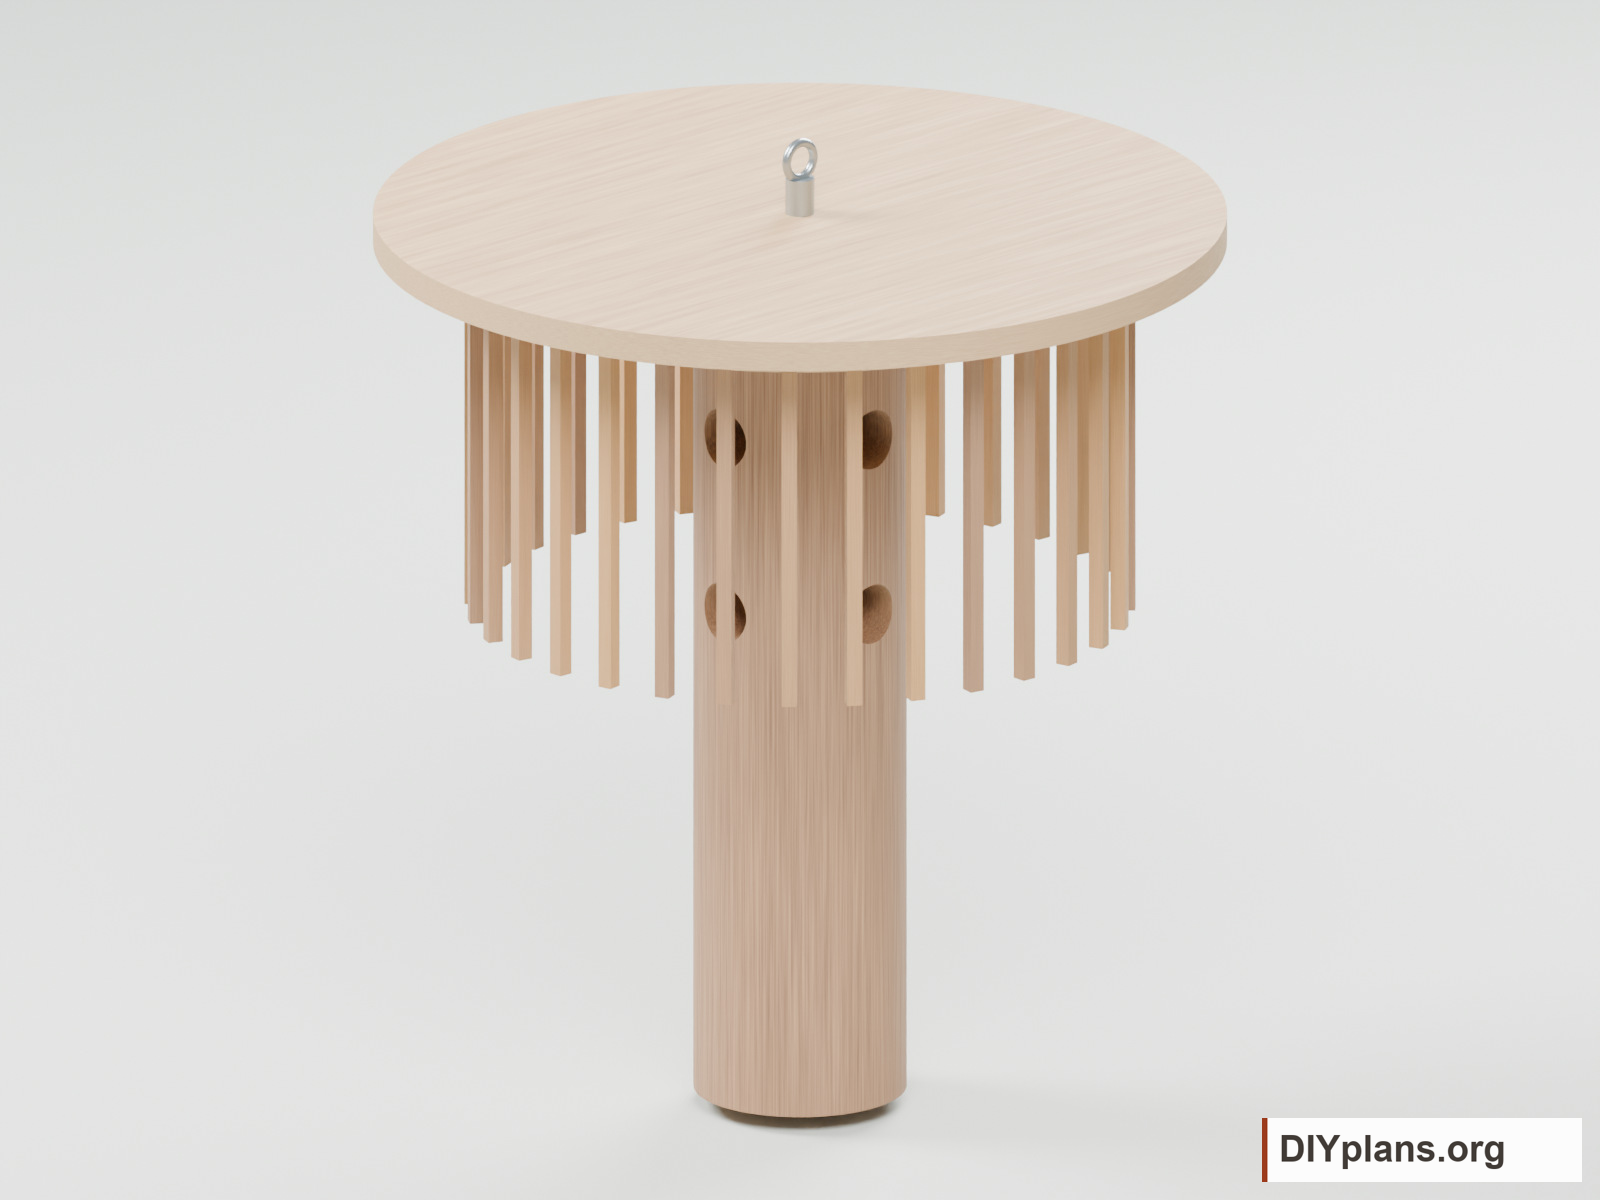
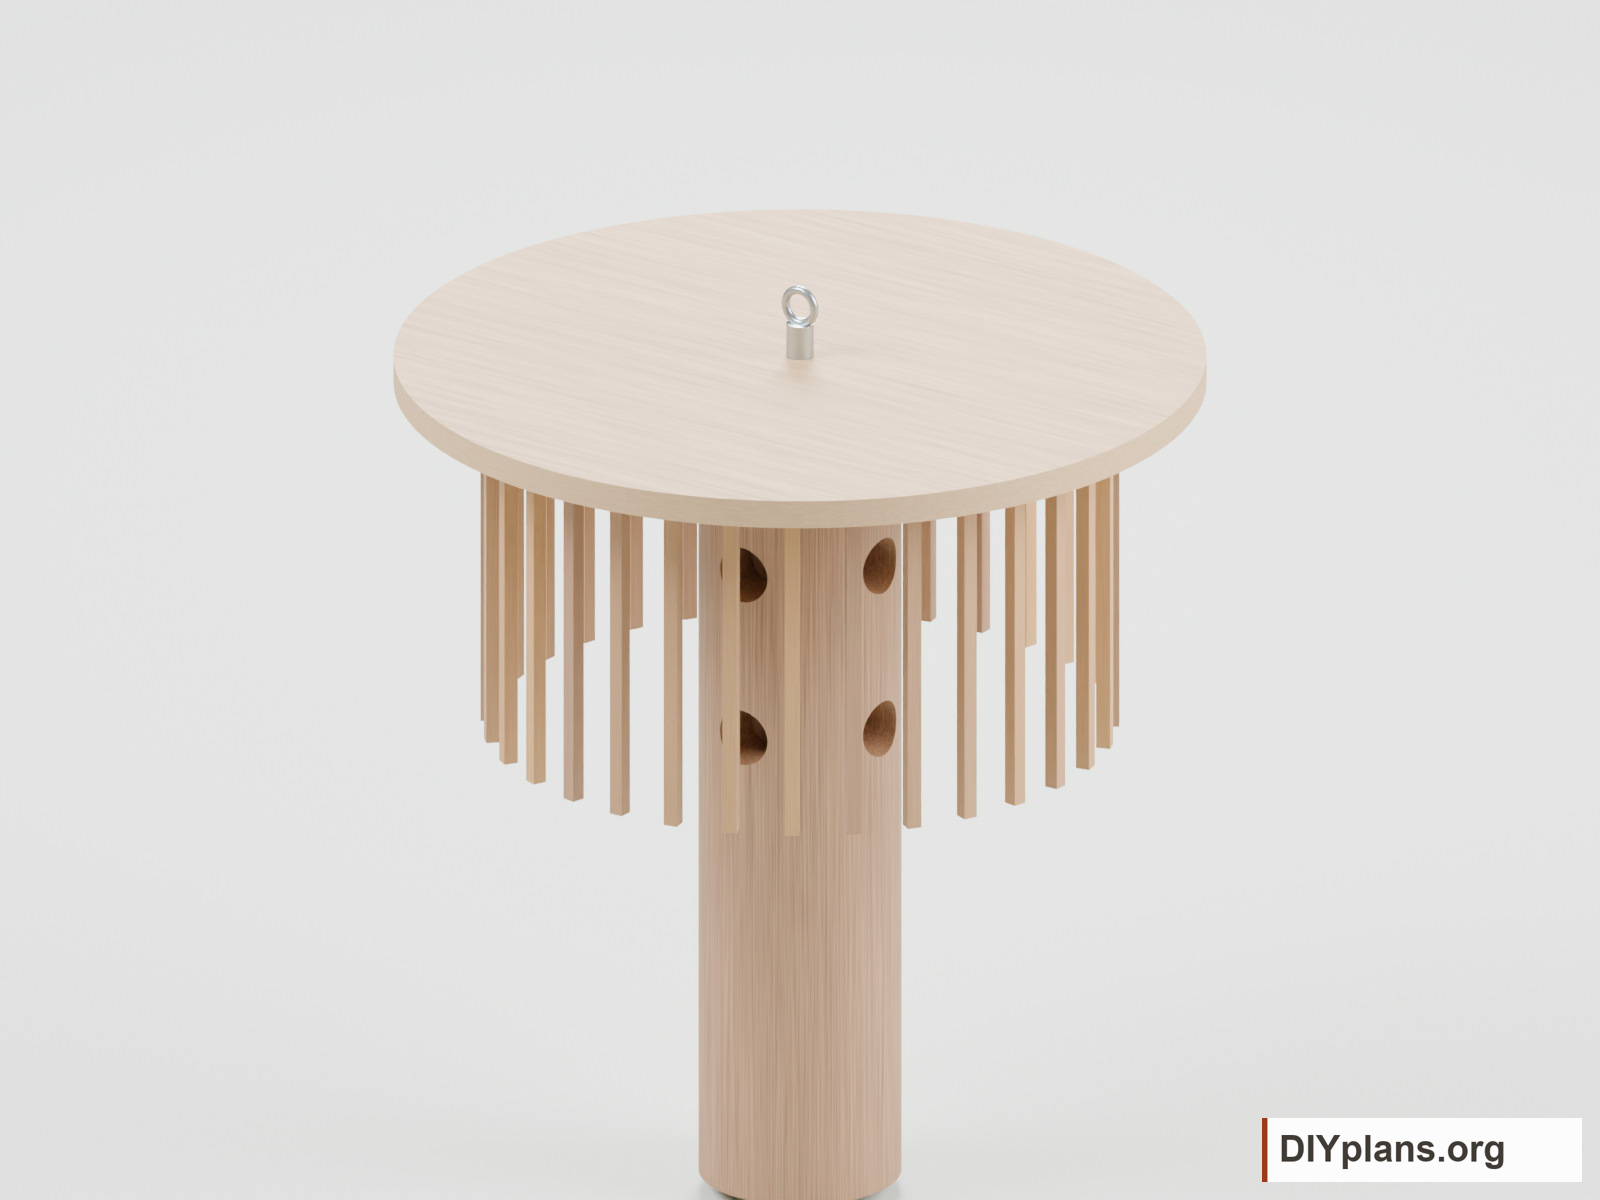
- The drawing calls for 13/16 in slat spacing without a count. This version uses 32 evenly spaced slats at 11.25-degree centers on a 5 3/8 in radius. The gap is about 13/16 in; do not accumulate repeated ruler offsets.
- Use a 1/4-20 through-rod and matching eye nut to clamp the roof, ceiling and column.
- Use exterior plywood for both disks. Quarter-inch slat pockets are cut into the underside of the ceiling. Secure the slats with adhesive and #18 x 3/4 in brads; cover the brad heads with the roof.
Dimensions and opening sizes
- Roof diameter
- 14 in
- Ceiling diameter
- 11 in
- Column diameter
- 3 1/2 in
- Column length
- 14 in
- Slat length
- 6 in
Shopping list
| Buy | Material | Stock size |
|---|---|---|
| 1 piece | Untreated cedar column | At least 3 1/2 in diameter x 16 in |
| 1 piece | Exterior plywood | 1/2 in x 24 in x 24 in project panel |
| 7 piece | Straight-grain cedar strip | 1/4 x 1/4 x 36 in |
| 1 piece | Exterior threaded rod | 1/4-20 x 18 in |
| 1 piece | Exterior flat washer | 1/4 in bolt, approximately 1 in outside diameter |
| 1 piece | Exterior locking nut | 1/4-20 |
| 1 piece | Rated exterior eye nut | 1/4-20 thread; compatible with rod |
| 1 small pack | Exterior corrosion-resistant brads | #18 x 3/4 in |
| 1 piece | Exterior wood glue | Small container |
| 1 piece | Rated exterior chain and closed connectors | Select for finished weight and support |
Quantity notes
Stock for one complete feeder of this configuration; allowances included where noted.
- Straight-grain cedar strip, 1/4 x 1/4 x 36 in: Cut five 6 in slats per strip with kerf; 35 available, 32 installed.
- Exterior corrosion-resistant brads, #18 x 3/4 in: One per slat; drive from ceiling top into slat end.
Required installation supplies
- Match all purchased hardware to the actual support and finished feeder weight.
Tools & equipment
- Tape measure, square, pencil and center punch
- Saw suitable for wood and selected metal hardware
- Drill, V-block and clamps, 1 in boring bit and depth stop
- Pilot bits and screwdriver for selected hardware
- Sandpaper and deburring file
- Compass, protractor, jigsaw and small chisel or router for ceiling pockets
BEFORE YOU BUILD
Use this work at your own risk
No person or organization makes any guarantee or warranty, express or implied, regarding this design, its documentation, digital files, or website views. They are not professional services and do not create an architect-client or other professional-client relationship. No promise is made about accuracy, completeness, reliability, code compliance, or fitness for your project.
Buildings and building projects are complex, and many things can go wrong. You are responsible for checking dimensions and site conditions, choosing suitable materials and methods, obtaining permits, following codes and manufacturer instructions, and getting qualified professional help when needed. To the fullest extent permitted by law, DIYPlans.org disclaims liability for damages resulting from use of this work. Read the FAQ about your responsibilities.
CC CC BY-NC-SA 4.0 InternationalShare and adapt this free design for noncommercial purposes with appropriate credit. Link to the license, indicate changes, and license adaptations under the same terms.
Instructions
01 Cut the column, disks, and slats
- Cut a sound cedar column to 3 1/2 in diameter and 14 in long.
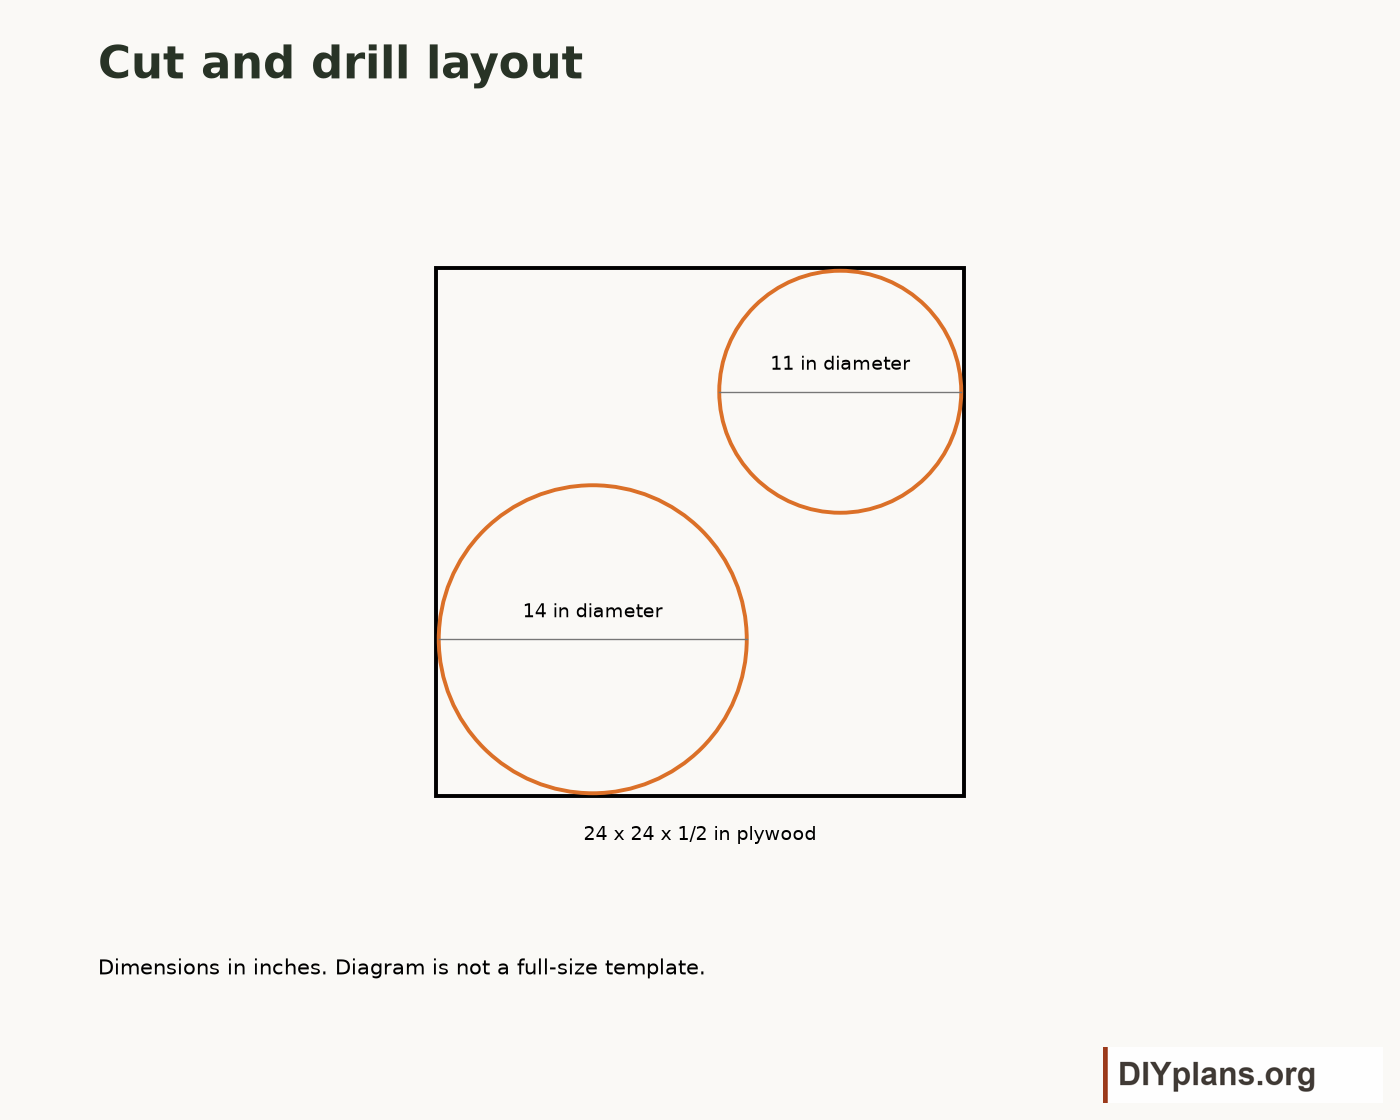
- Lay out a 14 in disk and an 11 in disk on a 24 x 24 x 1/2 in exterior plywood panel. Put their centers at 7 1/8 x 7 1/8 and 18 3/8 x 18 3/8 in from the same corner.
- Cut the disks to their lines. Cut 32 cedar slats, each 1/4 x 1/4 x 6 in, and sand off splinters.
Check: Cut the disks to their lines. Cut 32 cedar slats, each 1/4 x 1/4 x 6 in, and sand off splinters.
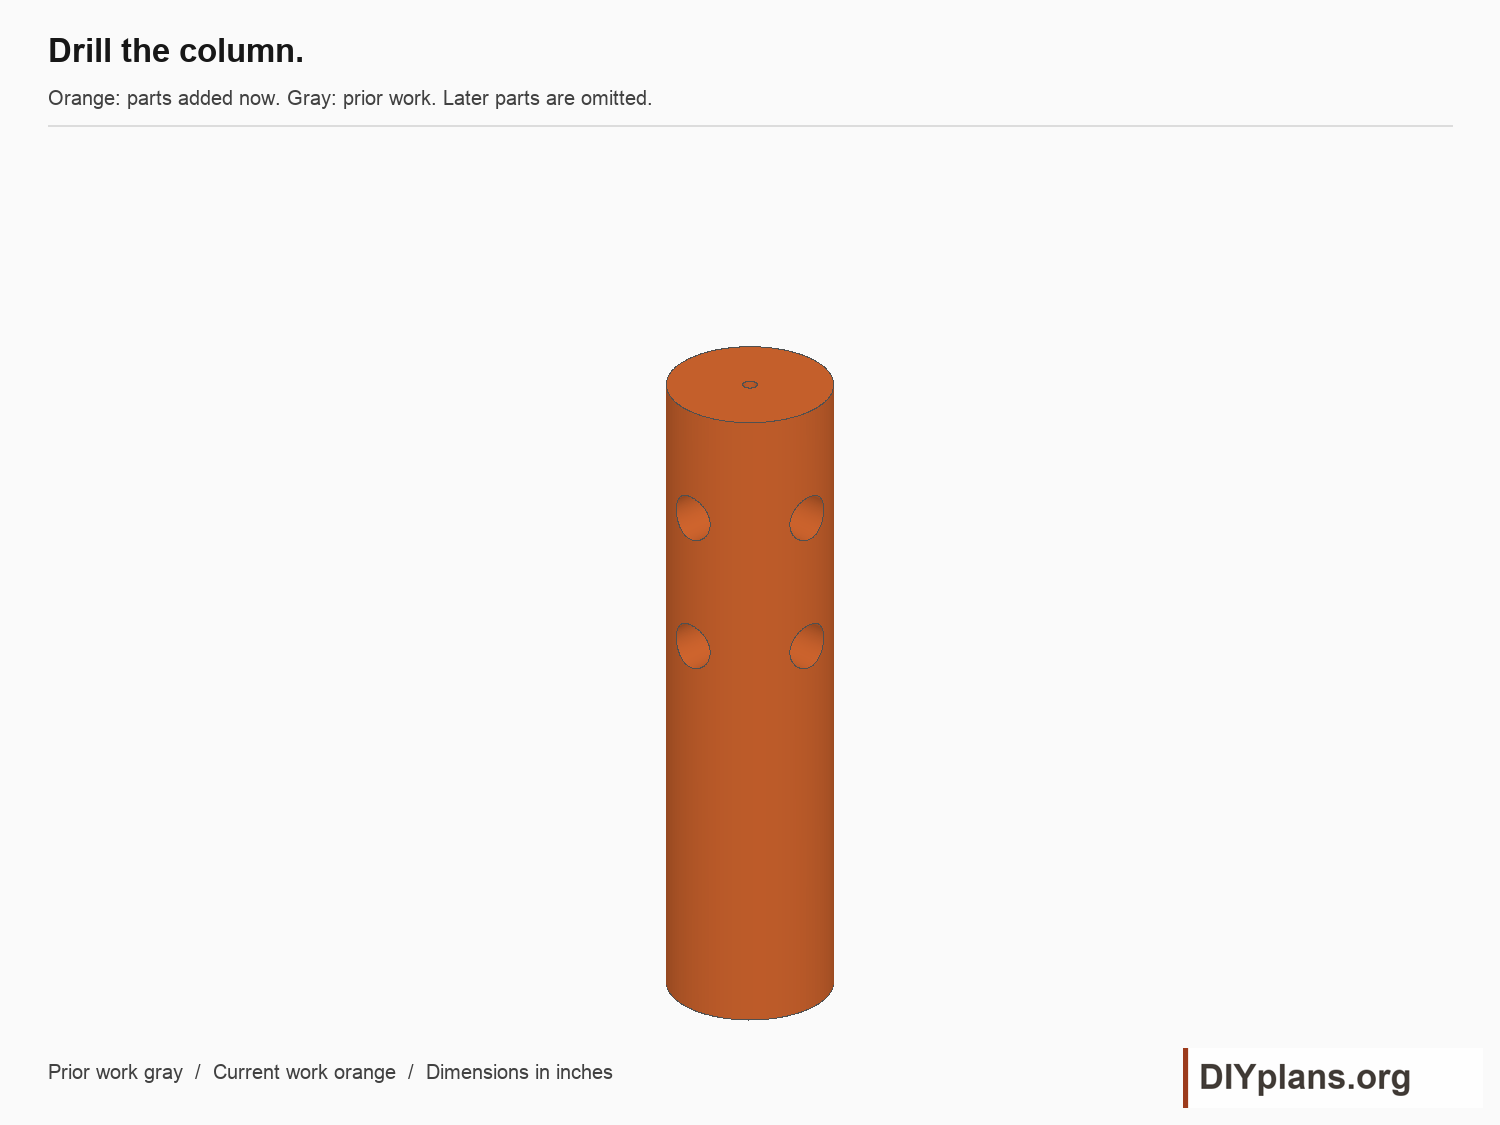
02 Drill the column
- Mark four points around each of two rings, 8 1/2 and 11 1/2 in above the bottom. Space the points at 90-degree intervals.
- Clamp the column in a V-block. Drill each feeding hole 1 in in diameter and 1 in deep.
- Bore a straight 5/16 in hole through the column axis for the hanging rod. Keep the lower column clear as a tail prop.
Check: Bore a straight 5/16 in hole through the column axis for the hanging rod. Keep the lower column clear as a tail prop.
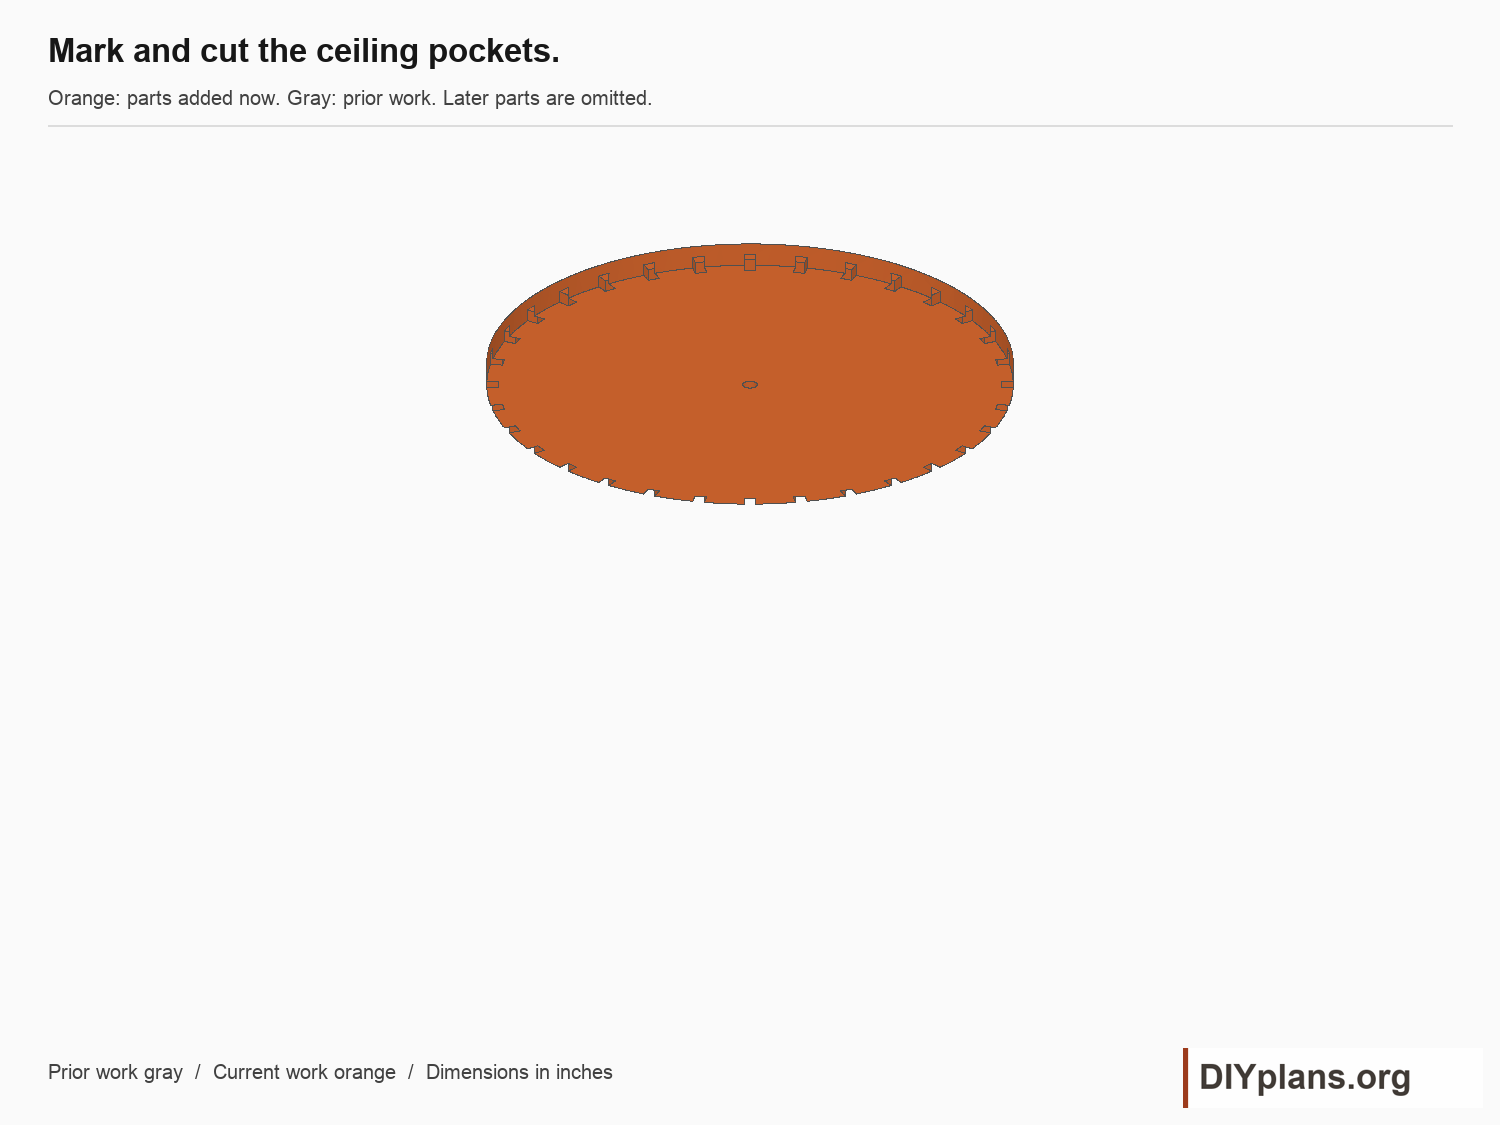
03 Mark and cut the ceiling pockets
- Mark 32 centers around the underside of the 11 in disk, each 11.25 degrees apart. Set their centers on a 5 3/8 in radius.
- Cut each pocket 1/4 in wide, 1/4 in radially long, and 1/4 in deep, open to the outer edge. Leave 1/4 in of plywood above each pocket.
- Drill a centered 5/16 in rod hole through the ceiling. Dry-fit each slat and remove splinters.
Check: Drill a centered 5/16 in rod hole through the ceiling. Dry-fit each slat and remove splinters.
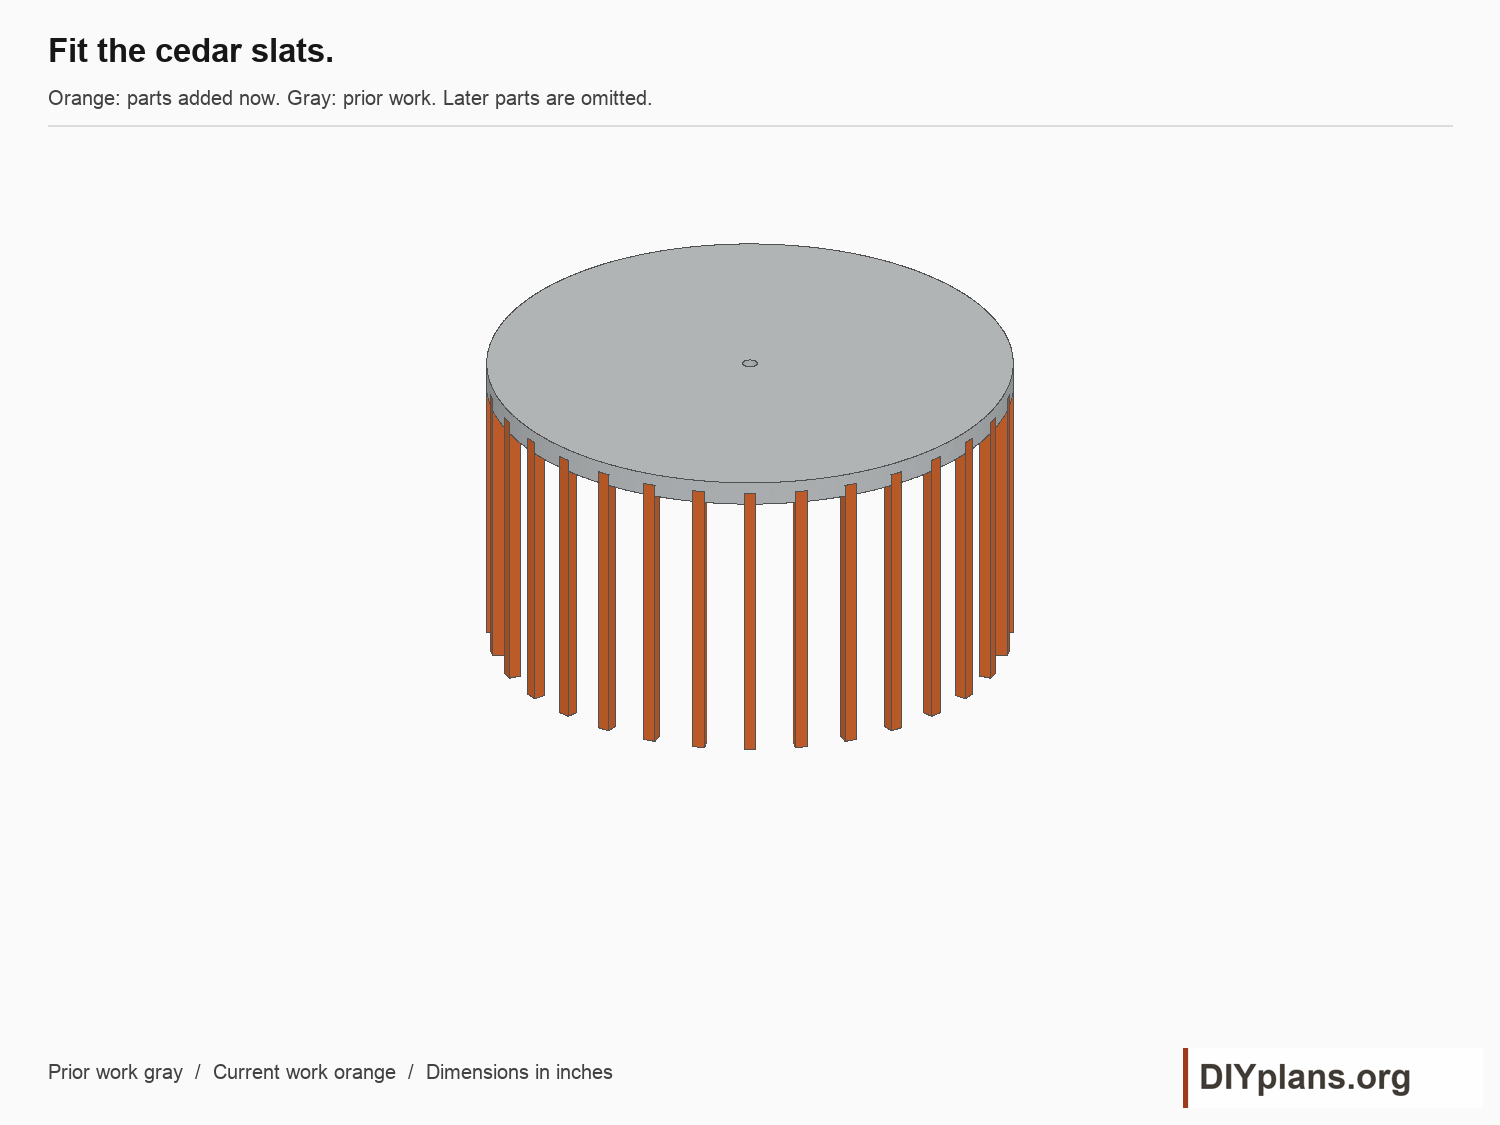
04 Fit the cedar slats
- Seat a 6 in slat into each underside pocket with exterior wood glue. Keep all slats parallel to the column.
- Predrill and drive one #18 x 3/4 in exterior brad from the ceiling top, through its remaining 1/4 in thickness and into each slat end. Set every brad head flush; the roof will cover the heads.
- Check that the slats project 5 3/4 in below the ceiling. Allow the glue to cure before handling the ring.
Check: Check that the slats project 5 3/4 in below the ceiling. Allow the glue to cure before handling the ring.
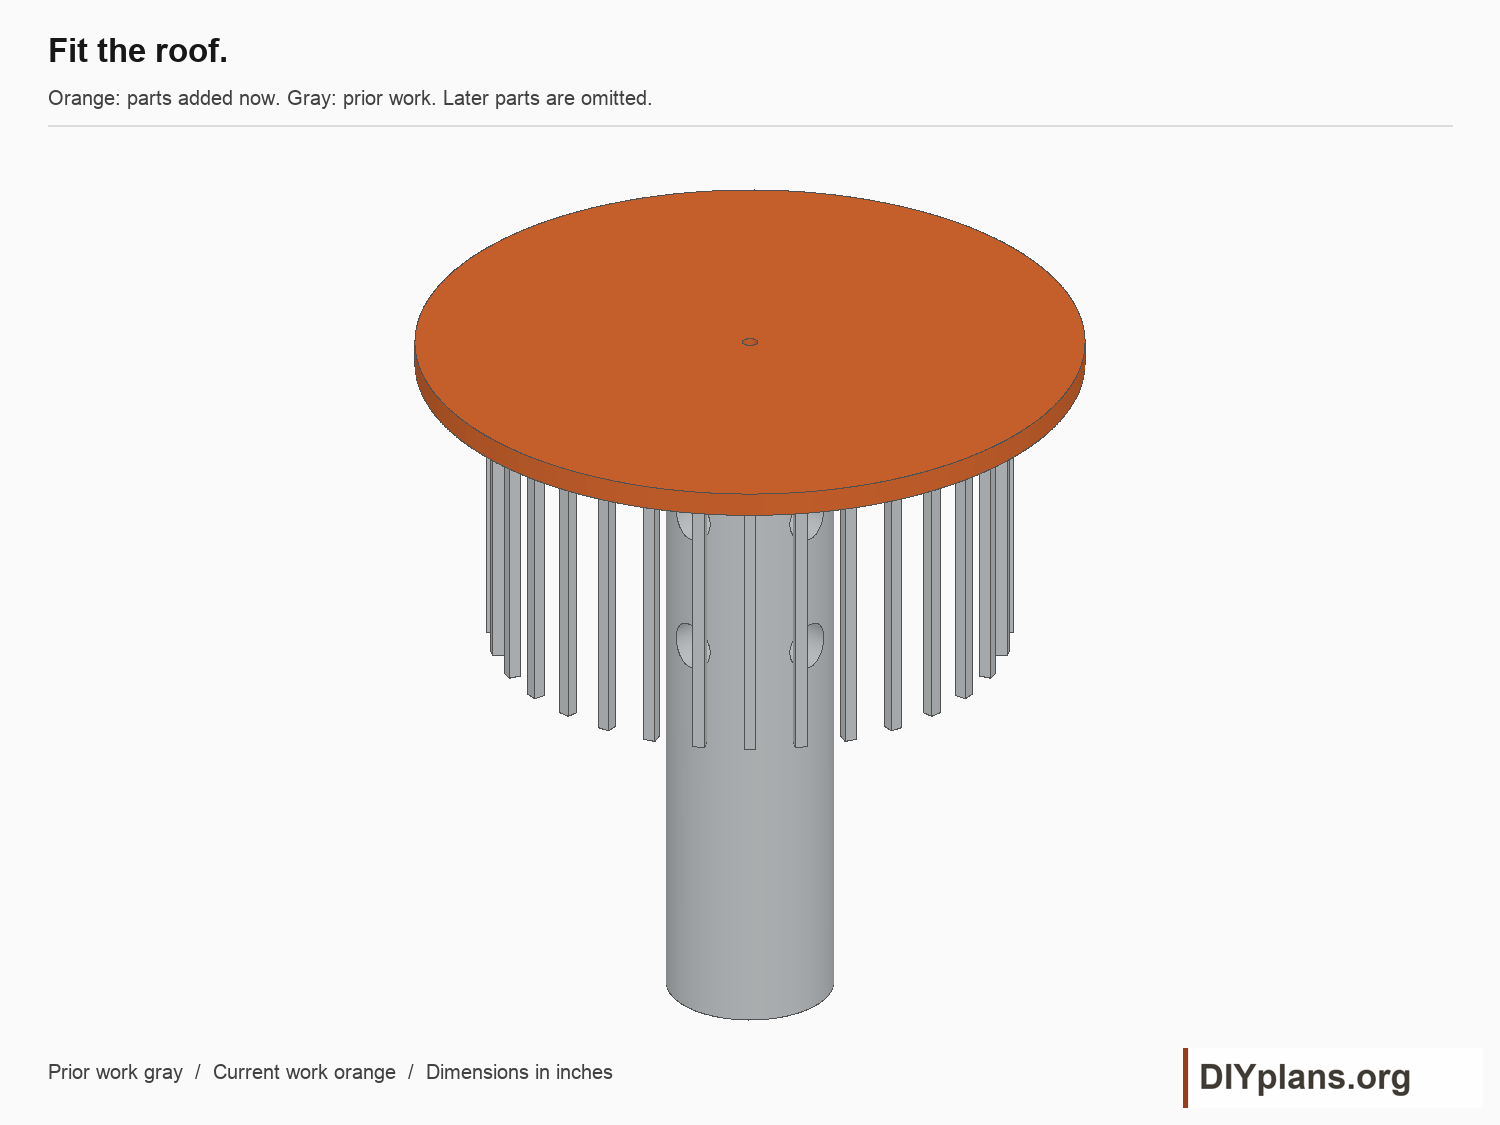
05 Fit the roof
- Drill a 5/16 in centered hole in the 14 in roof disk.
- Set the ceiling on the column, then center the roof on the ceiling. The roof should overhang the ceiling 1 1/2 in on every side.
- Confirm that the three rod holes align and every brad head is enclosed between the disks.
Check: Confirm that the three rod holes align and every brad head is enclosed between the disks.
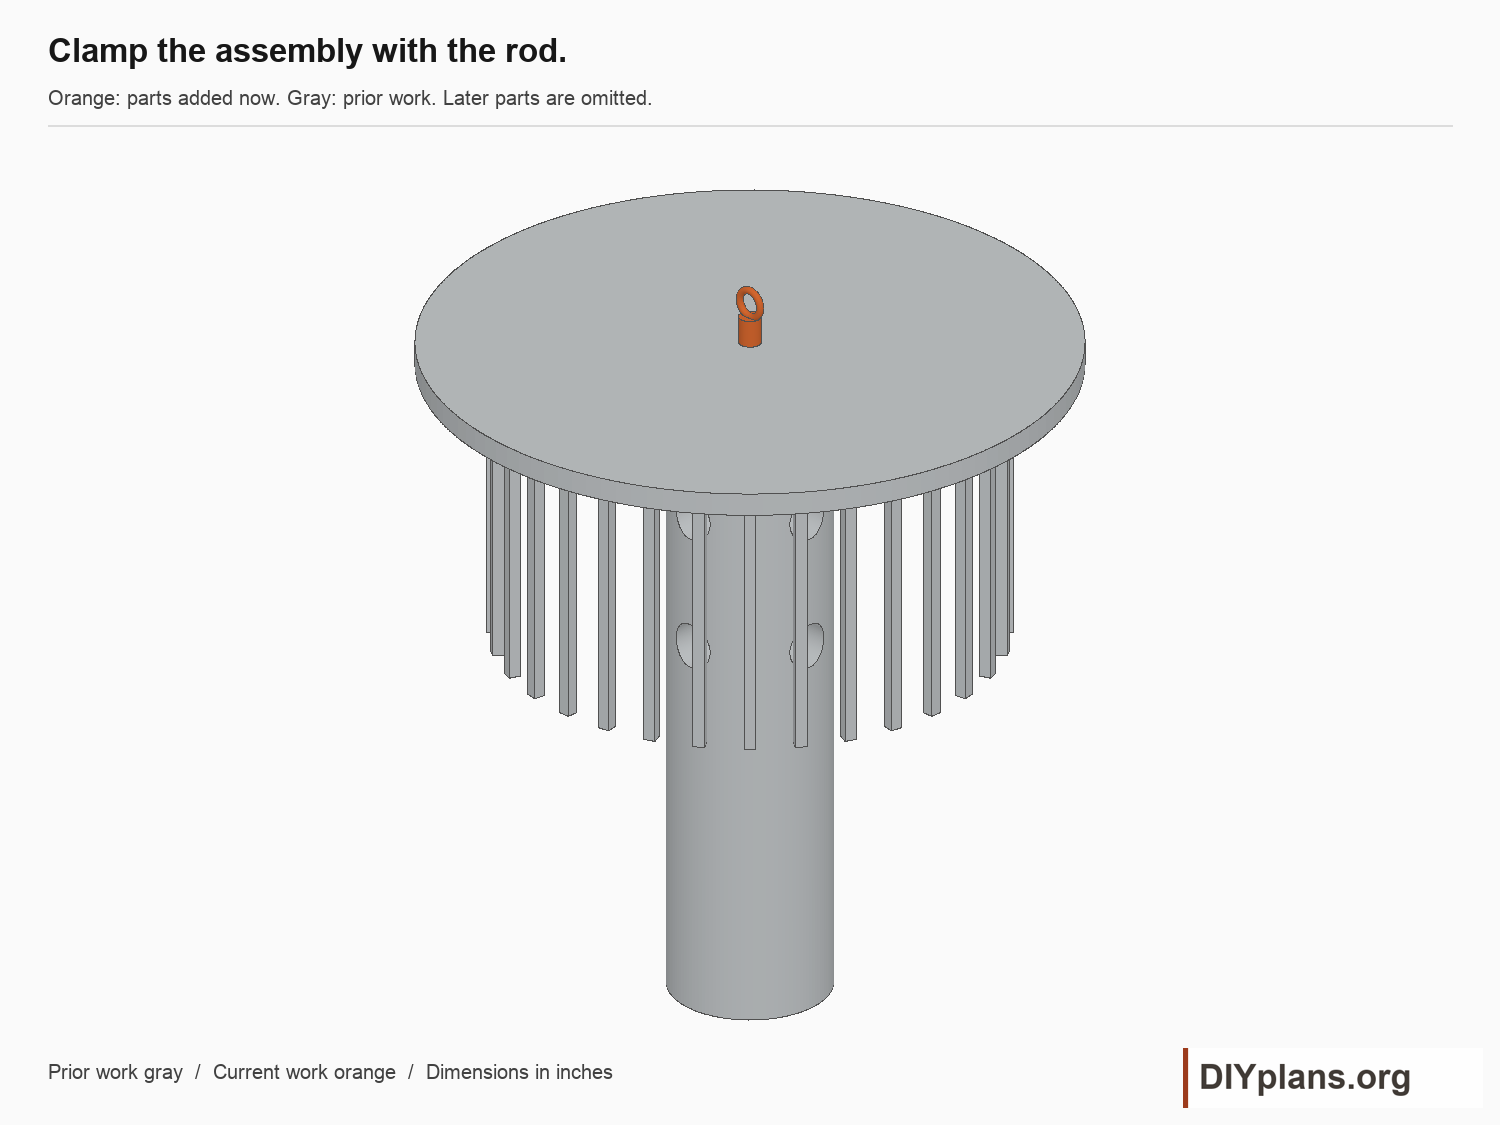
06 Clamp the assembly with the rod
- Pass the 1/4-20 rod through the aligned parts. Fit the bottom washer and locking nut and a rated eye nut above the roof.
- Dry-fit an 18 in stock rod before trimming. The model uses 15 3/4 in; actual eye-nut dimensions determine the final length.
- Tighten the assembly without crushing the plywood. Check that the slats remain clear of the column.
Check: Tighten the assembly without crushing the plywood. Check that the slats remain clear of the column.
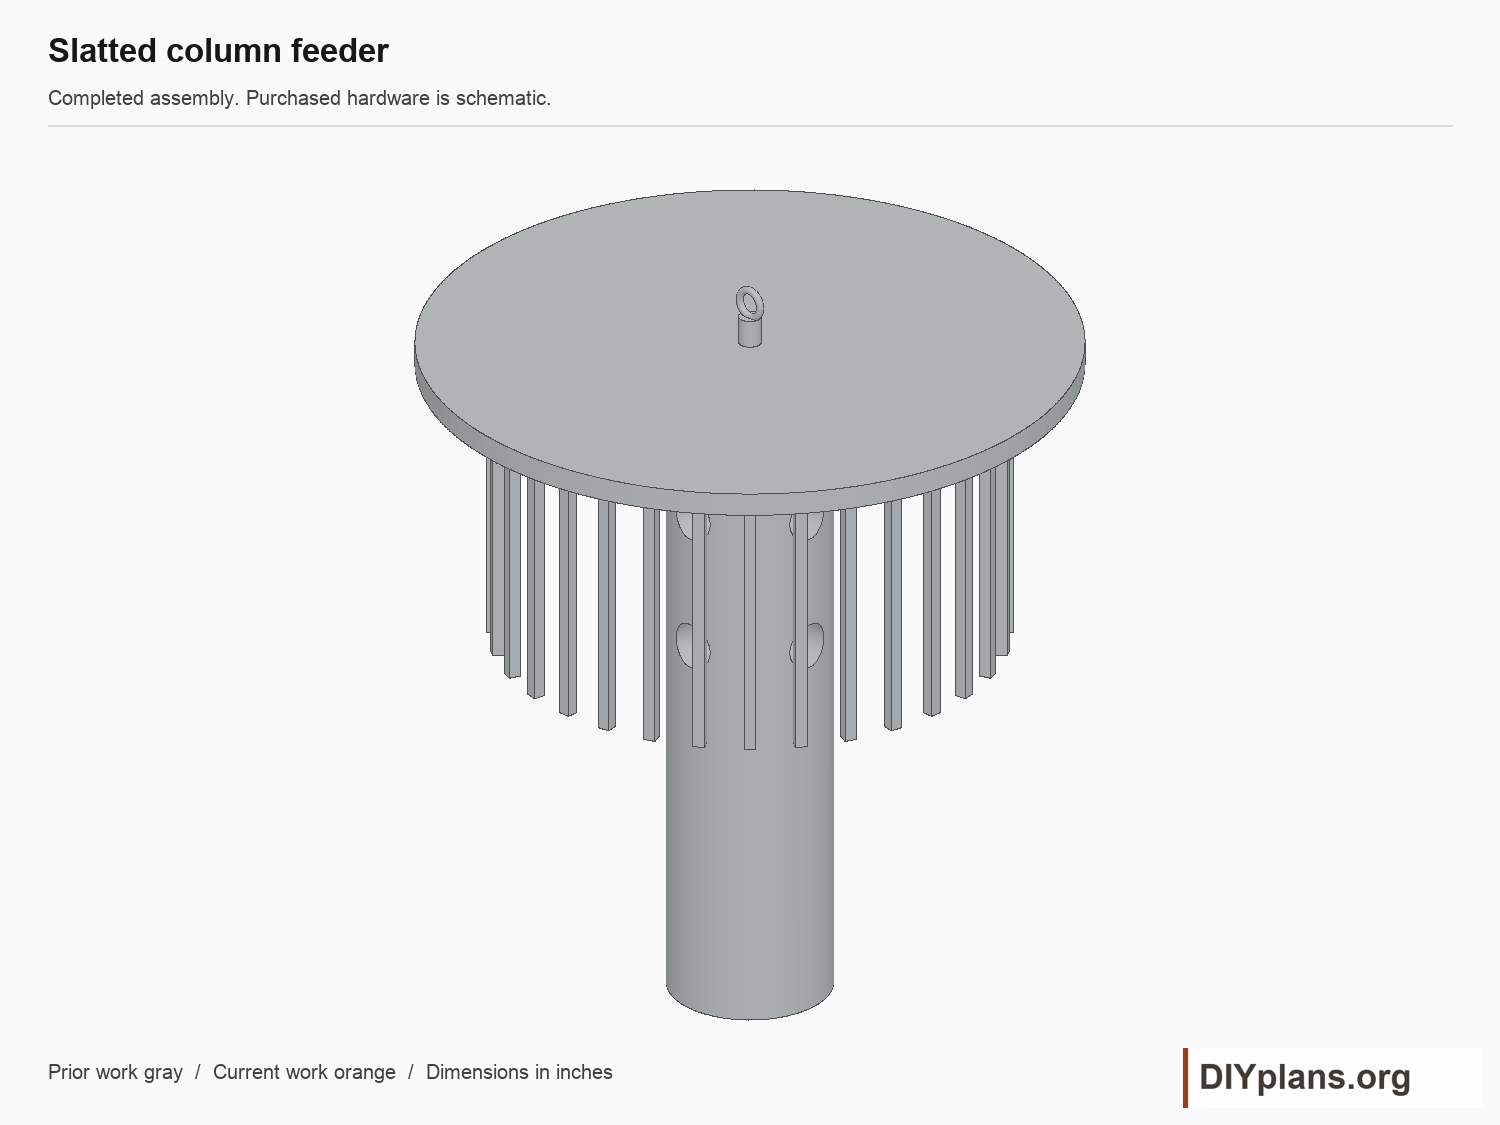
07 Hang and maintain the feeder
- Attach the eye to a short chain and a closed connector on a secure support. Check the complete connection before adding suet.
- Pack suet into the blind holes. Remove spoiled feed and clean the holes before refilling; take the feeder down if wood or hardware deteriorates.
- Inspect the support, rod, eye, nut, and roof regularly. Retighten the lower nut without crushing the wood.
Check: Feeder hangs securely and can be taken down for cleaning.
Sources
Functional dimensions informed by the cited Washington Department of Fish and Wildlife woodworking sheet. CAD, instructions, schedules and illustrations authored for DIY Plans.